So, we're talking about the Lync 2010 Reverse Proxy need. Last time in Part 1, we did the intial installation of a one-legged (1 NIC) TMG Reverse Proxy. We also started with setup/configuration.
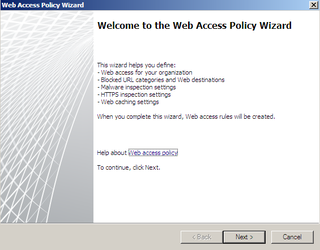
We'll pick up today with the Web Access Policy Wizard
Next
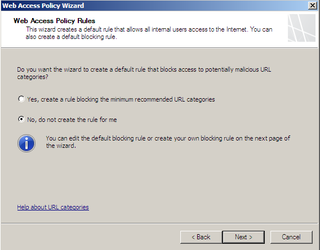
We aren't using TMG as a "firewall/proxy" – just a single legged Reverse Proxy. So, "no" is our option here. Click Next.
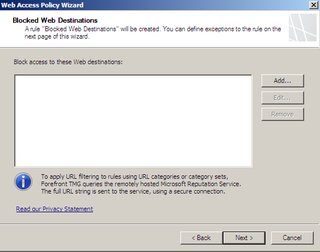
No filtering for our situation. Next.
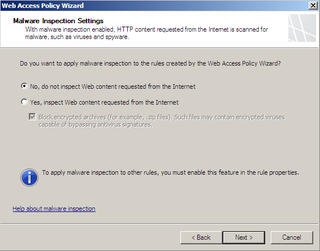
We are not blocking malware here – our firewall does that. Click Next.
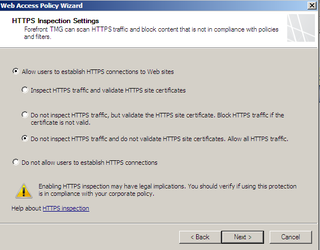
Make your HTTPS Inspection choice. Click Next.
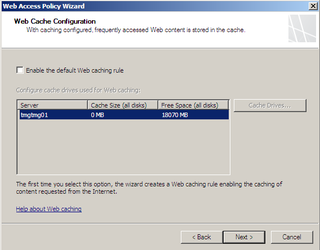
We are not using TMG as a cache. Click Next.
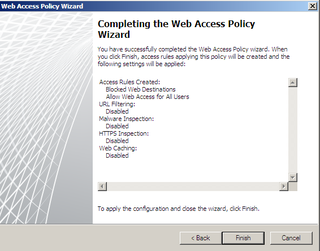
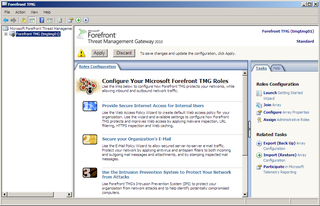
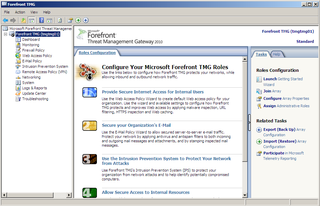
Verify and click Finish – this will take us to the TMG Control Panel.
Notice that in the center/top of the screen we need to Apply this configuration.
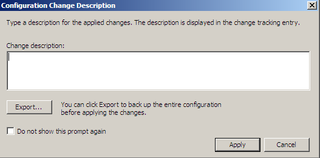
Enter any description if you want. Click Apply.
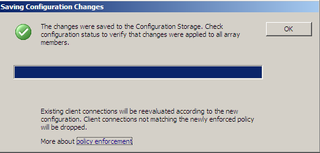
Your settings are now ready to apply.
Now you can see our settings are applied.
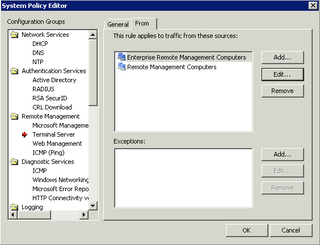
We should also make sure the right people have access to the TMG Control Panel – you can lock this down of course to certain workstations, users, etc. In our case, we want to lock it down to a subnet or two.
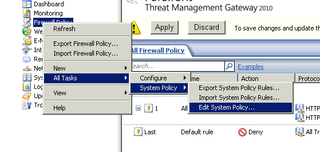
Firewall Policy -> All Tasks -> System Policy -> Edit System Policy
From here we can enter the appropriate info and click OK.
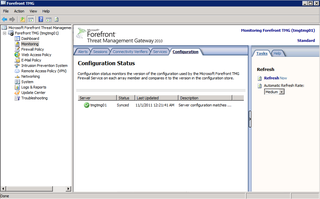
Go back and Apply your settings. Then you see from Monitoring -> Configuration Status when the actual configuration status was applied.
The next step is actually creating the Web Publishing Rule & Web Listener. That's another 30+ screen shots, so, we'll pick up here next time.
