Howdy! Welcome back to the Exchange 2010 walkthrough. Previously we've discussed:
- Part 1 – Prequisites & Initialization
- Part 2 – Client Access (CAS) Role (very long post – sorry)
Today we'll dive into the Hub Transport (HT) Role install and config.
So Do Something
Okay, fine, as you recall we have 2x Exchange boxes, so, let's launch the setup.exe and get going.
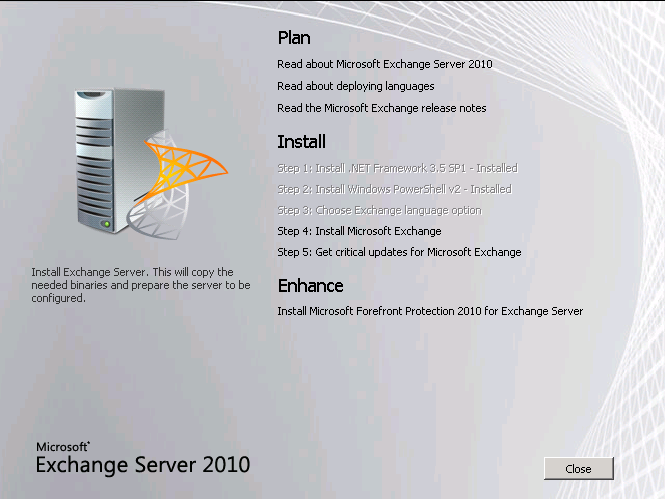
Choose Install Microsoft Exchange
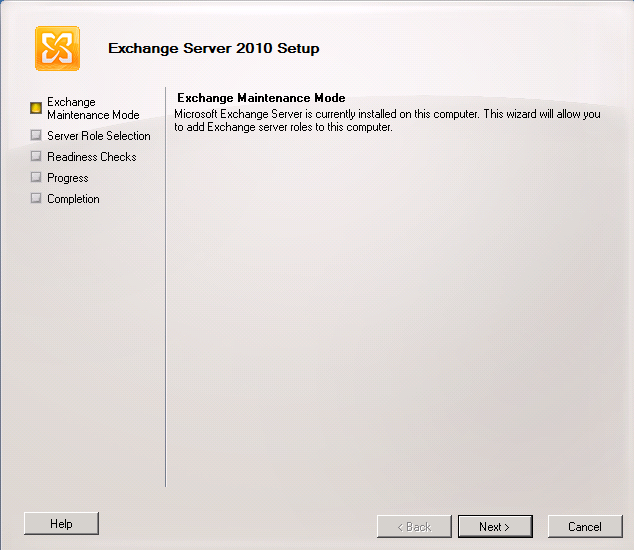
Welcome! Click Next.
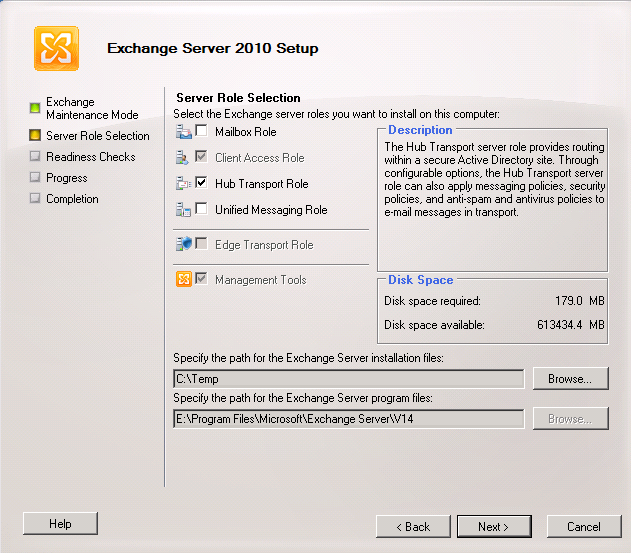
We're adding the Hub Transport (HT) Role. Click that. Click Next.
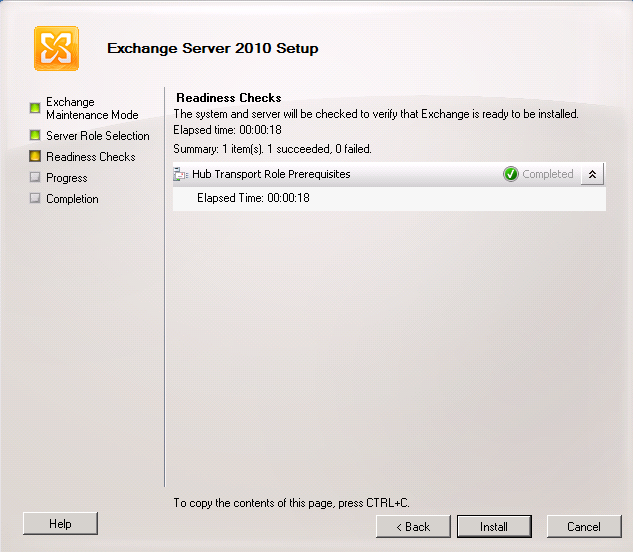
Setup does some "Readiness Checks" which pass. Great. Click Install.
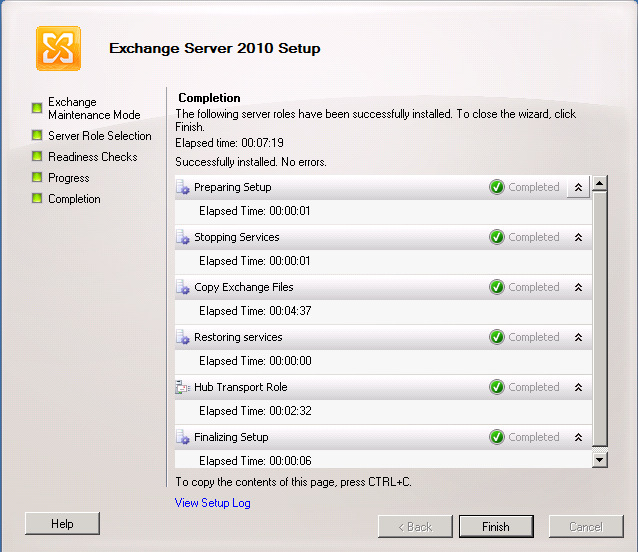
That was easy. Click Finish. Now, go do the same thing on the 2nd Exchange 2010 box.
Done? Reboot both boxes, and come back. I'll wait for you.
Did It Work?
Let's make sure things look good so far – launch Exchange Management Shell on one of your Exchange 2010 boxes. We're gonna run the "get-exchangeserver" cmdlet with an option so we can get just information that we care about – the server roles.
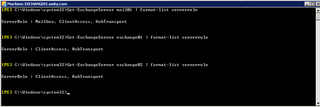
Mail01 is our Exchange 2007 box. Exchange01/02 are our Exchange 2010 boxes.
Looks like the roles are right – both CAS and HT roles are on both boxes. We're good!
That's as far as we're going today. Check back later for Part 4 when we'll jump into the Mailbox (MBX) Role installation and configuration. Yay, a short blog post! Don't get used to it 🙂