Welcome back! I sure hope you haven't been holding your breath for the last 5 months since my first post on Veeam Backup. If so – impressive!
Here's what I've written so far – so you can catch up.
Since the last post, the Veeam Backup & Replication v4.1 bits have dropped – so – I've upgraded again. The upgrade process is so easy, I won't bore you with details. It happened just like the v4.0 upgrade. Next next next.
What I wanted to focus on here is adding servers & jobs. I've built and rebuilt this particular setup a dozen times and have finally landed the plane.
Adding Servers
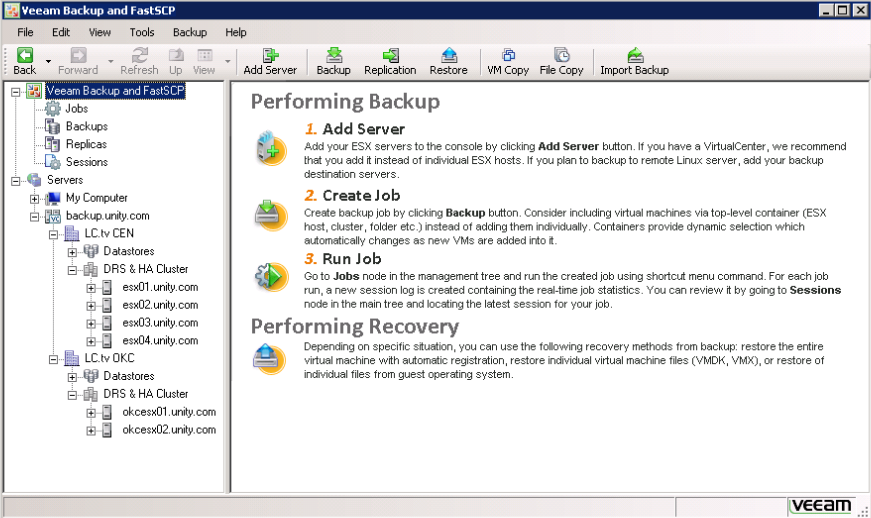
Let's start by launching Veeam Backup & Replication (duh!)
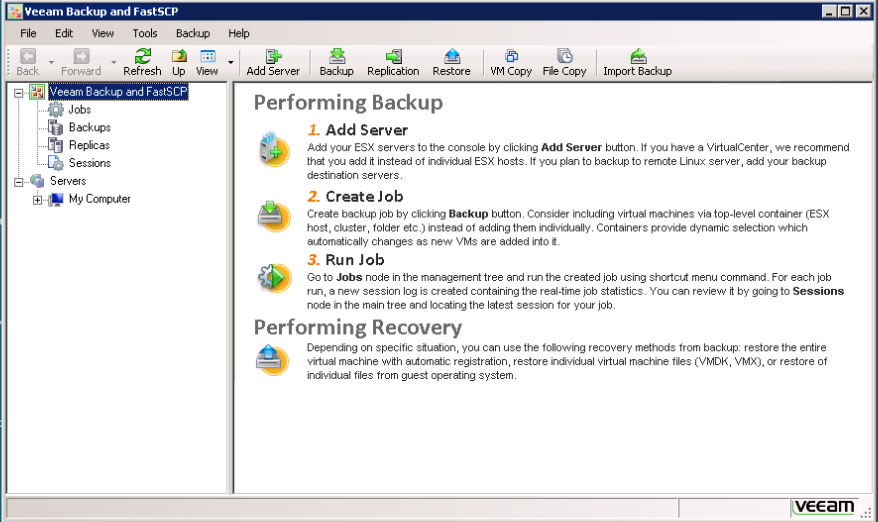
Looks good, right? Now, click the "Add Server" button in the upper toolbar.
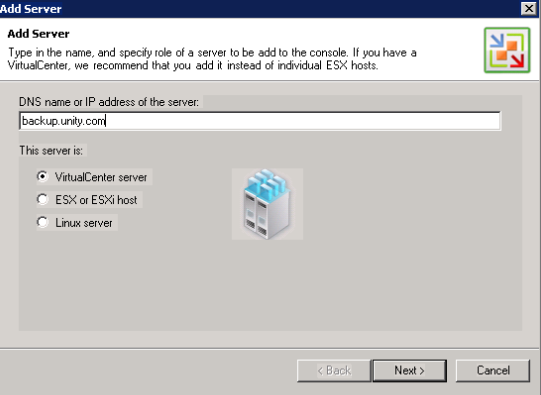
We're going to add all 6 of our ESX hosts (and both clusters). This is done best via our vCenter Server – and that is our physical "backup" server – cleverly named BACKUP. Click Next.
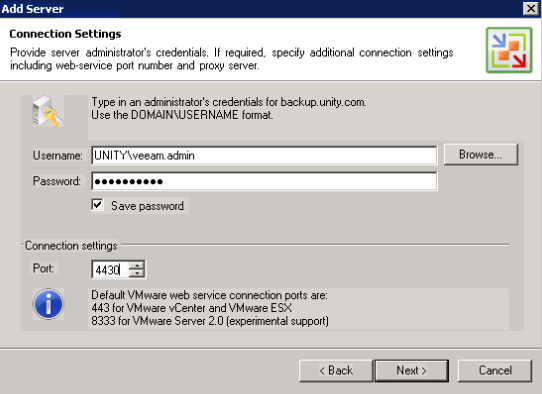
Gotta enter a username with appropriate credentials. We'll use the "veeam.admin" service account. Also, note that we use the non-standard port 4430 for the vCenter services. Port 443 is already in use on this box – so – I just picked another port. Click Next.
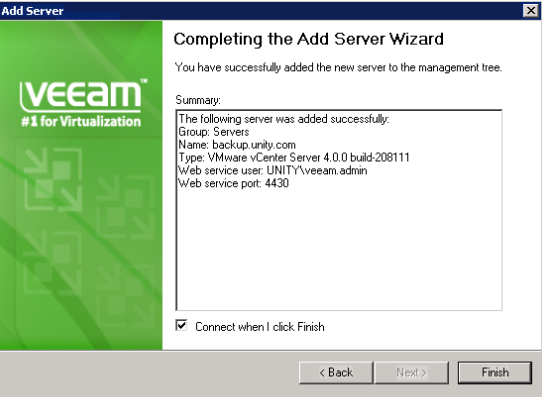
Verify – all looks good. Click Finish. Now, you'll see all our ESX hosts, and clusters, in the Veeam Backup & Replication GUI.
Now, let's enter our credentials for logging onto the hosts. Pick a host, right-click on it and choose properties.
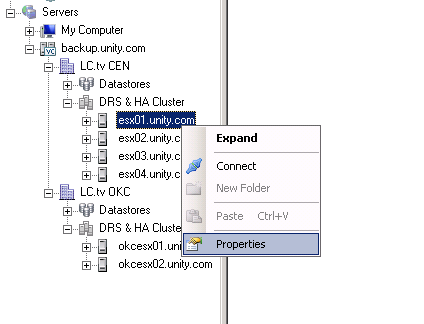
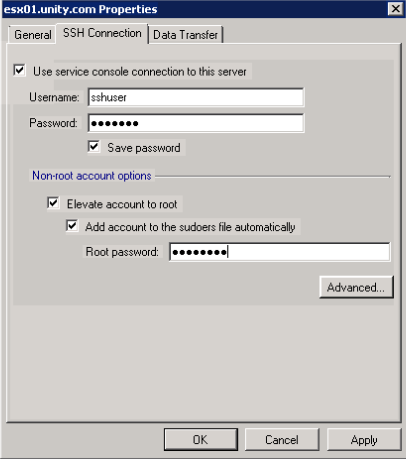
Here's where we'll enter a "local username" and then "root" credentials for the Veeam Agent to connect for all the magic to happen.
That's enough of that. Let's get a job going.
Creating A Backup Job
So, we have Veeam Backup & Replication v4.1. We've got vCenter loaded (with all our servers). We've got credentials set for all the servers. Let's create a job. Launch the GUI and click on the "Backup" button to start the job creation wizard.
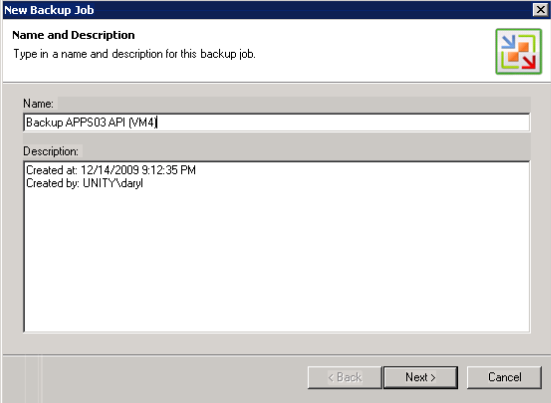
Give it a useful name. This is a screenshot from a job backing up an Application server called APPS03. Click Next.
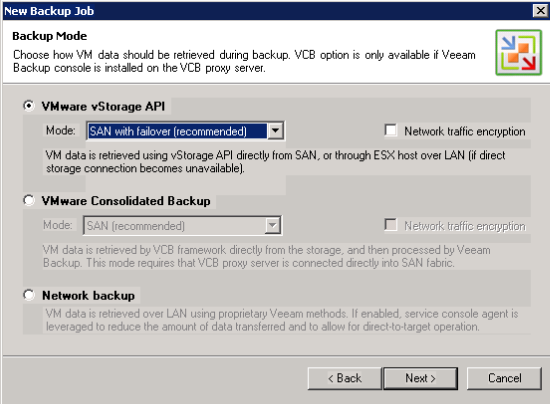
Choose your backup method – API (direct storage), VCB (VMWare Conlidated Backup), or Network. We want to use API – this will open some CBT (changed block tracking) capabilities for us. Click Next.

Now, let's choose a VM to backup. Click Add.
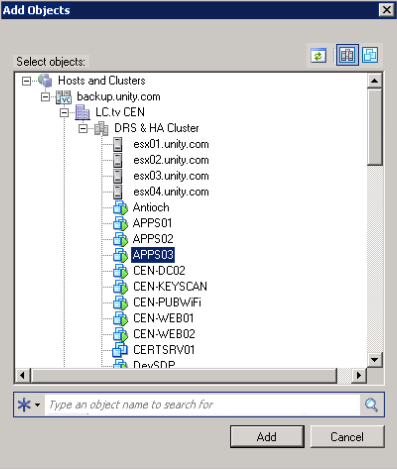
Expand out to find the VM we want – we want to backup APPS03. Click Add.
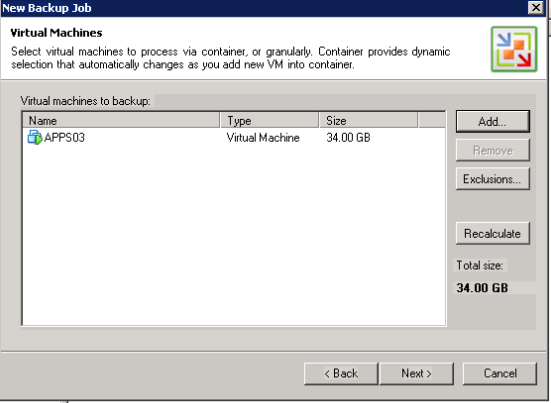
Great. This is what we want. Click Next.
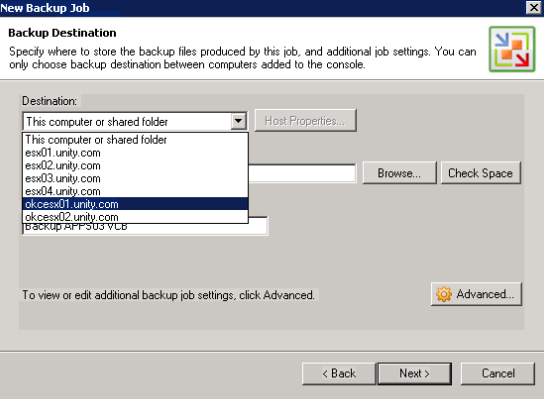
Great – now – let's choose a good destination. We can choose a "local" destination or a "remote" destination. We'll choose "okcesx01" – that's the remote/DR datastore.
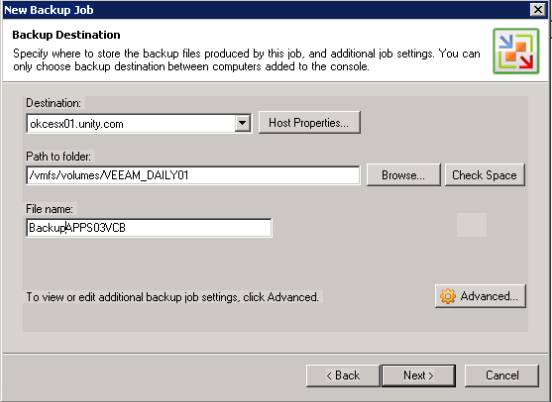
There – that's what we want. Click Advanced.
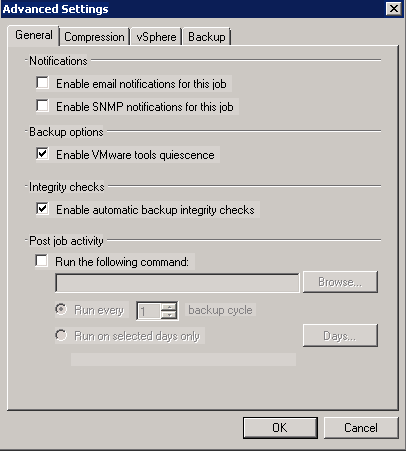
Choose any settings. Click the Compression tab.
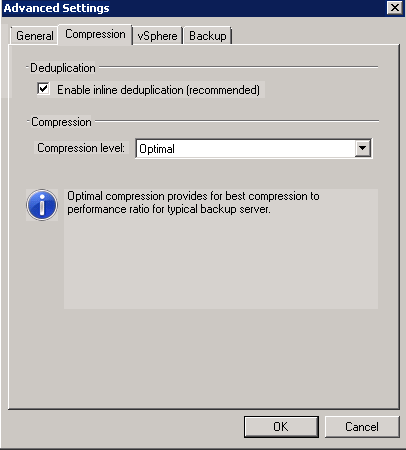
We like inline dedupe – let's do that. Click the vSphere tab.
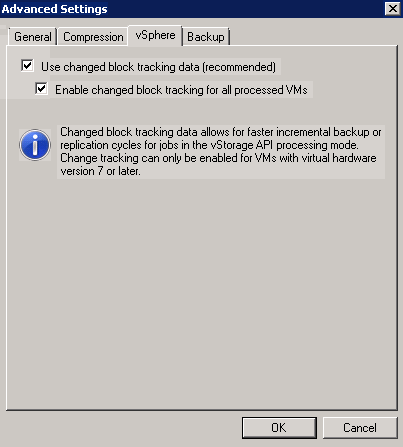
CBT – hooray! This is only for ESX4 and only when running virtual hardware 7 (VH7). Click the Backup tab.

Here's how we can choose how many "rollback" points to keep. 14 is the default. We'll adjust this later. Click OK. Click Next.
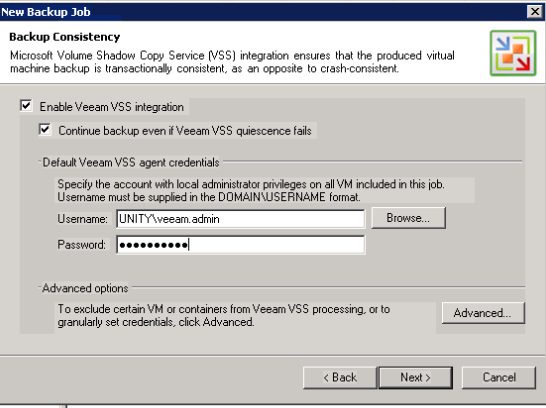
Do you care about VSS? If so – info here. Click Next.
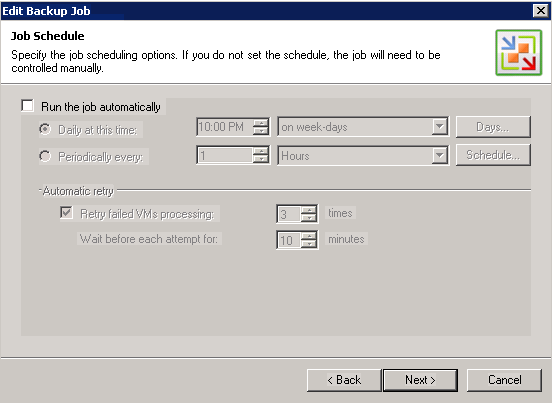
Automatically run? Click Next.
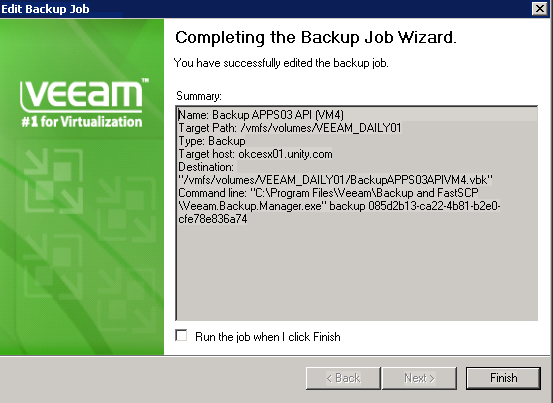
Verify – decide whether to run the job automatically? Click Finish.
Run That Job
Great – now – run the job! I'm missing some screenshot here, but, basically… here's how backup works…
- Job verifies the VM(s) to be backed up, and gets all sorts of information
- VB&R checks licensing
- VB&R creates a "snapshot" for the VM to be backed up
- Job Runs
- Job cleans up snapshots
- Job presents a report
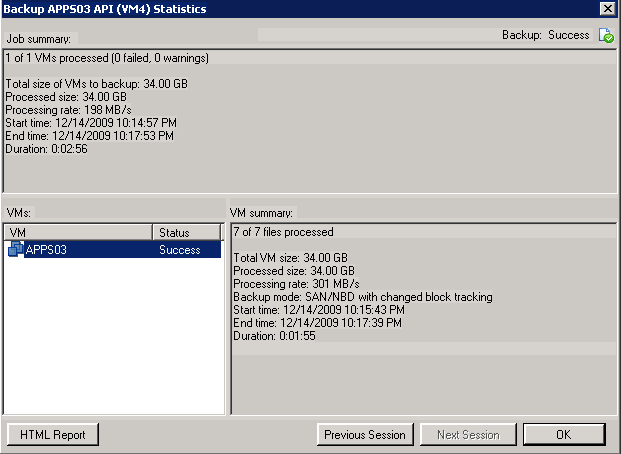
So… Here's what it looks like at the end
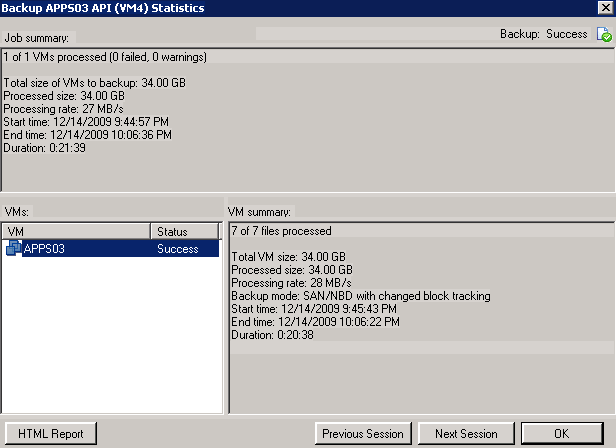
So – Job is done. Click OK.
Now, let's run it again… this is where it gets fun…
Look at that… 10x faster… Thank you CBT! 🙂
That's about it from here… I'm compiling some "gotchas" for the next blog post… and I'll probably, once I've got this finalized, just do a brain dump on my jobs and the where/why/how we are doing this…
Helpful? Tell me if so. Also, if I'm missing something that you wish you knew, I'll drag out some screen shots for you. Enjoy!
Hi Daryl,
Many thanks for this, I want to start experimenting with VEEAM and this seems like the perfect ‘starter’ to appreciate what will be next!
Greetings,
Well done. This gives me a ‘warm and fuzzy’ feeling about moving to Veeam Backup – I’m ready to make the jump.
Thanks
looks ok for a single VM, but does it also capable of B&R a bunch of VM’s, like 100 or so at once ?
does it support incremental backup ?
Overall a great, easy to use product that does what it says it will, without the need for lots of sweat! – highly recommended
But a couple of areas that need improvement;
a) a server test function that looks for all issues that you get to fix before scheduling jobs and then finding issues eg console access, esxi permissions etc
b) vmware guest review process, that also checks for known items so that jobs don’t start and then run for 3 days until completion, eg virtual machine 6 vs 4, login accounts etc etc.
c) When doing a container? type of backup (vs selected vms), you should still be able to configure permissions for each vm, this option only seems to appear if you manually select each vm backup.
d) license checker – since in demo mode you have unlimited resources, the license tab should show what license you will need to buy based on the environment eg # of CPUs etc, so that you know what you costs will be.