My user community is very excited about BES 5.0. If you've been following along, we've covered:
Part 1 – Prep Work for the BES 5.0 setup
Part 2 – We did an "in-place" upgrade of our old/existing BES 4.1 SP6 server
In this section, we're going to focus on the magic cutover/migration to the new server – Apps02. Let's jump right in. This will probably be a very long post with lots of pictures. You have been warned.
Installing SQL on New Server
We should start by installing SQL 2005 Express on the new server. That's a simple thing to do and will help make sure all appropriate databases and permissions are taken care of. So, let's go download SQL2005Express and launch the setup program. In our particular case, we've already got an instance of SQL 2005 Express on this server. We simply want to add an additional instance. Why? Well, we WANT to move to SQL 2008 – but for now the compatibility matrix doesn't support SQL 2008. So, we're using simple "express" instance until SQL 2008 is suppoted and then we'll move the BESMgmt Database. Anyway, launch the setup for SQL 2005 Express.
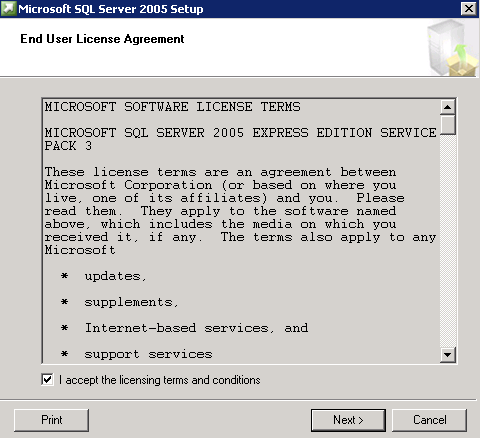
Accept the EULA. Click Next.
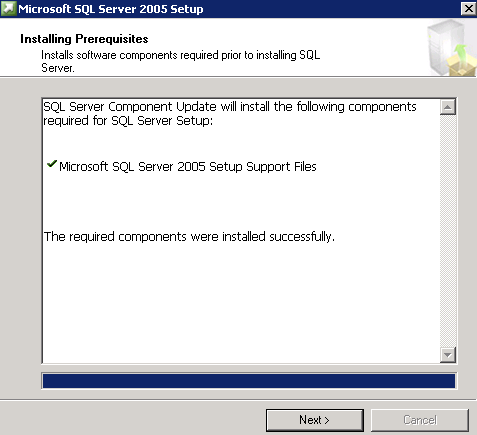
Setup support is ready. Click Next.
Let's go! Click Next.
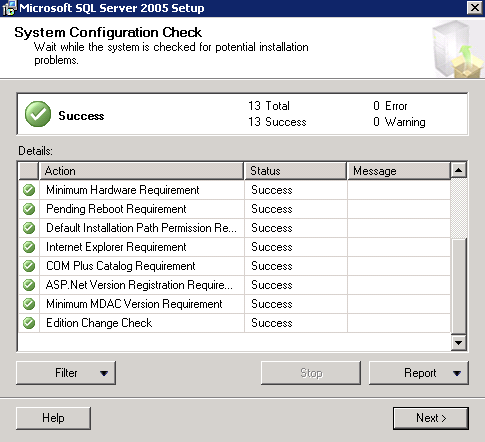
System checks. All is well. Click Next.
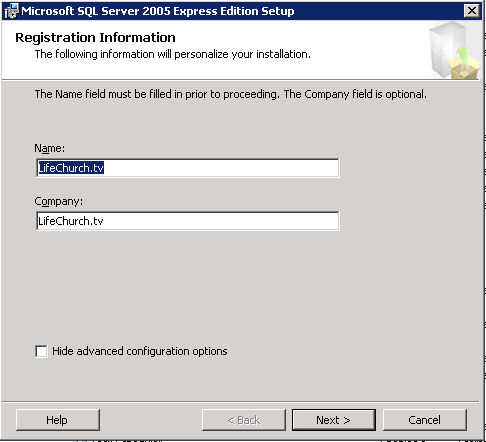
Registration Info. Uncheck the "Hide Advanced Configuration Options" box. Click Next.
Install Path. Click Next.

We want to create a new, named instance – we'll call it BES. Click Next.
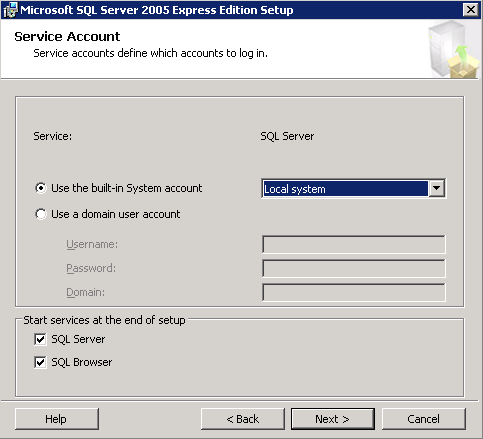
Choose how you want the new instance of SQL Express to run. We want the Local System service account. Make selections and click Next.
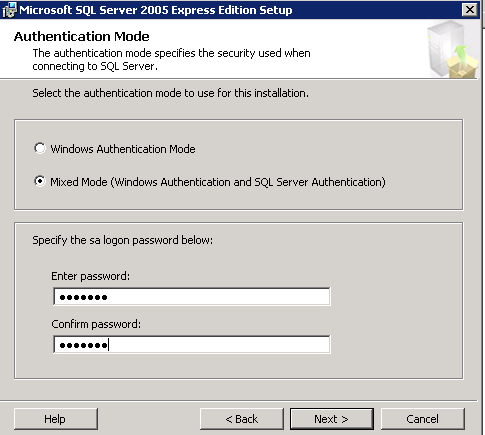
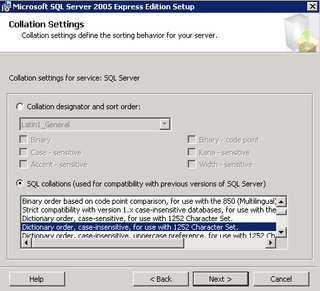
We run Mixed Mode with a strong SA password. Click Next.
We chose the defaults here. Click Next.
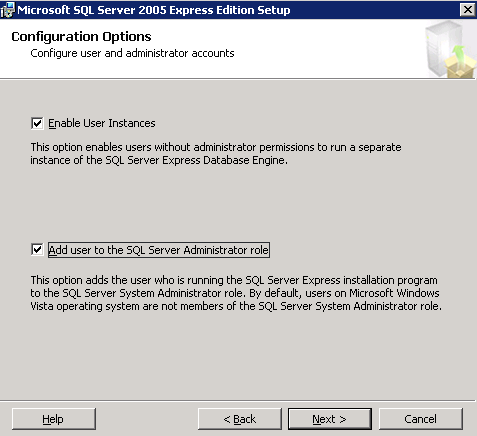
Administrative Options. Click Next.
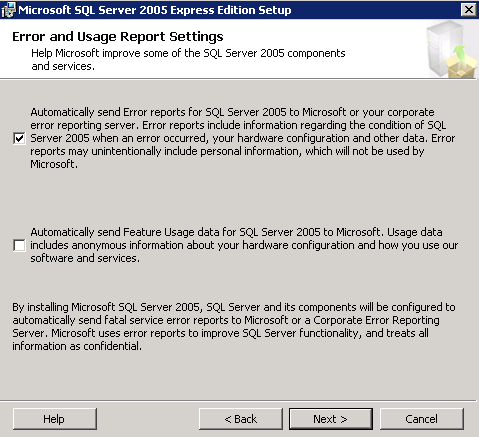
Error Reporting. Click Next.
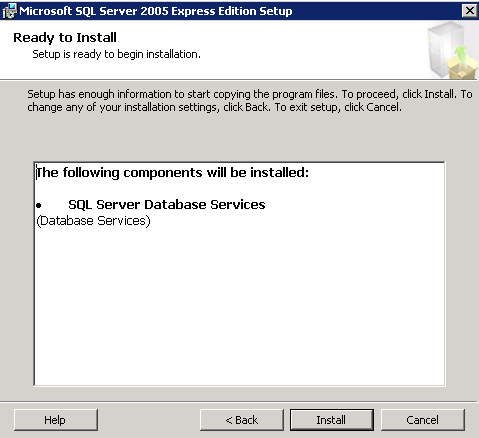
Okay. Verify. Click Install for the magic to happen. Wait. This will only take a minute or two.
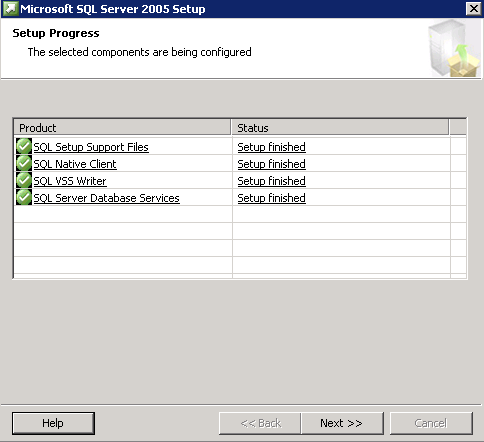
Looks good. All has finished. Click Next.
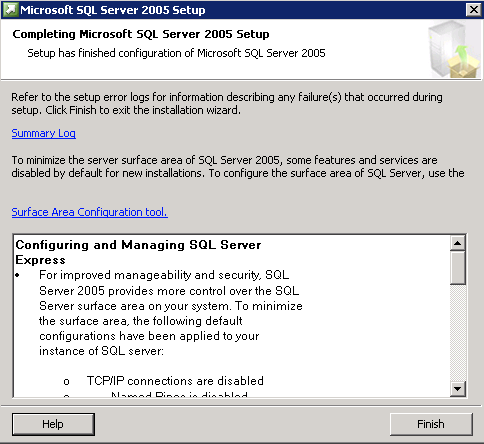
This is just a setup summary. There's a log you can launch if you choose. Click finish. Now, let's make sure our "besadmin" user has the right permissions. Launch SQL Management Studio Express.
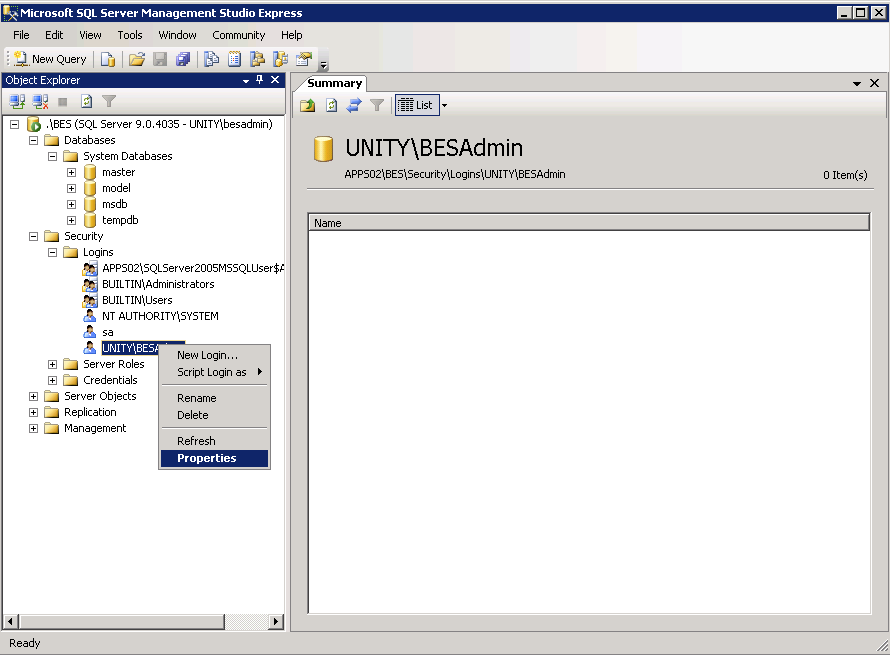
Right-click on besadmin – properties.
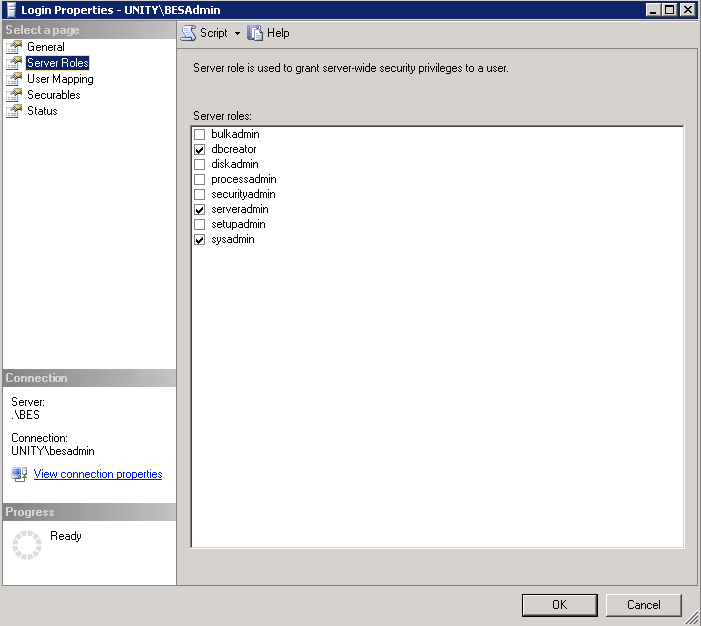
On the left-hand side, choose "Server Roles" and then on the right-hand pane – select "dbcreator" and "serveradmin" – click OK. Great. This is ready to go.
Stop the old BES Server
Before we get do the rest of this, let's go ahead and stop the old BES Server. Open the Administration Console
On the left-hand side, under Servers and Components, drill down to find the BES Server
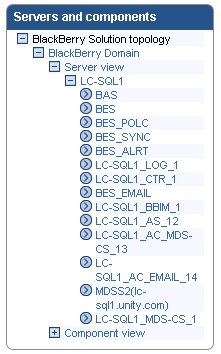
Great, click on BES. You'll see all sorts of options. Look for Status.
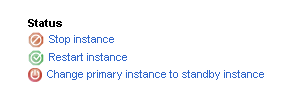
Yup. Click "Stop instance"

You can now see it's "stopped" – almost ready. Open up services.msc
Stop all of the Blackberry services. Once you're done with that, time to move the database.
Moving Database from OLD Server (LC-SQL1) to NEW Server (APPS02)
This is kind of misleading. We're not actually "moving" a database. We're going to "create" a database on the new server.
On the New server, open the installation media and navigate to the "Database" folder. Open the besmgmt.cfg file in notepad.
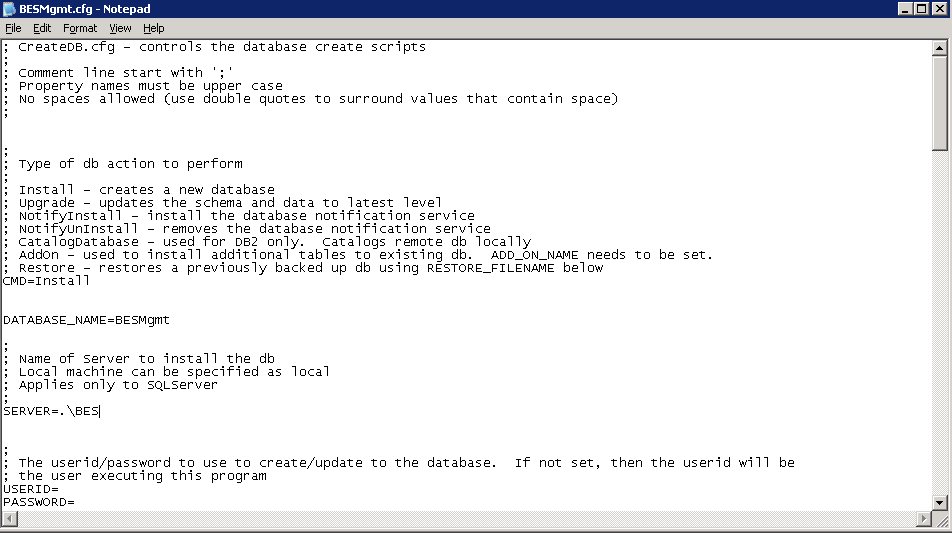
All we need to change is the "SERVER" entry to ".BES" – that's our instance of SQL Express. Make that change. Save the file. Now, drop to the command prompt and navigate to the "Database" folder.
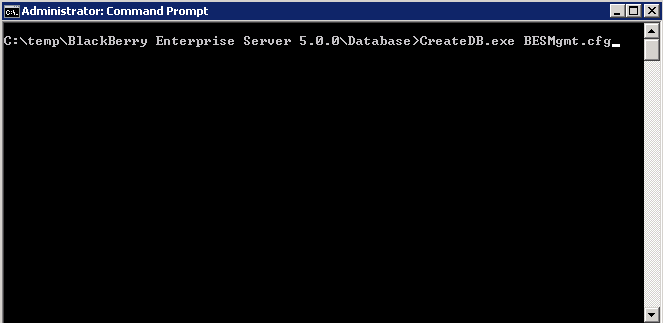
Run the "CreateDB.exe BESMgmt.cfg" command like you see above. It'll take a few minutes and when it's done, it'll place the database in the SQL instance you named in the .cfg file. Wait.
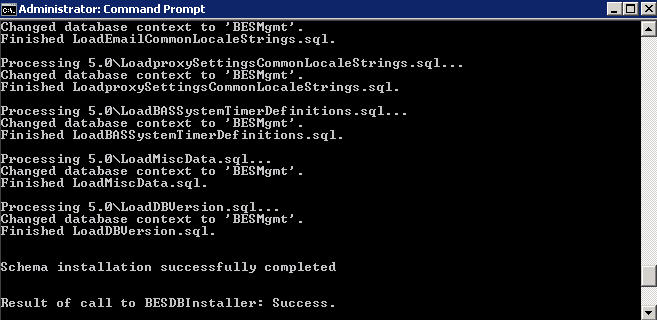
Great! You're done! Let's make sure the database really is in SQL Server Manager Express

Yup there it is. Let's start the actual install. We're ready.
Installing BES 5.0 on New Server
Logon the new server as the "besadmin" account and launch the setup program.
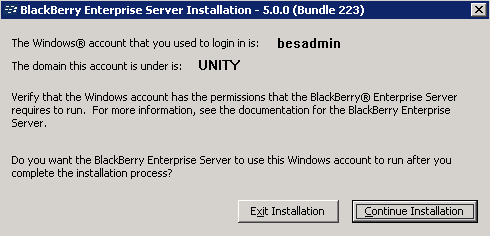
We've previously verified that "besadmin" has all the the necessary rights and roles. Click Continue Installation. PLEASE NOTE – this is going to look VERY VERY familiar – I did this in Part 2 of this series. Other than the names of servers changing, the configuration should be identical. So, rather than give you a ton of screenshots, I'm only going to give you the ones that are different than Part 2.
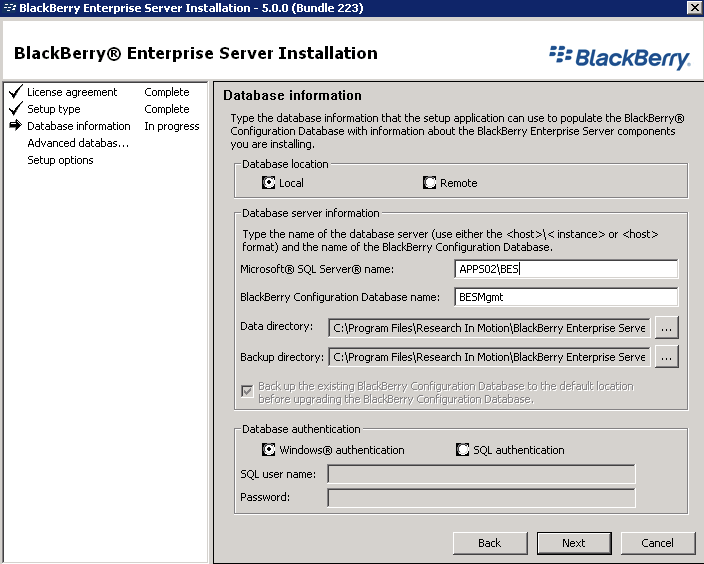
The SQL Name is "APPS02BES" – the instance we've created. The Database is "BESMgmt" – the database we created. Click Next and move on.
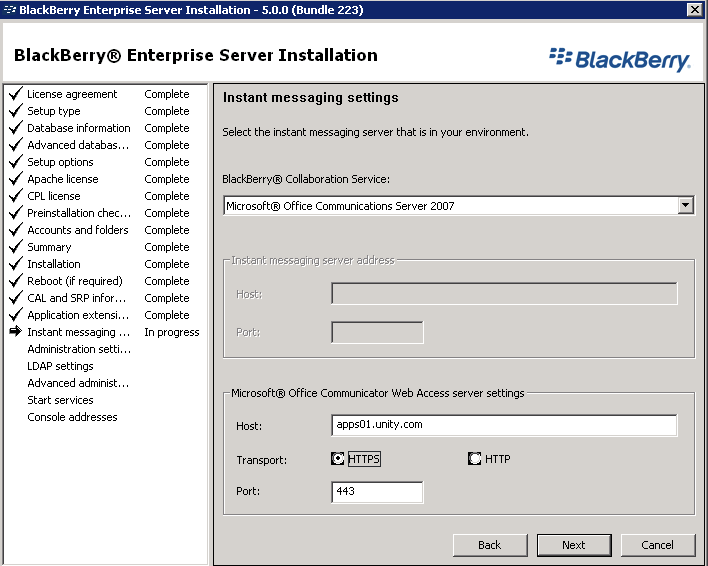
This is different. If you're been paying attention – we've recently migration from LCS to OCS 2007 R2. So, those changes are reflected here. Click Next.
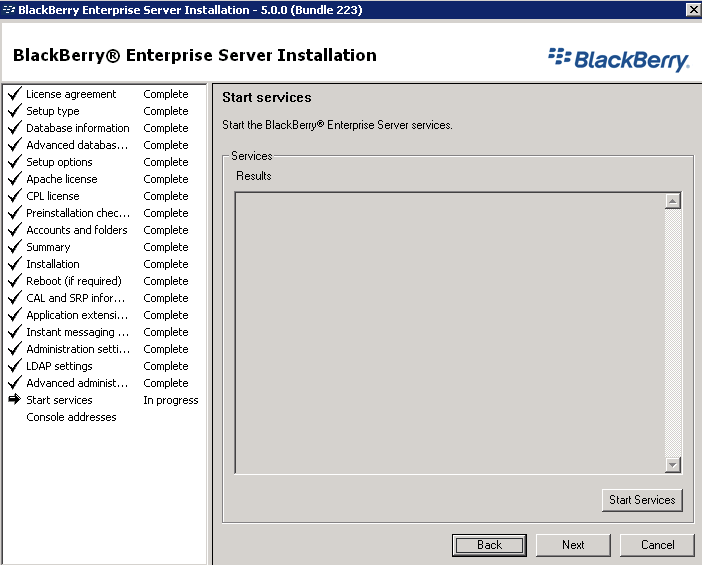
I'm actually NOT going to Start Services. I need to cutover the users next via the Blackberry Enterprise Transporter. Click Next and finish up.
Cutover Users – Blackberry Enterprise Transporter
Okay, now we've setup the server and now need to make sure the users cutover from the old server to the new server. You'll need to download part of the Blackberry Enterprise Server Resource Kit. Get the Enterprise Transporter – and install it. I won't bore you with Next Next Next screen shots this time. Make sure the Blackberry Services are STOPPED on both the old and new server except for one – the Blackberry Administration Services ON THE NEW SERVER need to be started.

Great. Now, launch the Enterprise Transporter.
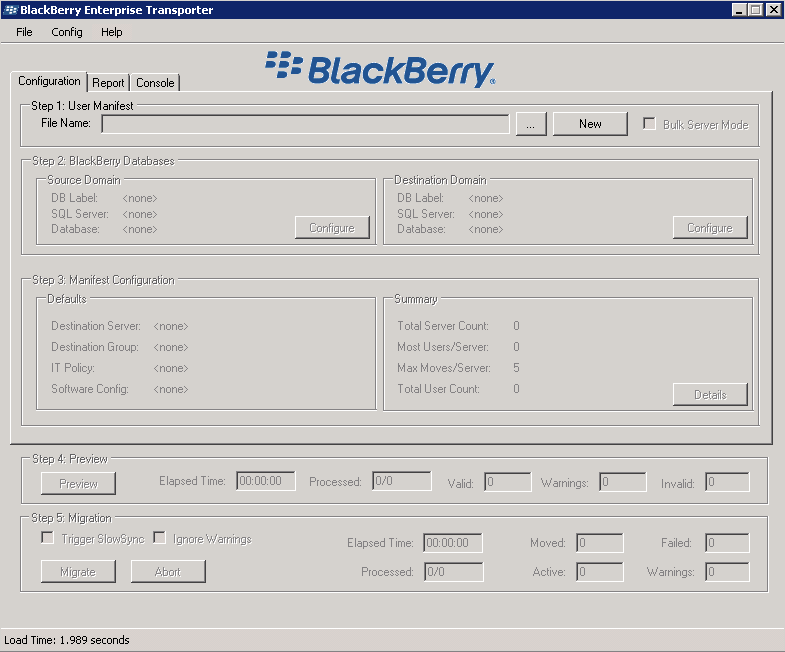
Click New – by file name.
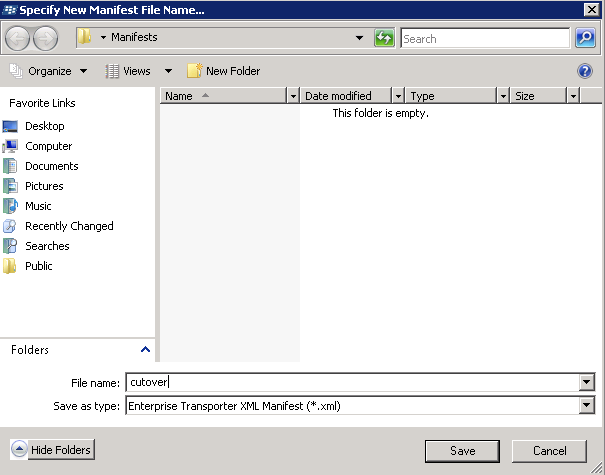
We're going to call it "cutover.xml" and save it in the default location. Click Save.
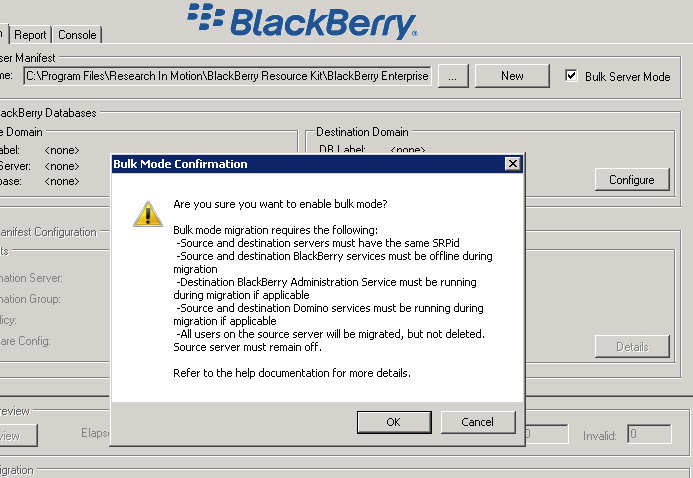
Check the "Bulk Server Mode" and read the Pop-up. It tells you what services need stopped and started. You've done this. Click OK.
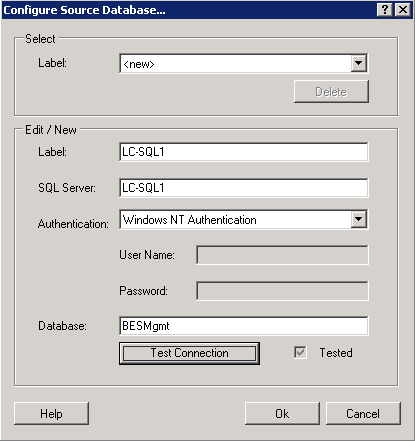
Now, let's choose our Source. Click Configure under Source Domain.
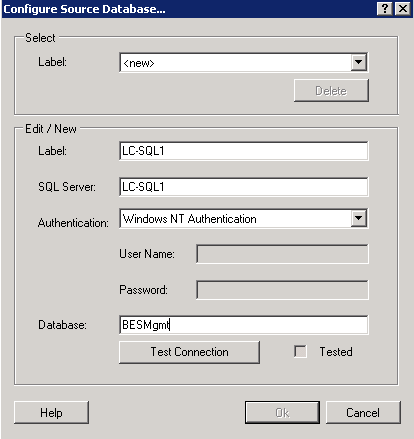
You want to choose a "new" label. Fill in all the information. Click Test Connection.
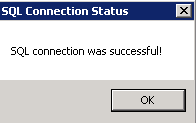
Excellent. Click OK.
Notice the "Tested" Checkbox. Click OK. Move on to the "Destination Domain" – Click Configure.
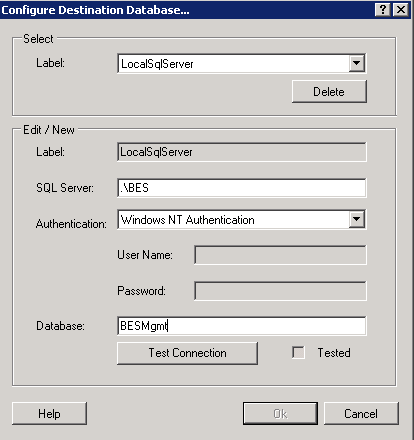
Make your choices. Click Test Connection.
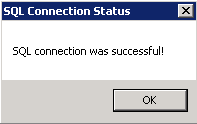
Excellent. Click OK.
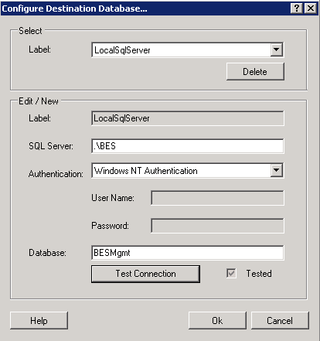
Notice the "Tested" Checkbox again. Click OK.
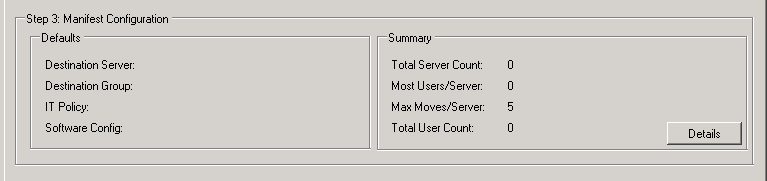
Let's focus on Step 3 – Click Details.

Choose our "Name" – BES (you remember that from the Setup above). Then the list of users populates below. Make any appropriate Group and Policy and Config changes.
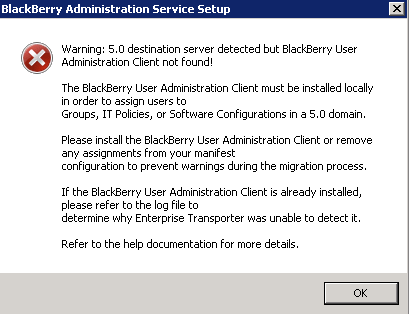
Hmm. That looks scary. Click OK.

Let's Preview. Click that.
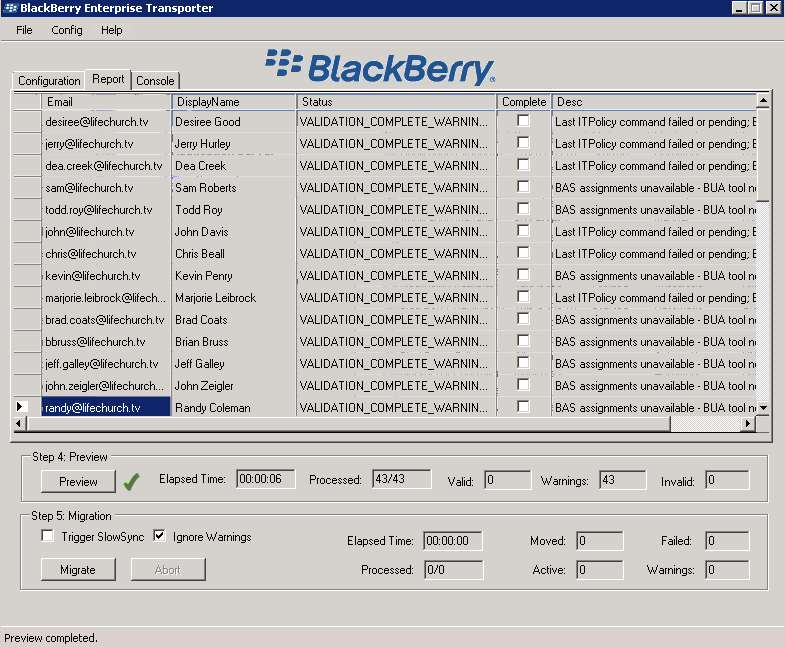
Hmmm. We're given some warnings, but not errors. From reading around, this doesn't seem like too big of a deal in our environment. So, I'm going to click "Ignore Warnings" in Step 5 – and click Migrate. Off we go!
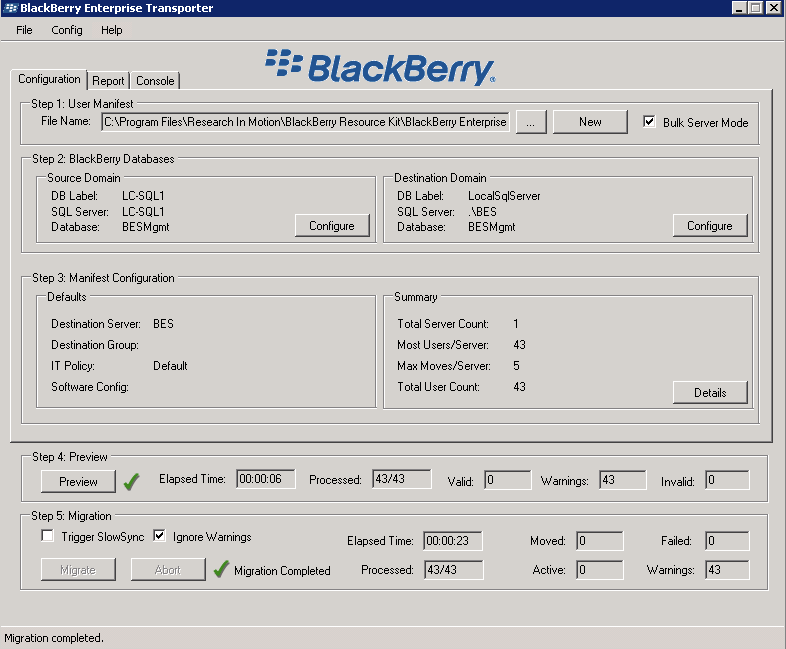
All done! 43/43 processed and Migration Completed! We did get warnings, but I'm not sure what those are. I'll address those as necessary.
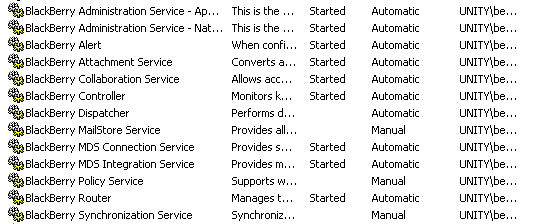
Now, we can start our services and move along. We can do this in several ways, but the easiest is probably to just reboot the server. Let's do that. Reboot. Wait. Log back on. Let's look at all the services.
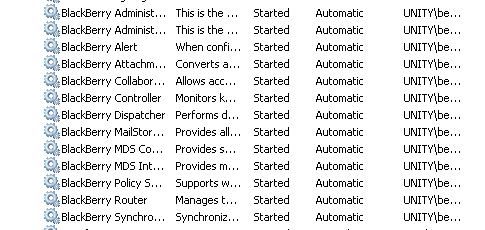
Well, that looks good. Everything has started. Oh sweet, my data-arrows on my blackberry are going crazy. My email and stuff starts synching. That's great. It appears all is well.
Wait a few minutes, let things sync back up. Test sending email. Mine works. Great!
That's it. Really. It was a LOT, but it wasn't too much. At this point, all of the services are running, my email is flowing again, I think we're done. Hooray!
I'm working now on one last peek into this dive into BES 5.0. Things weren't as "smooth" as expected and there were some bumps along the way. I'll talk about the "gotchas" in Part 4 – coming up soon.
If you've stumbled here along the way, let me know if I was able to help you.