Okay, are you still with me? We're having some fun now with OCS 2007 R2, right? Right?
Part 1 – We did some prep work
Part 2 – We installed OCS 2007 R2 – finally – after finding a few extra pre-requisites
In this post let's get this bad boy all set with an initial configuration. This will be a very very long post. Sorry. I don't want to break it up.
Configure Server
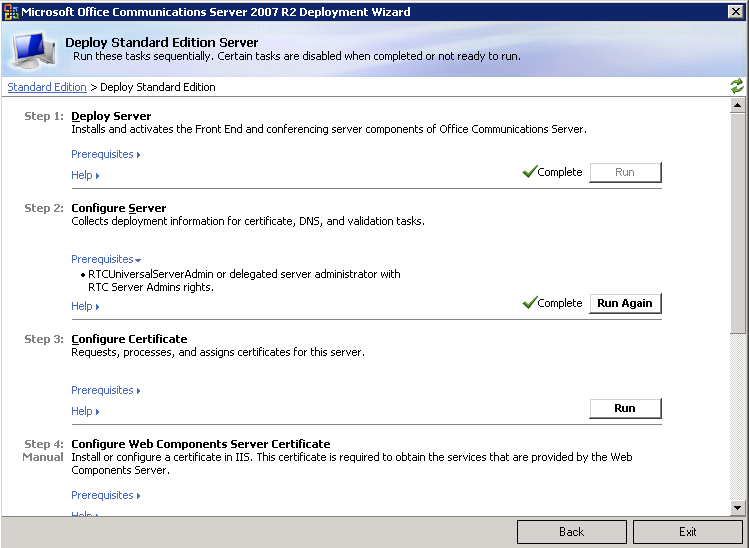
We left off last time at the Deploy Standard Edition Server applet. It should look like this now:
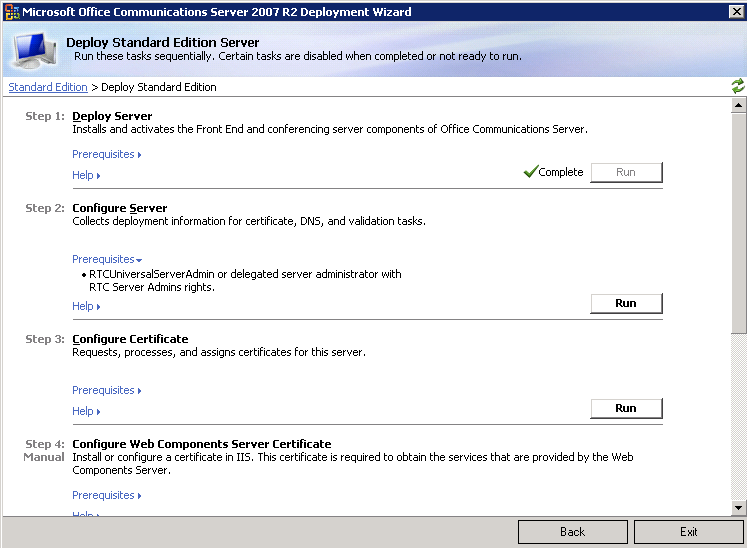
Notice there are a couple Prerequisites. You must be a member of RTCUniversalServerAdmin group or a delegated admin with RTC Server Admins rights. We're good to go. Let's get started by clicking on Run under Step 2 – Configure Server.
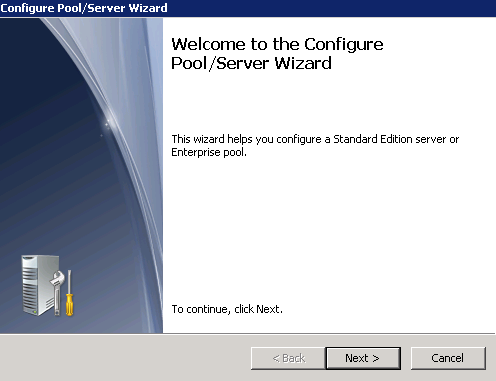
This looks good. Click Next to created our Pool.
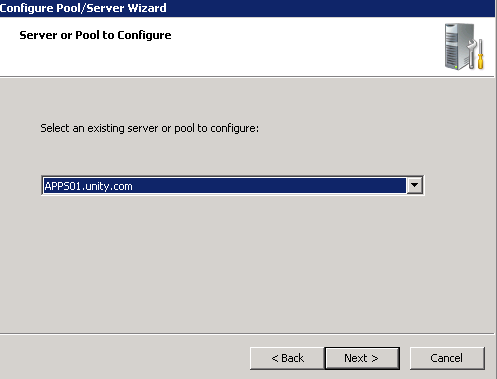
Choose the right server – or in our case – the only server – Apps01. Click Next.
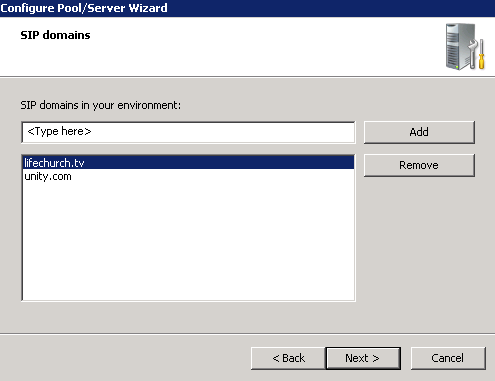
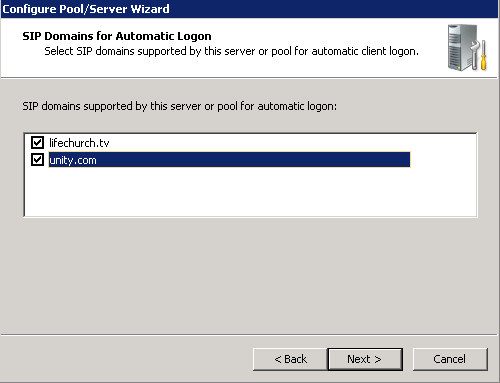
Verify the SIP Domains. In our case we have lifechurch.tv (duh) and unity.com (internal AD domain). Click Next.
Yes, just like with LCS 2005 – we are going to auto configure clients using DNS SRV Records. This will be tricky at first because we'll be in a dual-mode environment with both LCS 2005 and OCS 2007 R2 for a brief time. Keep these options. Click Next.
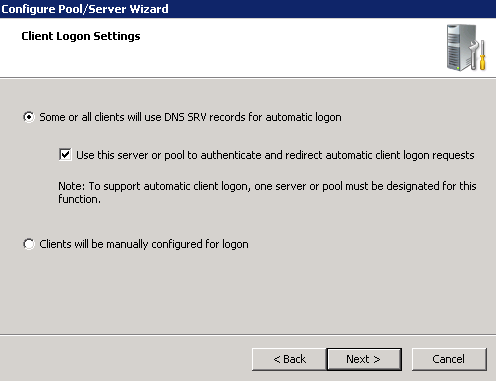
Verify Automatic Logon settings. Click Next.
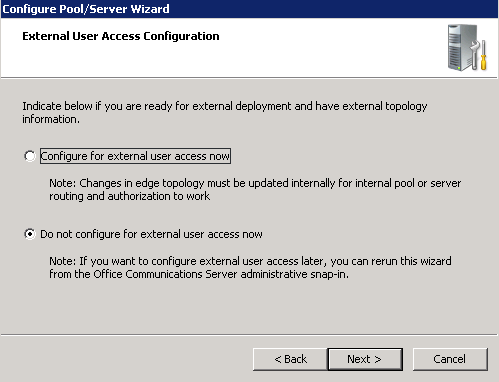
This one is easy. I'm not sure how I'll handle external user access so there's no need to configure it now. Click Next.
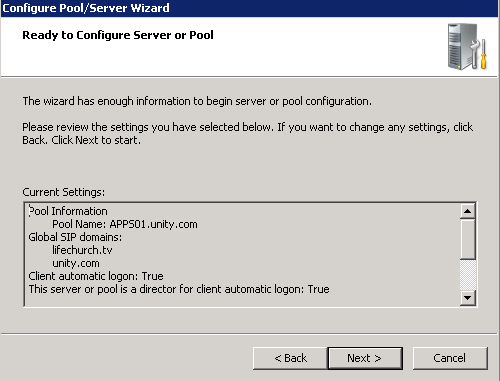
Verify settings. Click Next to deploy the settings you've chosen.
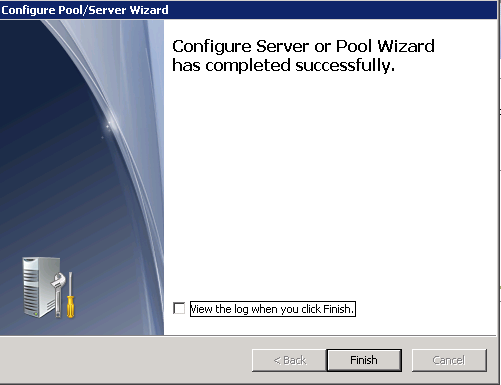
Hooray! You've done a basic configuration. Click Finish.
Configure Certificates
Let's continue with our configuration by Configuring Certificates for secure access. You should be at the Deploy Standard Edition Server setup screen.
Great! Let's continue by clicking Run under Step 3 – Configure Certificate.
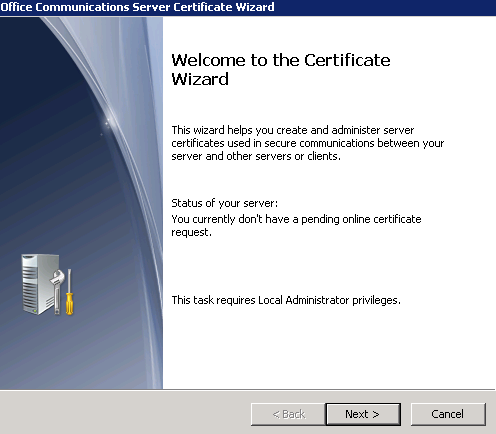
Alright! That sounds like what we want. Click Next.
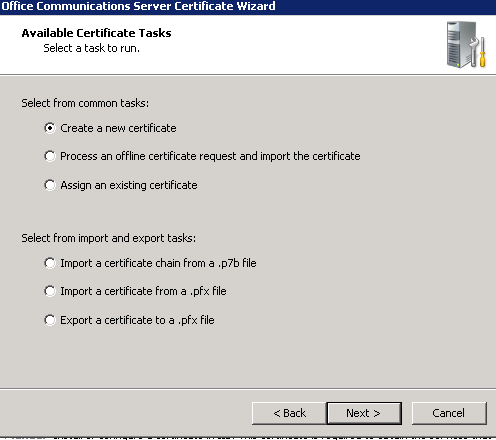
We want to Create new certificate. Click Next.
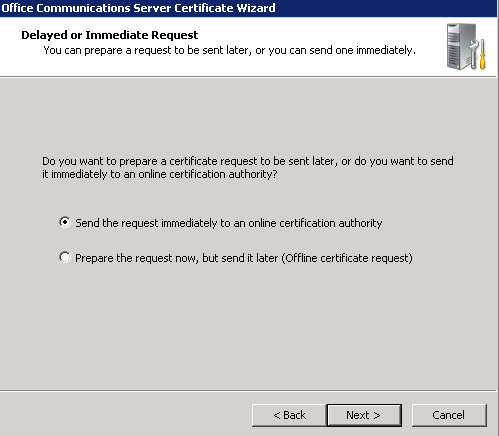
We want to do this immediately. Our Domain Controllers are CAs. Click Next.
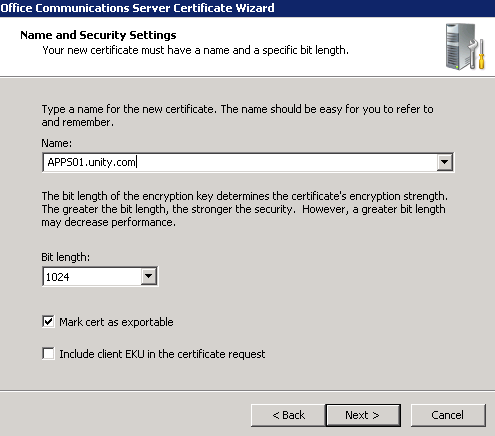
Start the CERTREQ process. Click Next
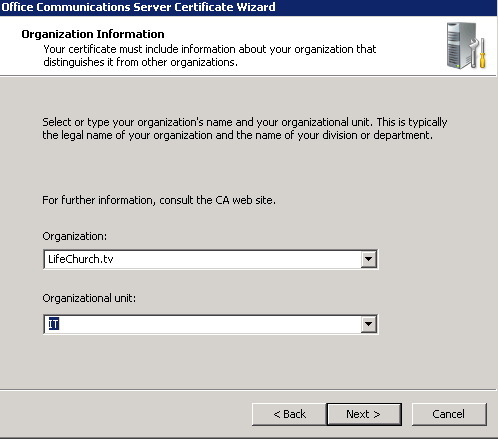
Verify your Org and Org Unit info. Click Next.
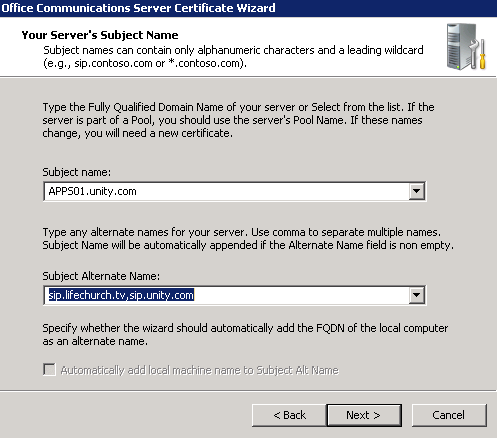
Verify the FQDN and any "alternate" names. Click Next.
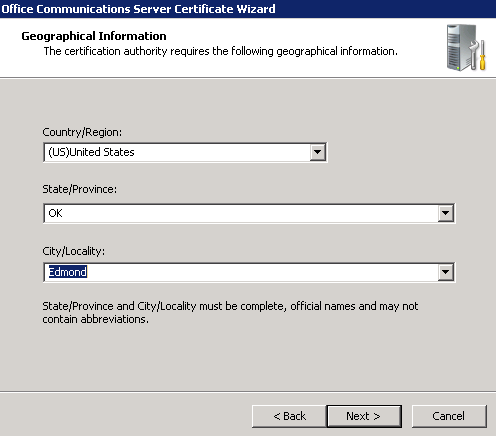
Verify geography. Click Next.

Choose the right CA. I've chosen one of our CA, a "virtual" domain controller named CEN-DC02. Click Next.
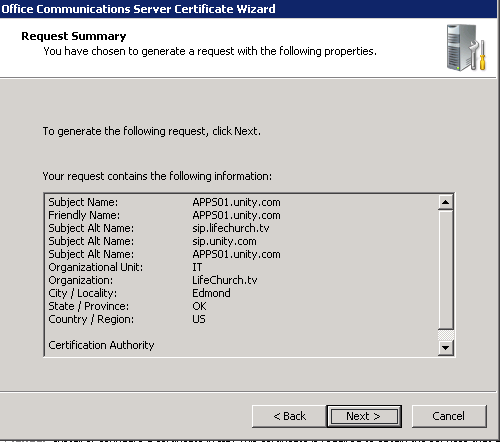
Verify your CERTREQ details. Click Next.

Great. Looks good so far. Let's "view" the cert first just for fun. Click View.
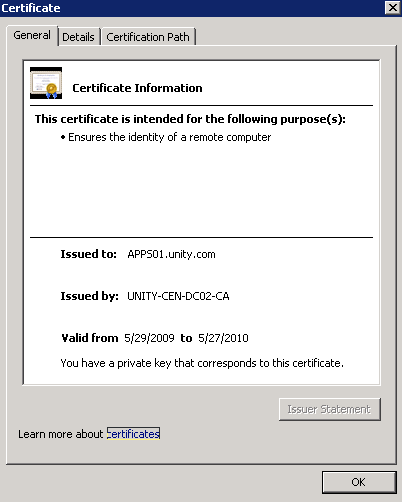
Look there. It looks like this will be good for about a year. I gotta make a note to re-issue this certificate next May. Click OK.
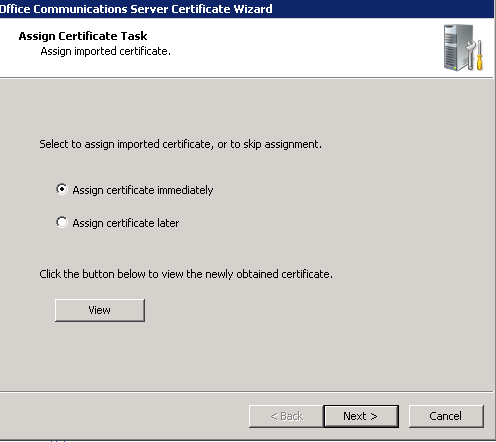
We're back here. Yes, we want to assign the certificate immediately. Click Next.
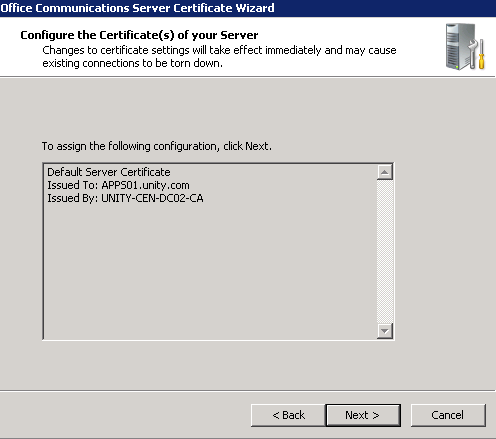
Verify. Click Next.
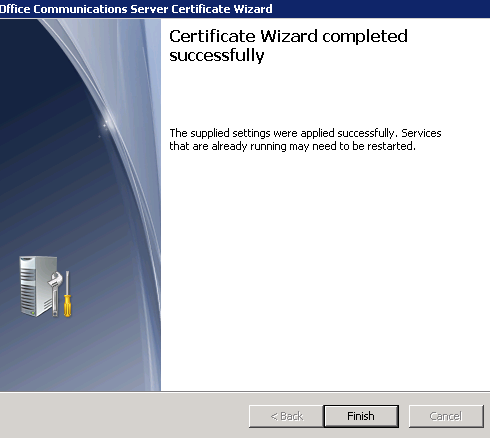
Great. That looks good. Notice you need to restart services. We're gonna reboot here soon anyway. Don't worry about that. Click Finish.
Configure Web Component Server Certificate
Okay. You're back at the Deploy Standard Edition Server applet.
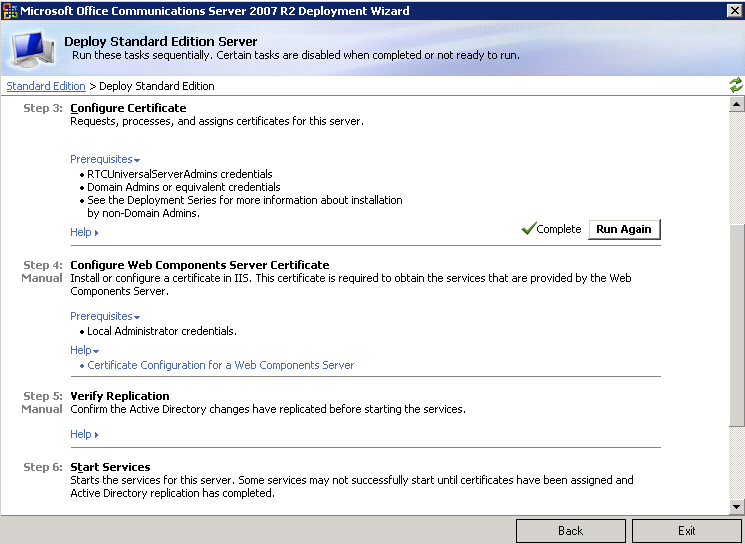
Time for Step 4 – Configure Web Components Server Certificate. This is a manual process. Let's start by launching the IIS Manager.
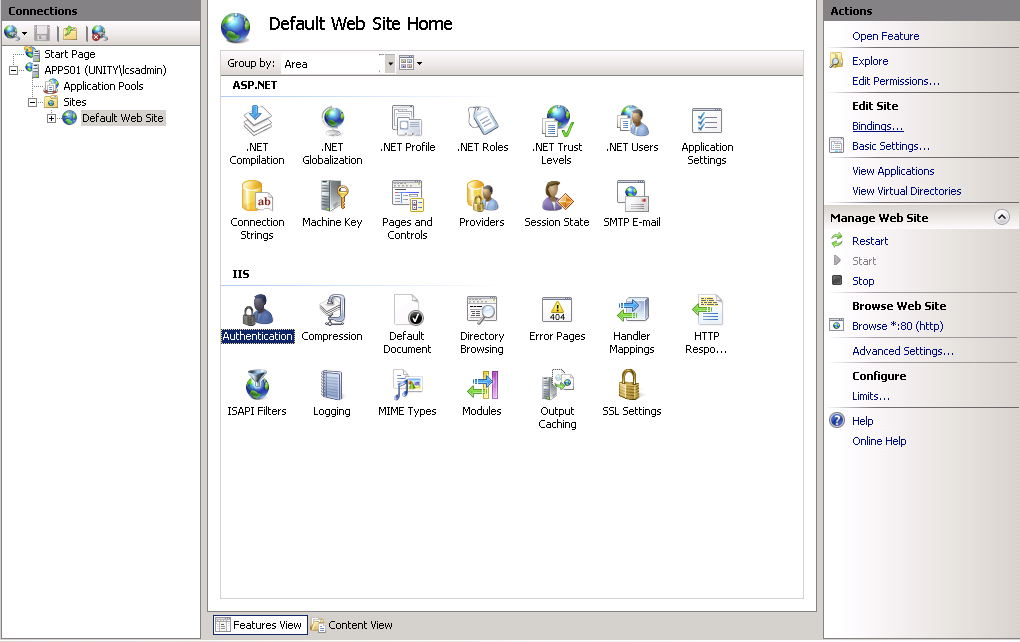
Okay, you're going to click on Default Website (far left pane), then Click on Authentication under IIS (middle pane), and then choose Bindings (far right pane). See the picture above.
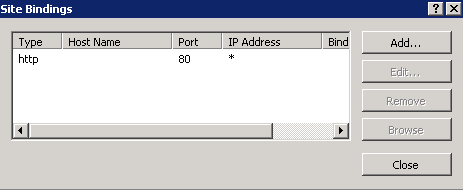
Great. You're there. Click Add.
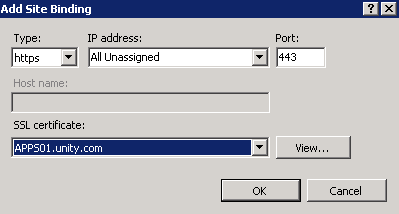
Change "Type" to https. Make sure IP Address is "All Unassigned" (your mileage may vary). Port is 443. And then choose your appropriate SSL certificate. Remember, we added APPS01.unity.com in the previous step. Click OK.
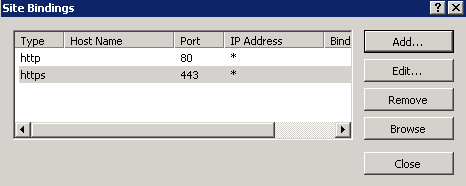
Great. You got it. Click Close. Close IIS Manager. We're done with Step 4.
Verify Replication
This is the last step before we start services. Head back to the Deploy Standard Edition Server applet.
We want to do Step 5 – a manual process – Verify Replication. We're gonna drop to a command prompt and navigate to the installation media – setup folder – amd64 folder
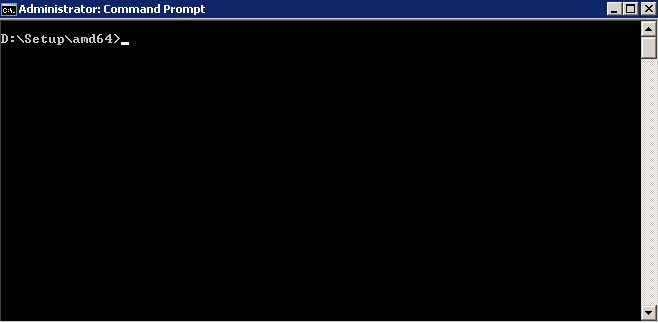
Now we're gonna run the following command:
- lcscmd.exe /server /action:CheckLCServerState /role:se /PDCRequired:FALSE
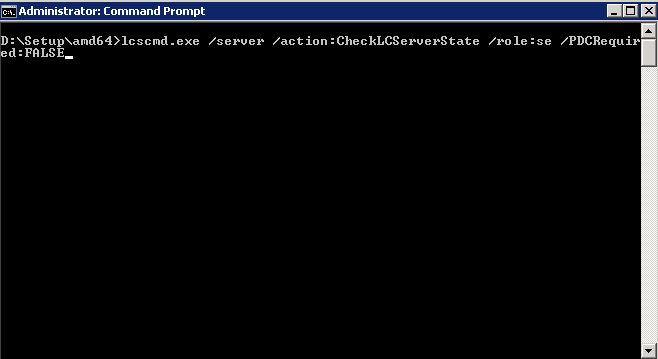
Yup, that looks right. Hit enter.
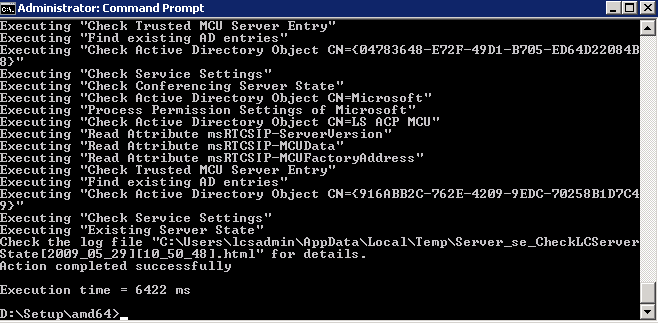
Everything runs. This takes just a few seconds. Make a note of the log file – the HTML file in the c:usersusernameappdatalocaltemp location. You want to open that HTML file up.
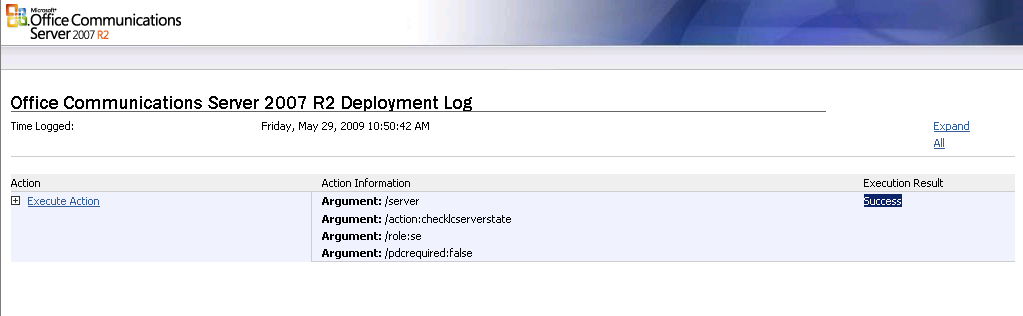
Click the "Expand All" option at the top.

Look at that. Success! Hooray. We're ready to start services. Let's reboot first – why not?
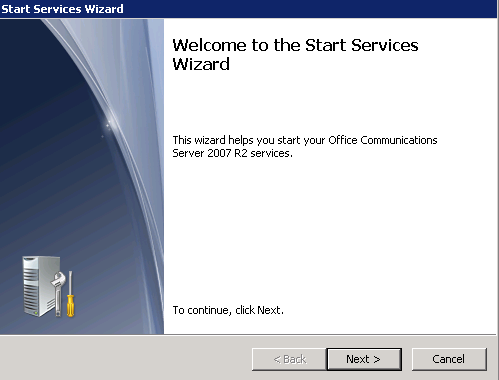
Start Services
Welcome back. Head back, again, to the Deploy Standard Edition Server applet
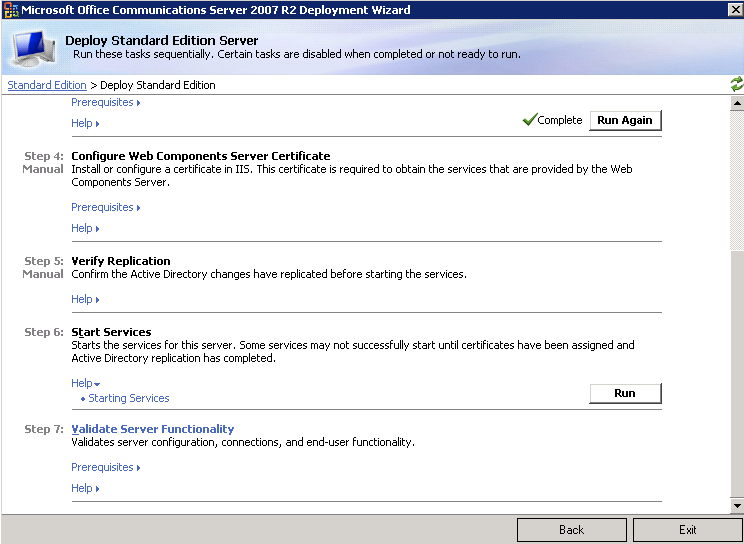
Let's see if all our hard work has paid off. It's time to Start the services. Click Run under Step 6 – Start Services.
Yup. That sounds right. Click Next.
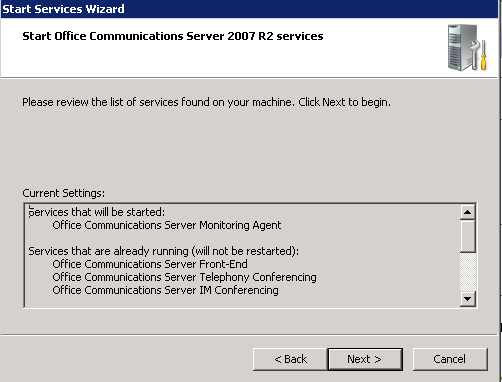
Well, looky there. It appears our reboot already started many services. That makes sense.
Let's Start the Server Monitoring Agent. Click Next.
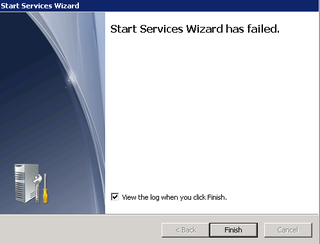
Uh Oh. What happened? Let's look at the log.

Hmmm… That's not good. What does the 0xC3EC79E6 error mean? Let's do a little "google-fu" and find out what's going on. Hooray! There it is. According to this blog – this is because OCS 2007 R2 Monitoring Agent requires MSMQ (Message Queuing). It's not documented and it's not "checked" as a requirement. This can actually cause some havoc during updates, so let's resolve this and install MSMQ. Drop to the command prompt and run the following two commands:
- ServerManagerCmd.exe -i MSMQ-Services
- ServerManagerCmd.exe -i MSMQ-Server
Reboot again to make sure the MSMQ stuff is happy. When the computer is back, head back (again) to the Deploy Standard Edition Server applet and click Run at Step 6 – Start Services.
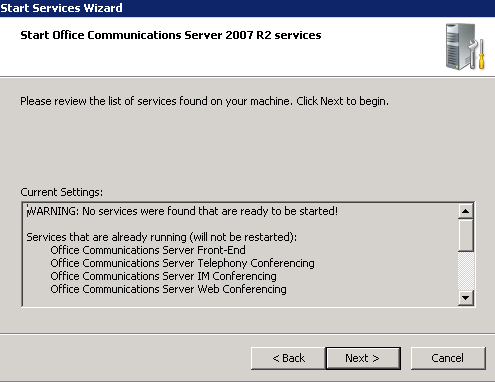
Hooray! That's more like it. Click Next and then Finish. All is well.
Your initial configuration is done. We're not ready to roll yet, we still need to Validate Server Functionality and install some updates, etc. That'll have to happen in Part 4. This is too long as it is.