Okey dokey. Let's continue with our migration from Microsoft LCS 2005 to Microsoft OCS 2007 R2. We just finished up part 1 which was some quick prep work needed to make sure the installation/migration went smoothly. In this post we'll talk about the actual installation process.
Office Communications Server 2007 R2 will be installed our VMWare ESX Virtual Infrastructure. I have a previously built VM named "Apps01" with the following characteristics:
- Name: Apps01
- OS: Server 2008 Enterprise x64
- RAM: 2gigs (for now)
- CPU: 1 vCPU (for now)
- C: drive (30gigs) – for System
- E: drive (150gigs) – for Application installs + data
- P: drive (6gigs) – for System Managed Pagefile
For any SQL Backend, I will use my Previously Configured SQL 2008 X64 (Machine: SQL01).
Schema, Forest, Domain Prep
To start the process, OCS 2007 R2 requires you to prep your Active Directory Schema, Forest and Domain. I typically do this work from my FSMO Master – a 32-bit Server 2003 R2 box. But, here's the rub – the setup / prep tools on the OCS 2007 R2 Media are for 64-bit OS. When you attempt to run the "setupse.exe" tool on a 32-bit OS Domain Controller – bad things happen:

That's no fun! There's good news though! There are 32-bit Admin Tools on the Installation Media! Navigate to the Supporti386 directory and you'll find what you need:
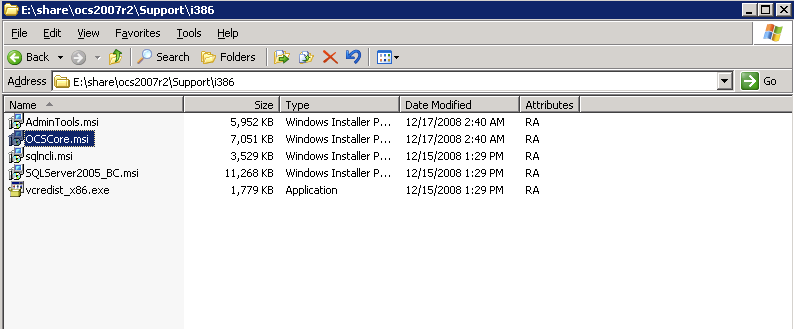
You'll need to install the Visual C++ Runtime first (vcredist_x86) and then the OCSCore.exe next. After that, install the AdminTools.msi file and everything will be installed in the Program Files Common Files directory. Now, time to prep. For those of you that know me, you'll know I'm a Command Line guy. Not becauase I'm cool, but because it's easy to understand what's happening – because I had to write it! Let's prep via the Command Line – thanks to this article with helpful details. You want to drop to command prompt – and navigate to the Common Files directory. We will be using the lcscmd.exe program.
Let's start by prepping the Schema:
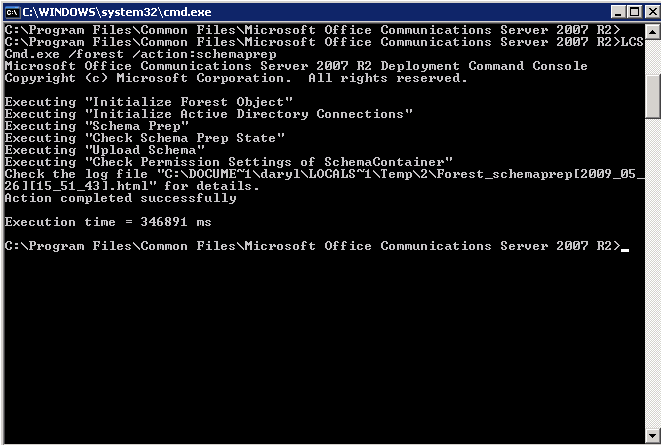
The command line to run is "lcscmd.exe /forest /action:schemaprep" – you can see the output in the picture above. It took about 5-6 minutes for me to run.
Next, let's prep the Forest:
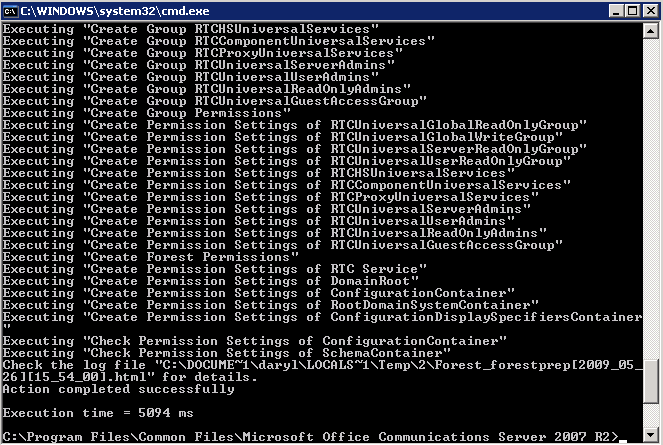
The command line to run is "lcscmd.exe /forest /action:forestprep" – you can see the output in the picture above. This took about 5 seconds for me to run.
Finally, let's prep the Domain:
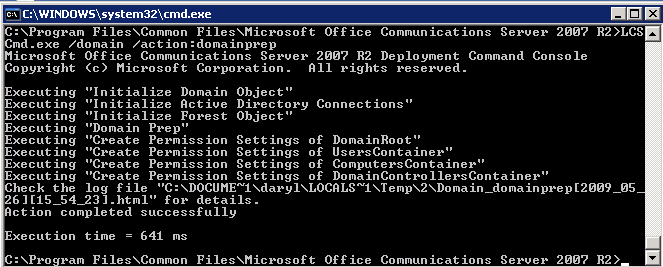
The command line to run is "lcscmd.exe /domain /action:domainprep" – you can see the output in the picture above. This took less than a second for me to run.
Great. All the Active Directory prep work is done. Time to install the software.
Install Prerequisite Software
Okay, so maybe it isn't time to install the software. Wouldn't you know it? On my Apps01 (remember, that's my OCS 2007 R2 application server) box, I launched the Installation process from the DVD – and it yelled at me! It told me I had to install other stuff.
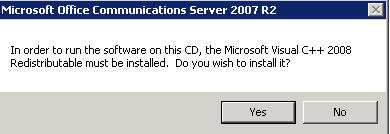
Sure, let's install Visual C++ 2008 Redistributable. Fine. Click Yes and magic happens.
Hooray! Wait, what?
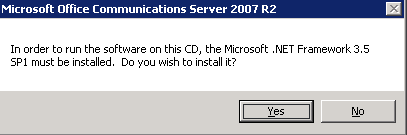
Fine. Sure. Let's install the .NET Framework 3.5 SP1. Click Yes and magic happens again.
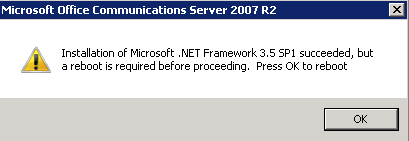
Great. All that's done. But we need to reboot. Click OK. Box reboots and now we're back.
Now, time to start the actual OCS 2007 R2 installation

Excellent. All the Prep Work is done. Click on Deploy Standard Edition Server.
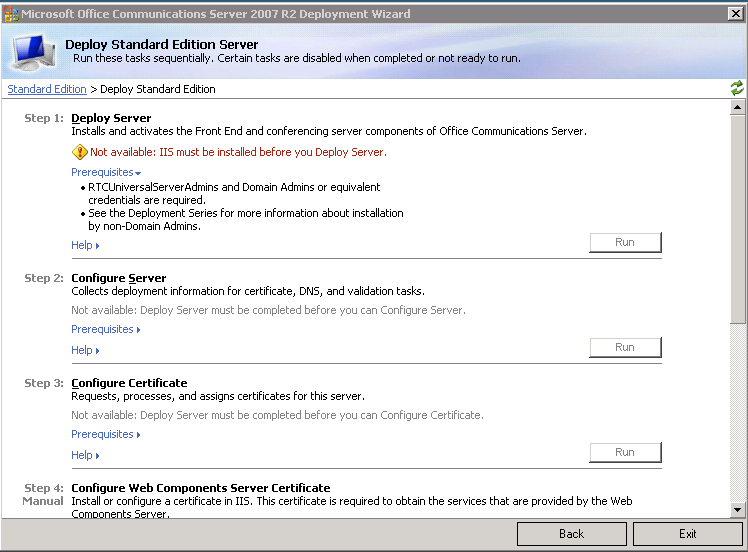
Arrggh! IIS! I always forget IIS. Okay, exit Setup. Start the Role Deployment Wizard
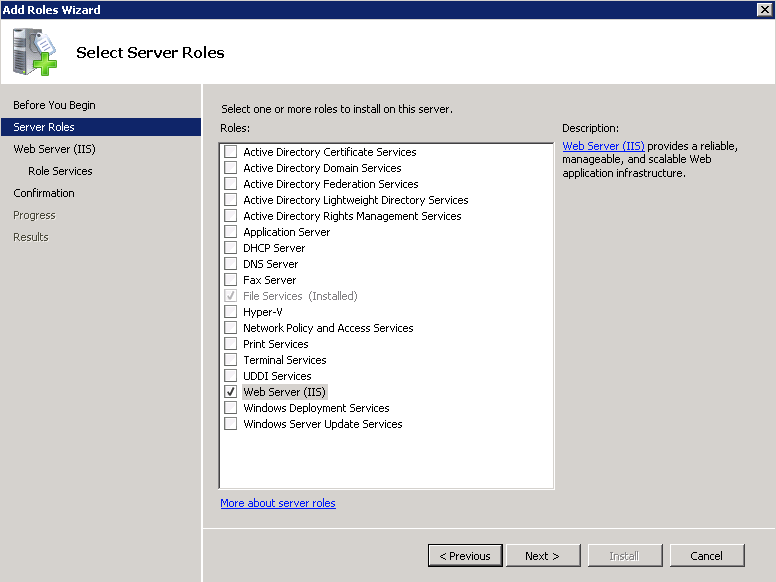
Check the box next to Web Server (IIS) Click Next.
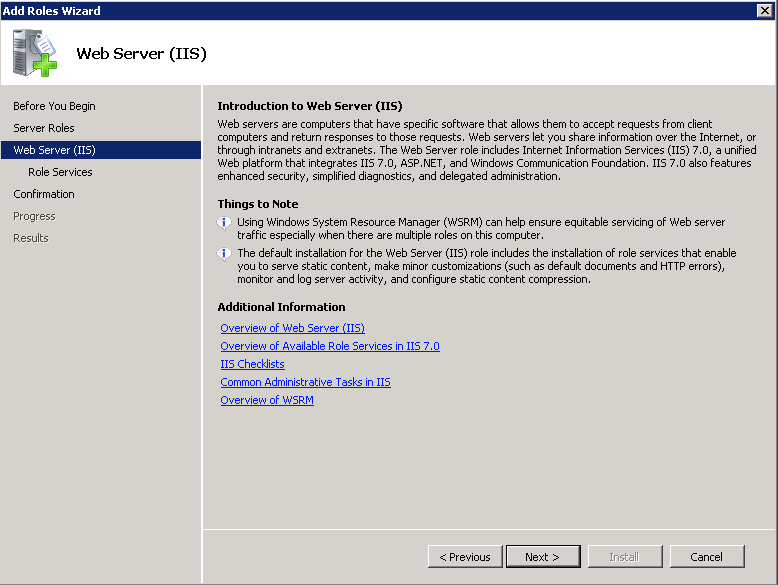
Yup. That's what you want. Click Next.
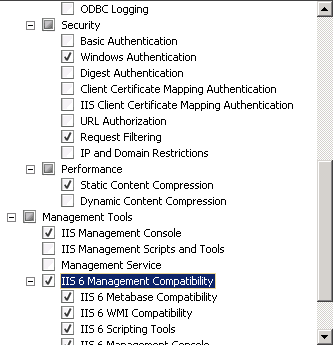
Now, this is where YMMV – Your Mileage may vary. I typically, always, start an IIS install with the most basic of all checkboxes (Defaults) and then I add 1) Windows Authentication and 2) IIS 6 Management Compatibility. That's it. I start there, and I go back and add anything else I need later. So, that's what I did here. Click Next.
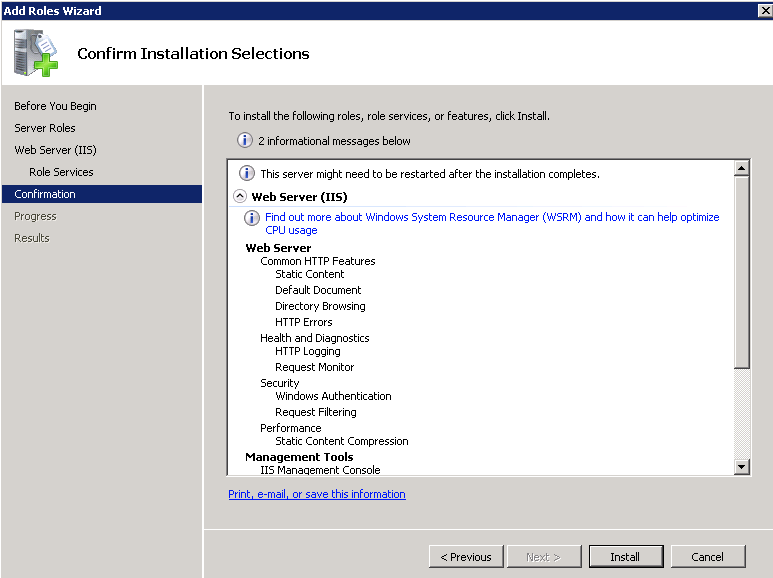
Verify your choices. Click Install. Wait a few minutes for IIS to install.
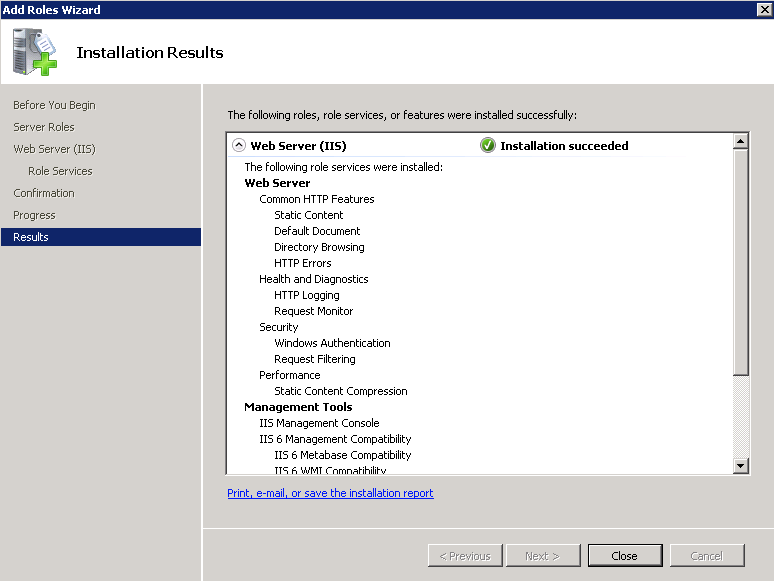
Great. IIS is installed with the settings you chose. Click Close.
Install OCS 2007 R2 – No, For Realsies This Time
Okay. Now we're ready. Really. Start the Setup Process again (setupse.exe – for Standard Edition, setupee.exe – for Enterprise Edition).
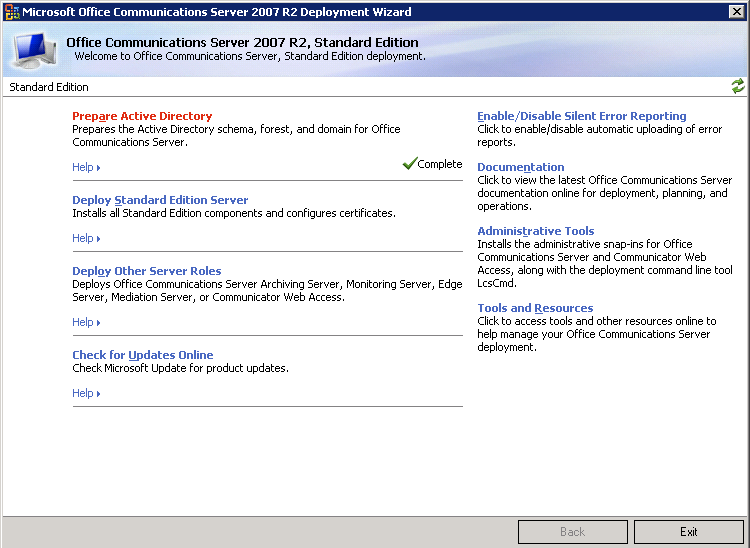
Click on Deploy Standard Edition Server
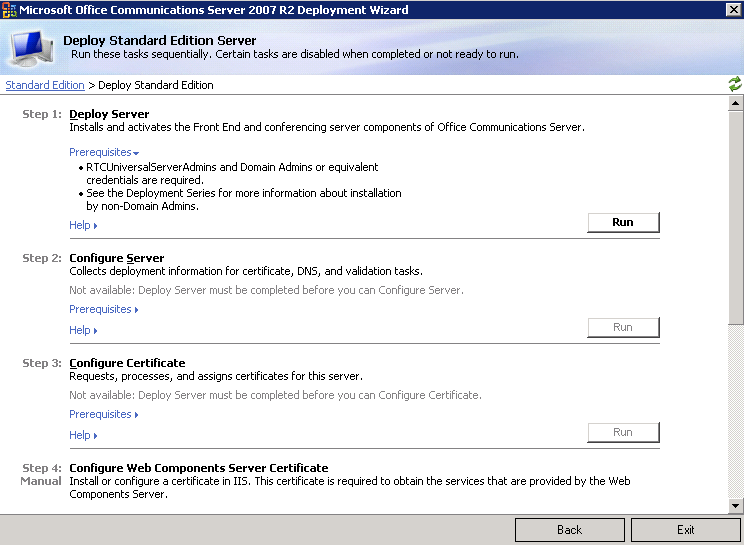
Notice under Prerequisites you must be a member of RTCUniversalServerAdmins to install this product. I am using a pre-existing Service account called "LCSAdmins" – This is the primary admin account for LCS 2005 and I plan to use that same admin account for OCS 2007 R2. So I make sure the appropriate permissions are set, and start the Installation process by clicking Run on Step 1 – Deploy Server.
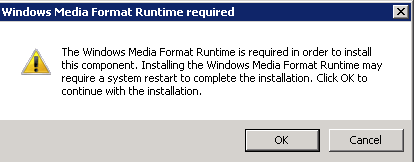
DANGIT! Gotta install the Windows Media Format Runtime. Click OK.

Fine. Restart. Why Not?!?! Click OK. Wait for the restart.
Start setupse.exe again. Click on Deploy Standard Edition Server. Click on "Run" under Step 1 – Deploy Server. Again.
This looks promising. Finally. Click Next.

Accept the EULA. Click Next.
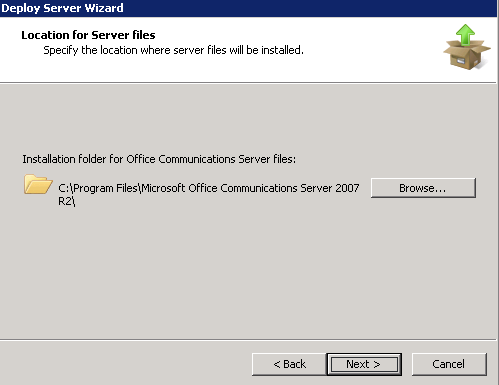
Choose where to install OCS 2007 R2. I will install this on the E: drive – that's where I have set aside storage for Application Installs and Data. Click Next.
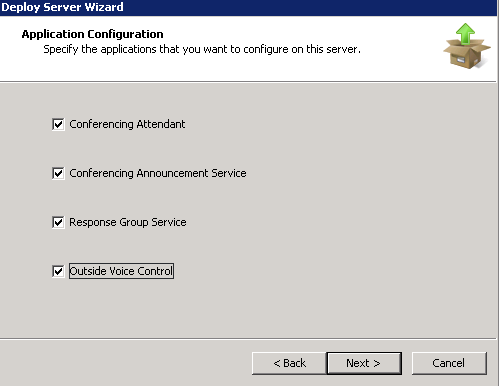
Choose what options you want to install. Click Next.
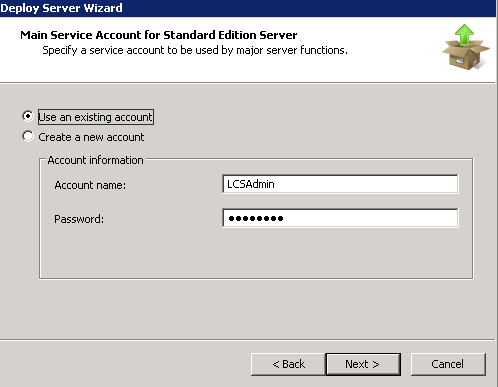
Choose your Service Account for the main processes. As mentioned above, I'm re-using my LCSAdmin account. Click Next.
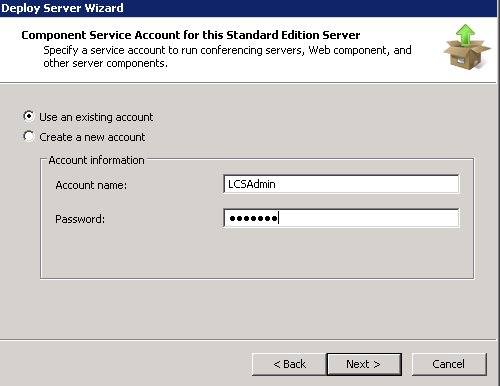
This is where you choose your Service Account for auxilliary processes. As mentioned above, again, I'm re-using my LCSAdmin account. Click Next.
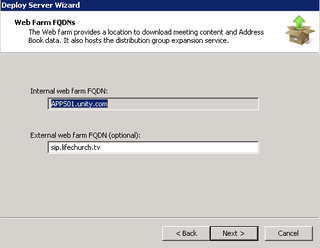
Choose your FQDN (fully qualified domain names) – APPS01 is my internal name. "sip.lifechurch.tv" is my external FQDN. I haven't decided if I'm going to actually open this stuff up through the firewall yet – but if I do – I'll most likely use sip.lifechurch.tv – if not, I'll change it later. Click Next.
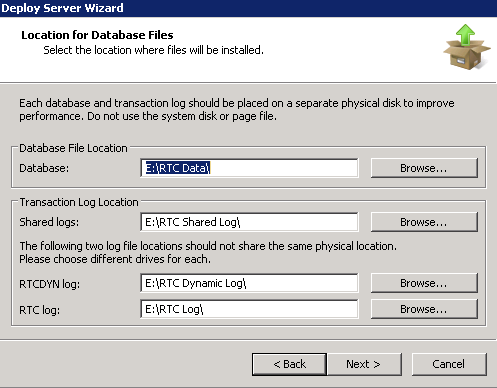
Choose the location for your Database Files. I really want my Database files on my SQL 2008 x64 Server called SQL01. I'm choose folders on my "E:" drive for this. And yes, I am blatantly disregarding the warning by NOT putting RTCDYN and RTC on separate drives. All my storage is virtualized right now so I feel comfortable ignoring that. I hope I can change it later if needed. Click Next.
Verify Settings. Click Next/Install/Whatever. Looks like I clicked too quickly here and lost the picture. Sorry.
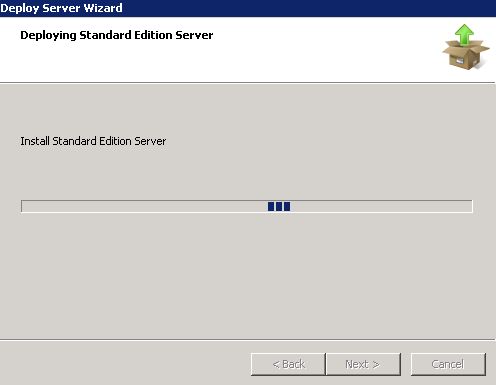
Okay. Everything installs. Wait.
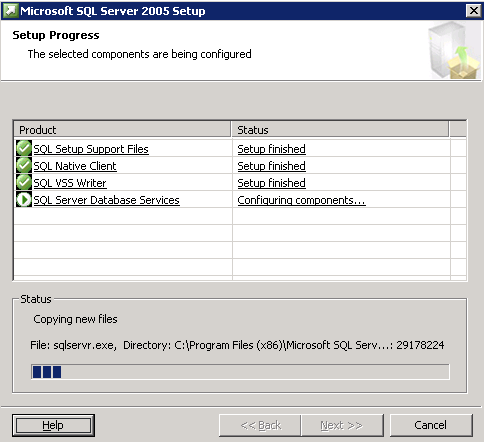
Standard Edition (setupse.exe) automatically installs SQL 2005 Express for you. I don't want this. I'll let it install, and then change my data location later. Wait.
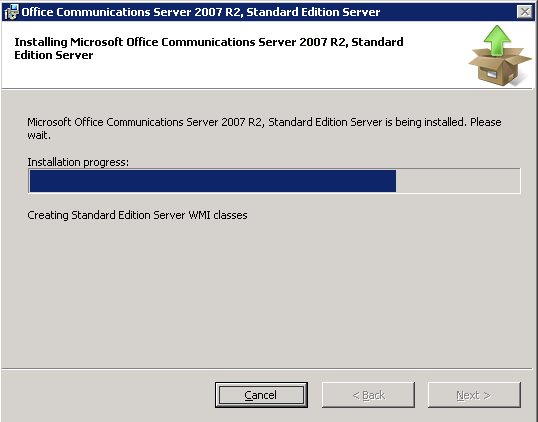
More stuff pops up to install. Wait. More pop ups. Wait. Wait. Wait. This takes 10 minutes.
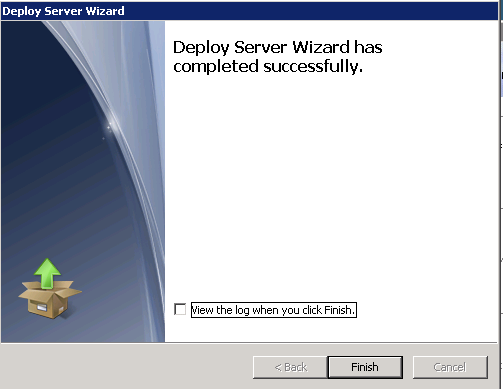
Great! You're done! Click Finish.
Alrighty, let's move on to Part 3 – where we actually configure this thing. Stay tuned.