In Part 1 on Veeam Enterprise Reporter, we talked about the ease of installation of the Reporting Server and Web Access pieces. Today, let's dive into the configuration, and run a few reports.
If you recall, when the Web Access piece finished installation, you were given the URL needed for configuration / access. It looked like this:
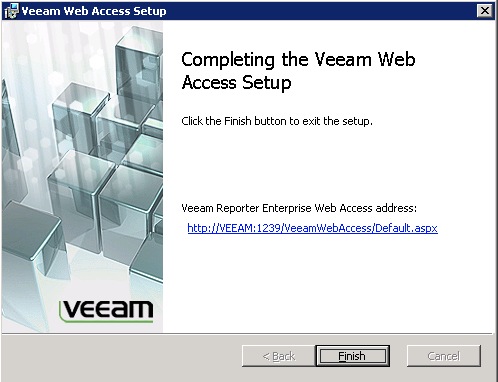
I suggested you bookmark that location. You did that, right? Great. Go there.
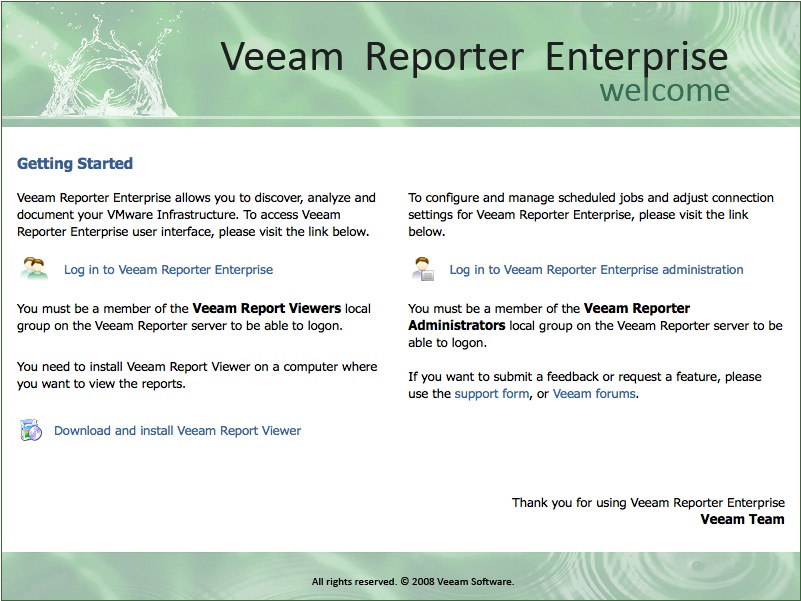
You'll notice that you have two places to login. If you want to login as a "user" – you must be a member of the Veeam Report Viewers local group on this server. If you want to login as an "administrator" – you must be a member of the Veeam Reporter Administrators local group on this server. Let's start with the administration settings. Click there (right side link).
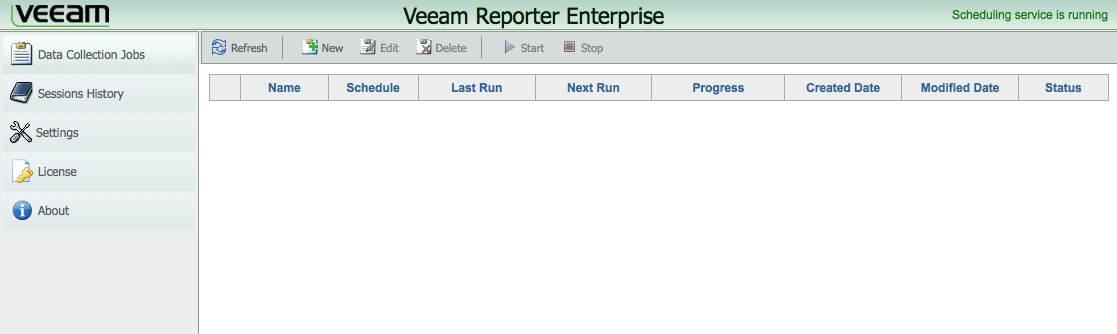
Alrighty, now what? Let's start with Settings. Click there.
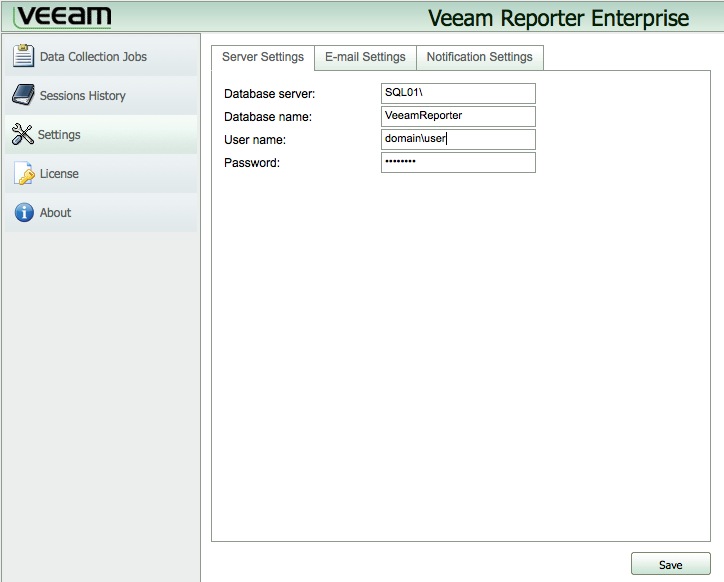
Great. Remember, when we installed the Reporting Server piece, we had to give it a user for SQL authentication / Server run-as, right? This is where you verify those settings. SQL01 is the default instance on the SQL server we have. VeeamReporter is the database name. Then, you'll have the username/password that has permissions on that DB.

This is where you make all the E-mail settings to receive administrative reports, etc.
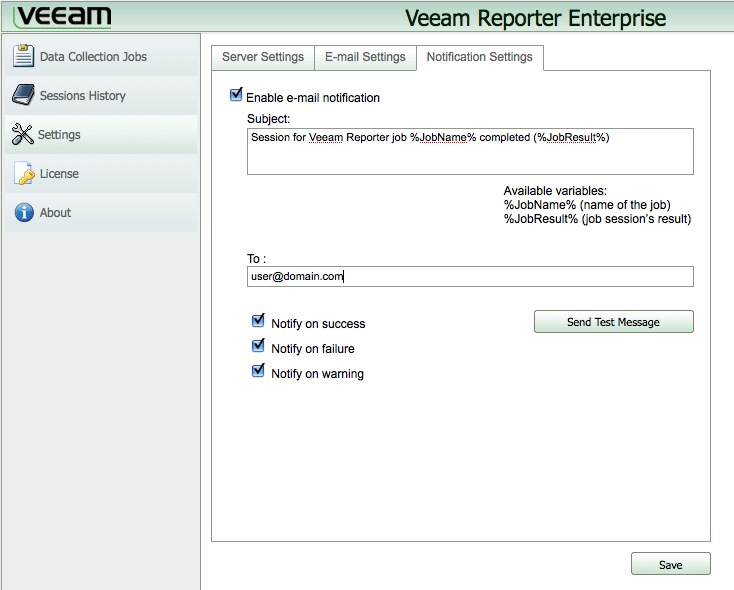
And this is where you tell the service what and where to send report notifications.
Great, Now off to licensing.
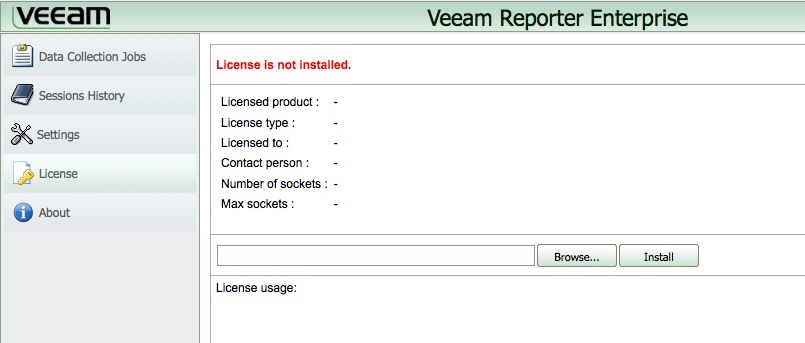
You should get your license file (.lic) from Veeam when you buy the software (or trial mode) and you can install it with a simple "Browse" and "Install" from this website. Once you install it, you'll see this.
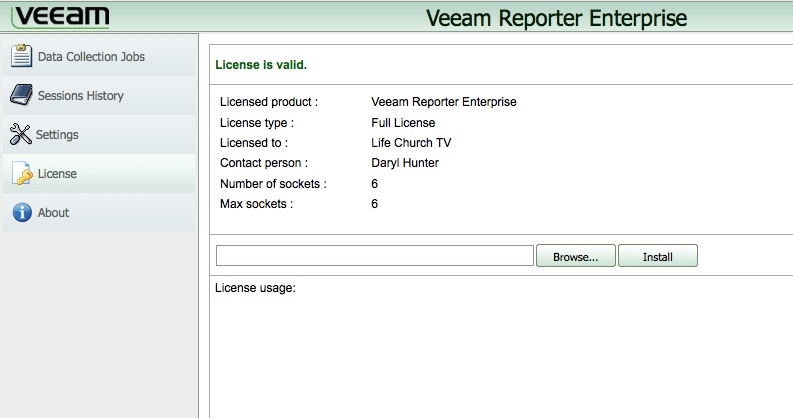
We have 6 sockets. And we're using 6 sockets. 4 in our "Primary" ESX cluster. 2 in our "DR" ESX cluster.
Now, everything is configured. Let's setup a job. Click Data Collection Jobs. Let's create a new job. Click New.
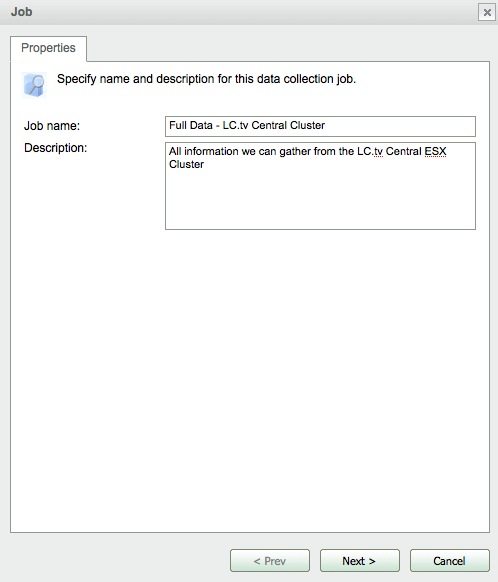
Enter any appropriate information – for this demo, let's look at all information re: our Central ESX Cluster. Click Next.
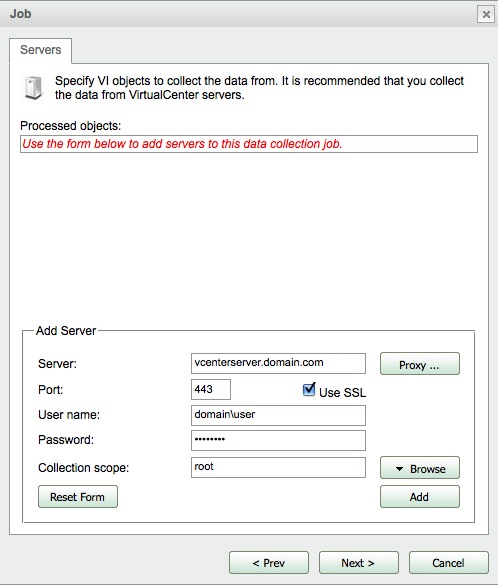
Okay, this is where you enter all the information that you want to gather. It's recommended that you connect to the VirtualCenter server. Enter the appropriate info, then click Browse.
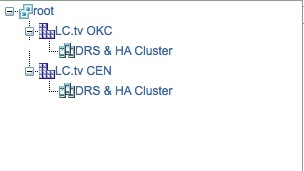
In our case, we want the LC.tv CEN information. Click there. You'll be taken back to the previous page and the "Collection scope:" changes from root to LC.tv CEN. Now, click Add.
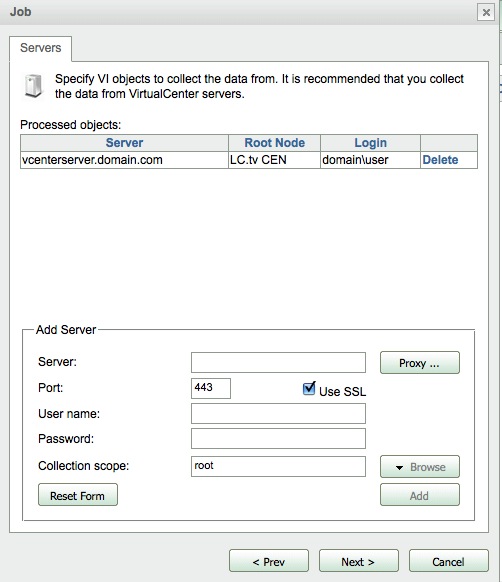
Great, click Next.
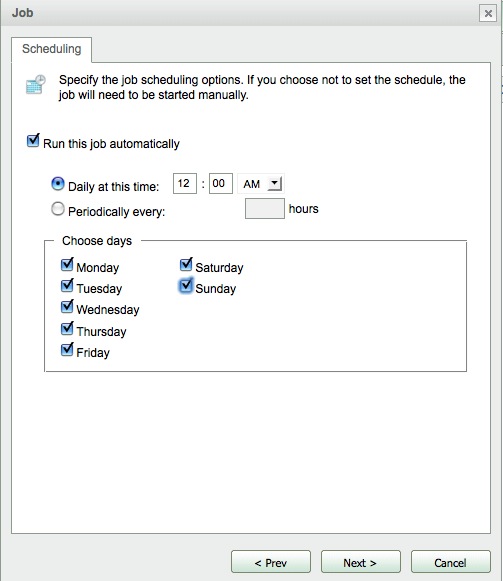
Okay, so, you can have this scheduled to run whenever you want – daily, weekly, every few hours, whatever. Make your choices. Click Next.
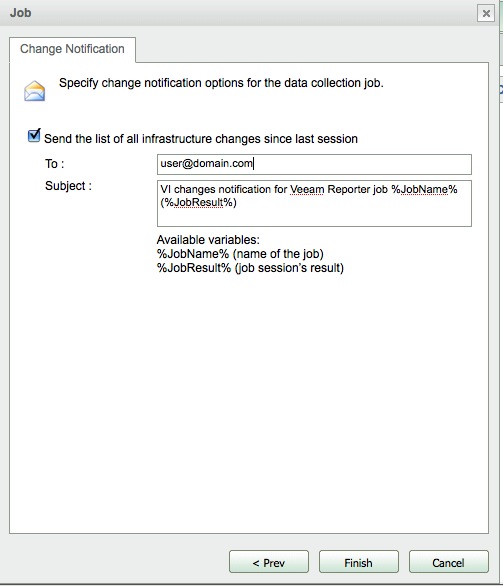
Now, would you like notified if this noticed any changes in the VI since last time? That's cool, huh? Choose and click Finish.
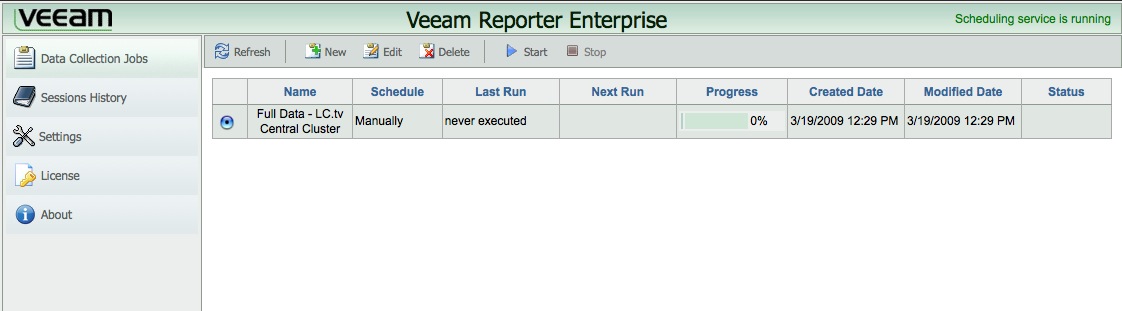
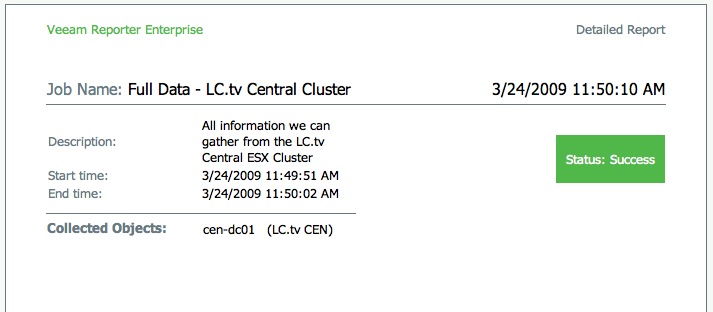
Great, now, click Start and let the job do it's thing. You can follow the progress as it's happening. When it's finished, you'll receive an email like this.
Now what?
Time to logon Web Access as a user (not administrator) – click on the "Veeam" logo in upper left-hand corner of your web browser, and you'll go back to the Portal / welcome screen:
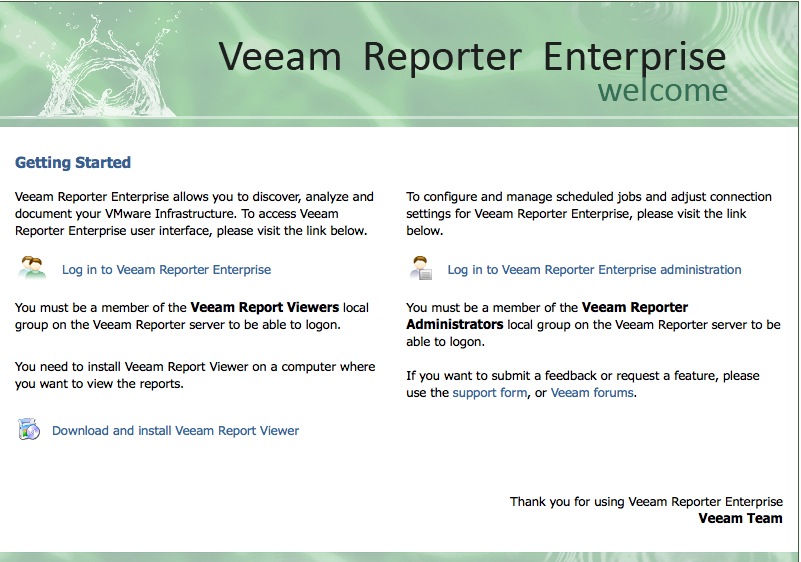
This time, click on the Log into Veeam Reporter Enterprise on the left-hand side. You'll come up into a summary screen.
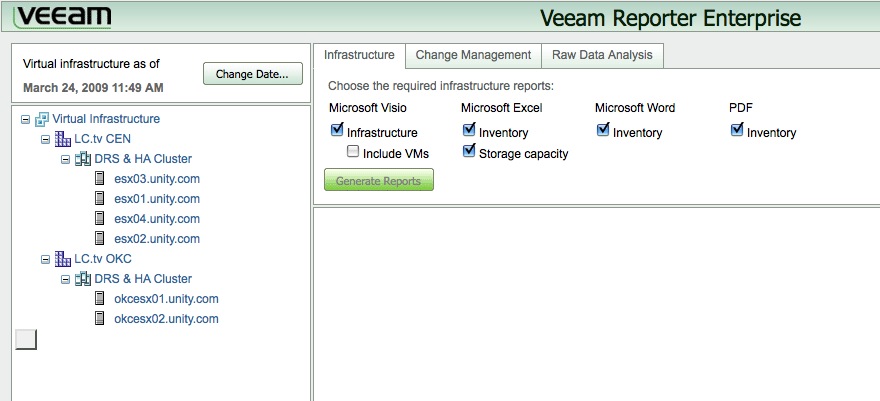
From here, on the left pane, I can see my two clusters (LC.tv CEN & LC.tv OKC) and the ESX hosts in each. That's helpful. You can scroll back through any previous date's information too with the "Change Date" button.
On the right pane, I have the option to generate reports and look at all sorts of useful information. Let's do that. I'm going to highlight/choose the LC.tv CEN cluster on the left side. Then, I'm going to tick every box available on the right side.
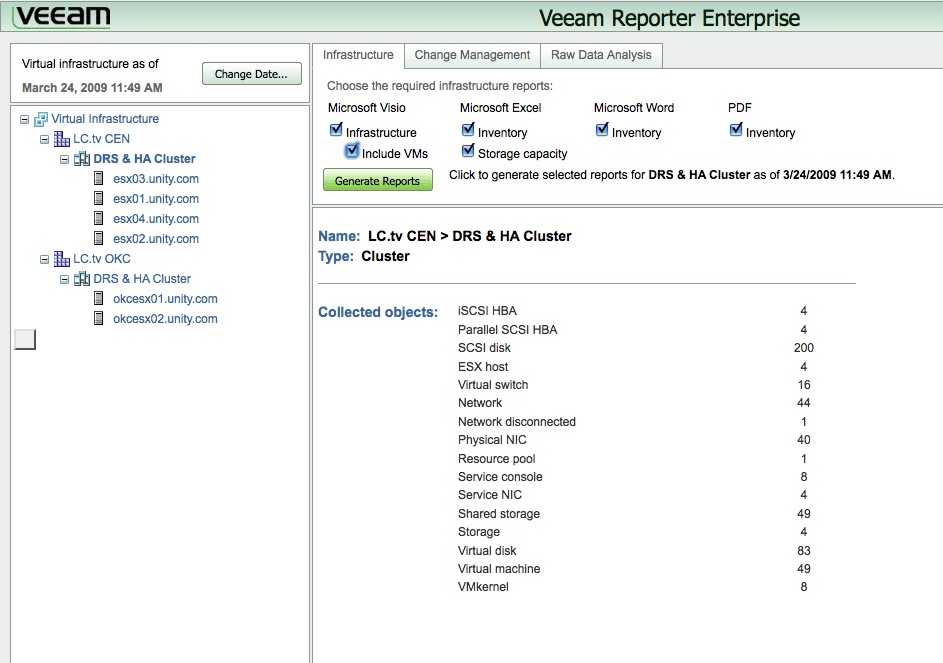
Great, now click Generate Reports. Lots of fun stuff happens in the background, and you are given the option to download/save/open the .VMR file. The .VMR file is opened on a Windows PC (or VM) that has Office + Visio + Acrobat on it.
We'll dive into the .VMR files, Veeam Report Viewer, and the detail that comes out of these reports next time. Stay tuned for Part 3.