A few months ago, LifeChurch.tv purchased the Veeam Management Suite + Backup. I've been playing with it in small doses and am just starting to implement all of the various pieces.
My latest project as been working with Veeam Enterprise Reporter – which actually has two pieces to install:
- Reporting Server
- Web Access
I'll focus this time on the Installation – next time will be configuration and example data pulled from our running systems. Launch the Reporting Server installer.
Next
Accept the EULA – Click I Agree
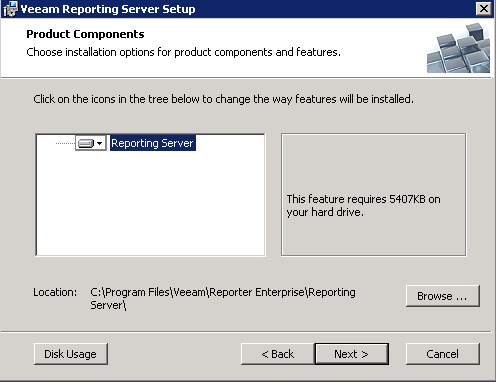
Choose your installation location, Click Next

You can either let the installer create a local SQL Express installation, or you can use an exsiting SQL Server. We have a nice SQL Box, so I chose to just use that. I'm installing this in the default instance, thus the "SQL01" entry. Click Next.
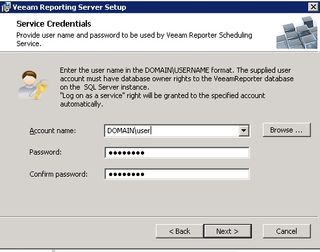
This is where you enter the "service account" for the Reporting Server. This account will become the db_owner for the to-be-created Database, and also be the account that the Reporting Server service uses when it starts. In our case, I created a domain user named "veeam.admin" and used that. Click Next.

Verify the installation options, click Install.
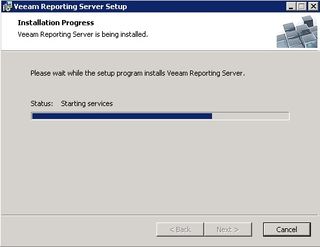
Install processes, relatively quickly, services start.
Click Finish.
Now, you have a fully functional service. What does that do? Nothing. You have to configure it first. Thus, Web Access. Using Web Access, you can configure settings, schedule jobs, and lots of other stuff.
Let's get that installed. Launch the Web Access installation program.
The first time I launched it, I got an error:
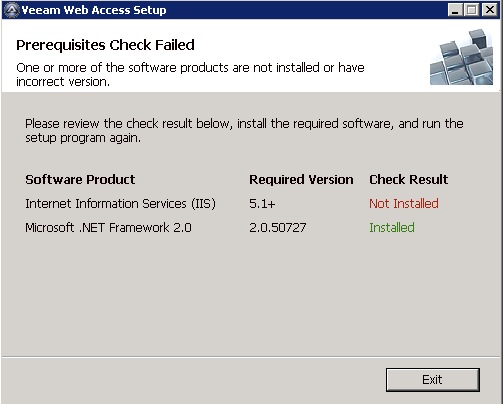
Oops! I forgot the read the docs. Time to install IIS. This is on Server 2008, so I'll add the role. Now, launch the installer again.
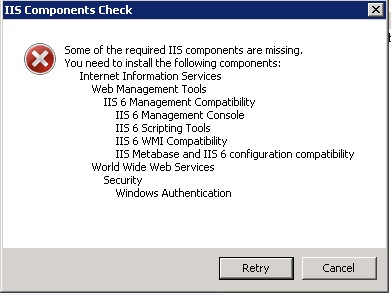
Gah! I'm human, I make mistakes! Make sure you install the IIS 6 management tools if you do this on Server 2008 – and don't forget the Windows Authentication piece. NOW, let's launch the installer again.
Much better, Next.

Accept the EULA – Click I Agree.
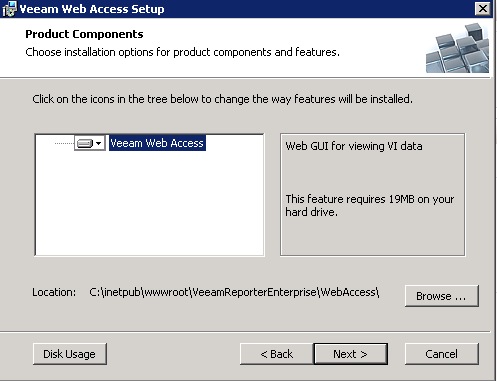
Choose Installation location, click Next.
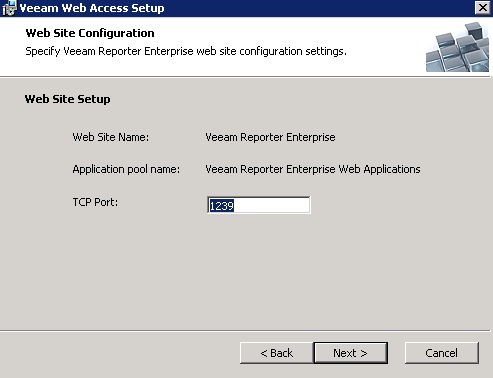
Choose TCP Port – I kept ours at the default 1239. Next.
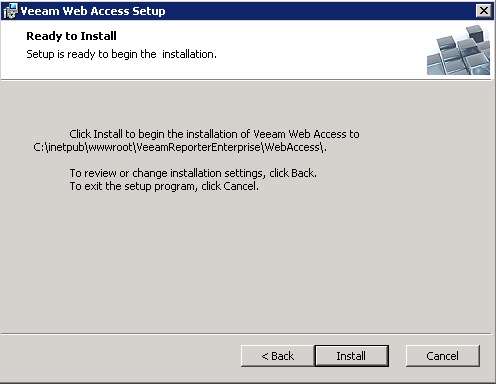
Yup, looks good. Click Install.
Installation happens. This is quick.
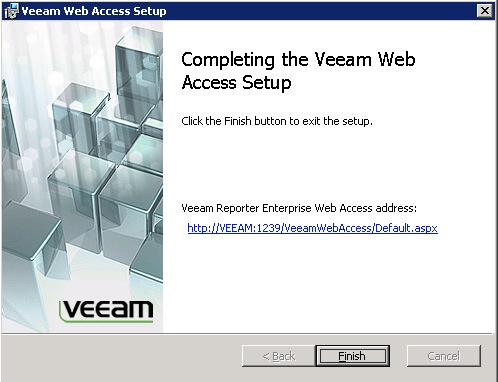
Great, we're done. Click Finish. BUT, before you do, make note of the link. That link shows how to get to your Web Access portal. You might as well make a book mark to that now so you don't forget.
That's it. It took 15 minutes to get this installed to this point. The longest time was having to go back to my Server 2008 box twice to install the pieces of IIS that I forgot.
We'll jump into the Web Access portal and configure things and look at some of the output in Part Two