Welcome Back! Again!
So, if you've been following along, Lync 2010 is not a small subject. There are many nuances to the Microsoft Unified Communications ecosystem – and Lync, as a part of that, can be as simple or as complicated as you want. I've blogged for months and months now on this product and probably have way more to go 🙂
If you're going to have outside access to Lync – you should read my 3 posts on Lync Edge.
If you're going to also host meetings, screen sharing, or application sharing sessions – you will need to have a Reverse Proxy (Microsoft TMG – Threat Management Gateway – for example).
Let's jump into the TMG setup – TMG 2010 Standard in our situation.
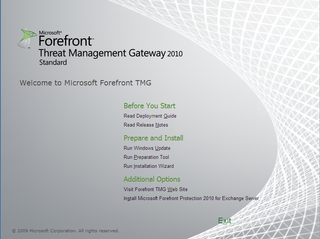
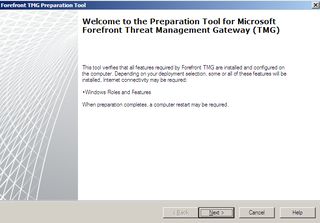
Click Run Preparation Tool – this will grab any pre-requisites and make sure the TMG Box is ready to go.
Yup, Next.
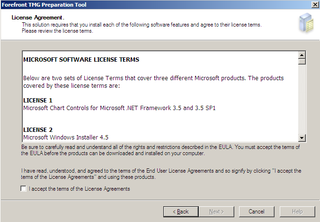
Accept the EULA. Next.
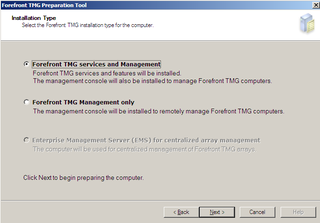
Services & Management. Next.
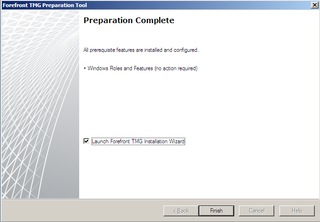
Everything looks good. Finish. This will launch the Installation Wizard.
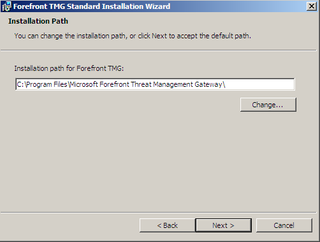
Path. Next.
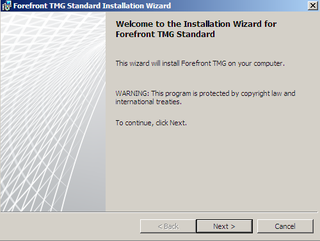
Great. Let's get the Core installed.
Next.
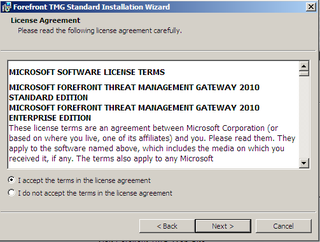
TMG EULA. Next.
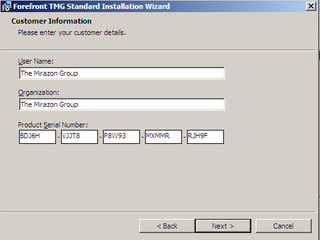
TMG Doesn't require a key… so… this PID is auto-entered and not sacred. Next.
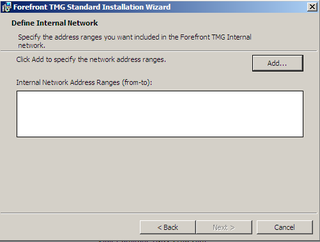
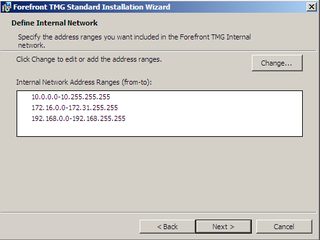
Internal Network Designation. Click Add to get started.
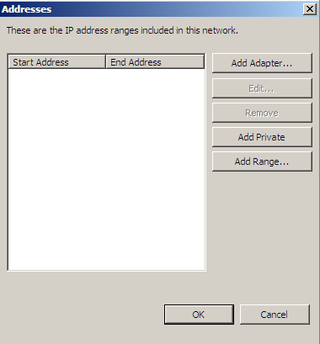
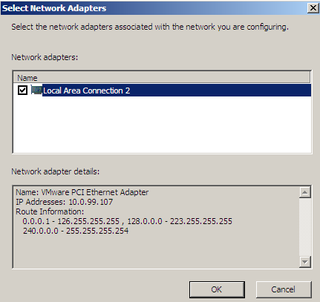
We need to Add an Adapter.
We have a single NIC – doing a one-legged Reverse Proxy. Check this and then OK.
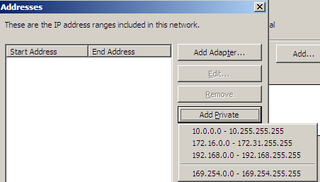
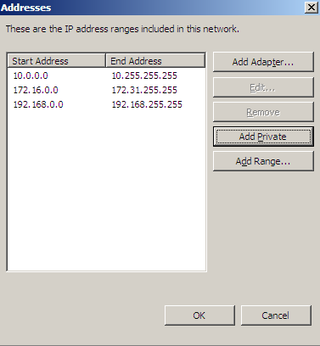
Remove the pre-populated addresses. Now we want to Add the Private addresses.
Adjust as appropriate. Your ranges or all ranges. Whatever is "internal" to you. Click OK.
Great. Next.
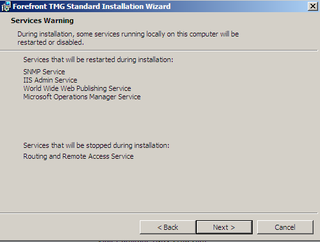
Some Services will restart. Next.
Great. Install.
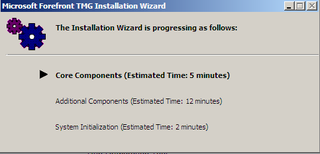
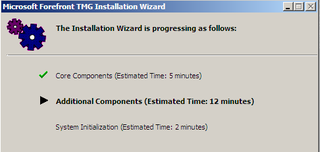
Okay. Core Done. Additional installing now.
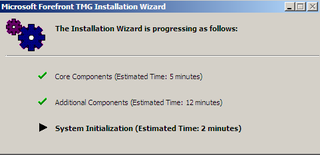
Now on to System Initialization.
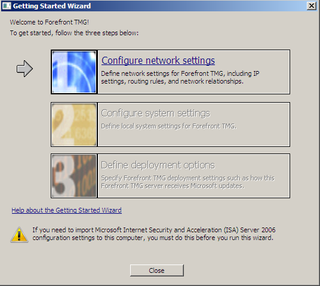
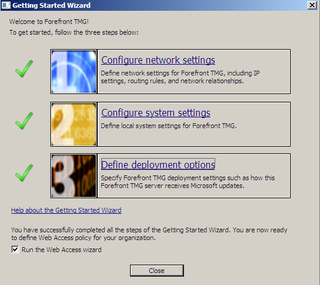
All set. Finish and then the TMG Management "Getting Started" Wizard starts.
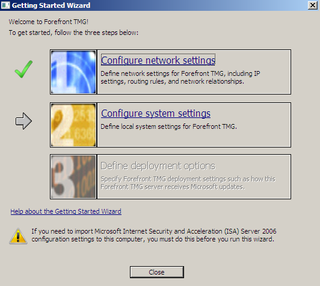
Let's Configure the Network Settings
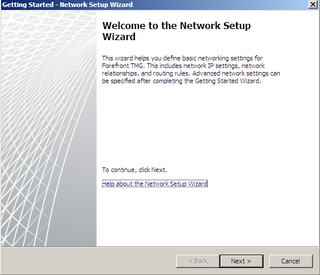
Next
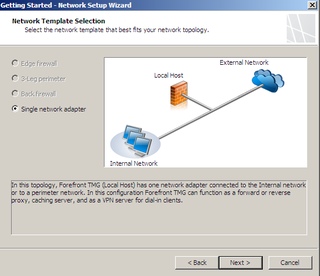
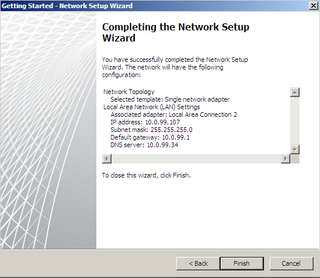
We've got 1 NIC – so – We're doing a "single legged" Reverse Proxy. That's all we need here for TMG – we've got traffic forwarding from our firewall, hitting the TMG box, proxying to the Front End for Webservices, etc. Click Next.
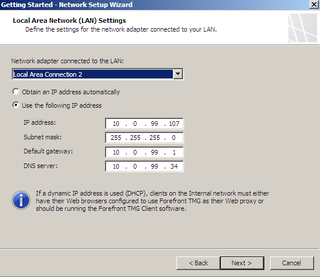
Settings here. Next.
Verify and then Finish.
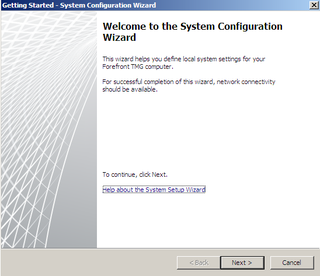
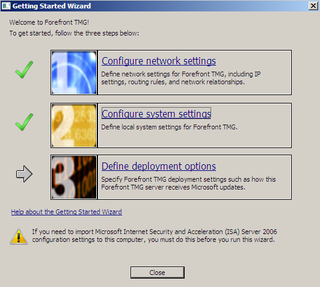
Great, now let's Configure the System Settings
Next.
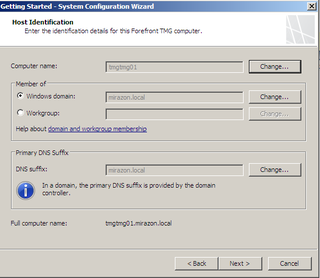
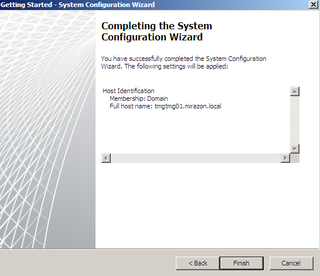
Verify info. Click Next.
Great. Verify and Finish.
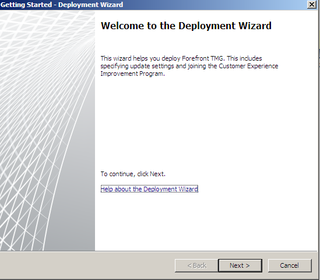
Now let's Define the Deployment Options
Next
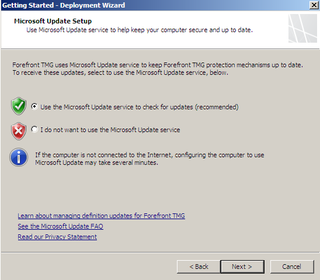
Choose Update settings. Next.
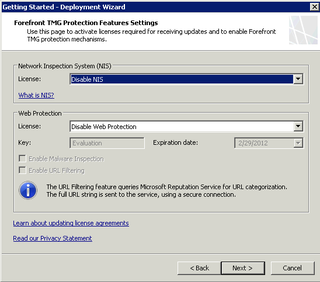
Make your choices accordingly. We're just doing Reverse Proxy here. Click Next.
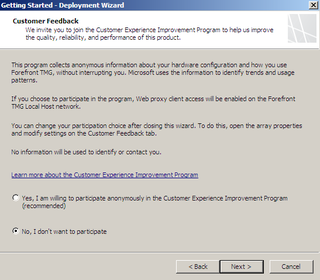
Feedback settings. Next.
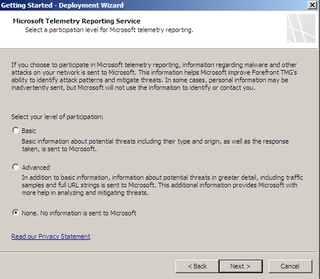
Reporting settings. Next.
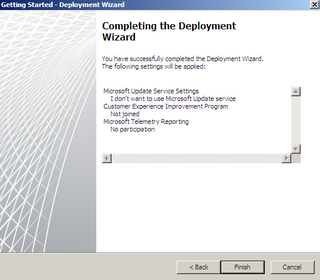
Great. Verify & Finish.
Excellent. We'll pick back up here next time when we Run the Web Access Wizard.
Is this reverse proxy setup on the edge server?