Welcome back!
For those of you keeping score at home, we're in the Lync 2010 Series…
In Part 1 – We discussed the goals and prepped the environment
In Part 2 – We focused on Topology
In Part 3 – We discussed CA/PKI
In Part 4 – We finished DNS Prep and installed Lync
In Part 5– We dicussed the Front End SSL Certificate
And now, here we are in Part 6 of the series that never ends
I figure it's about time to actually talk about using Lync… Let's enable a user.
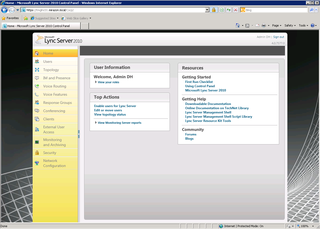
Start by launching the Lync 2010 Control Panel
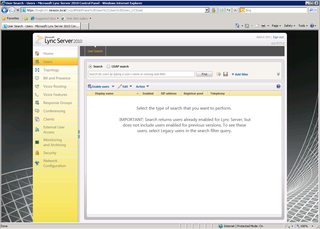
Click on Users on the left-hand side
Click on Enable Users
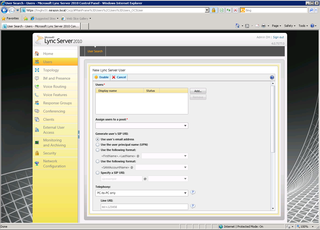
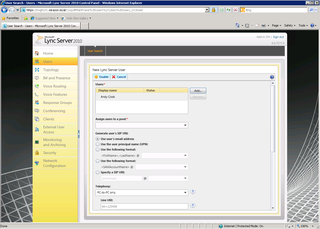
Click on Add (to add a new user of course)
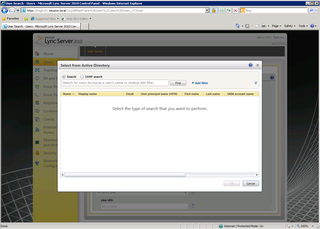
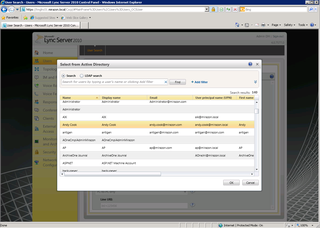
Click "Find" and you will get a list of all AD Users that aren't already Lync Users
Highlight the user you want to add (Andy Cook in this example) and click OK
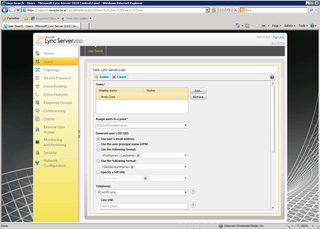
Click the down-arrow to assign a Pool to the user
Add the tmglnc01 pool, make any other appropriate changes to policies, etc. – Click Enable
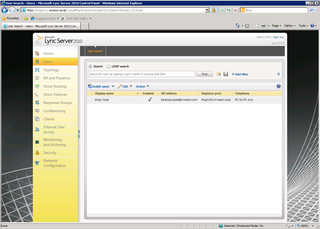
Hooray! Andy is now a viable Lync 2010 User.
As long as your DNS Records are correct (see Part 4) you should be good to go.
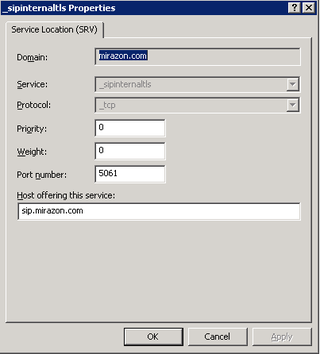
It would probably be good to update your Internal TLS record to reflect a proper FQDN for your Front End…
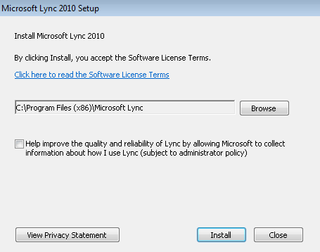
Then start the Lync 2010 Client installer
Yes, please install. Click Install.
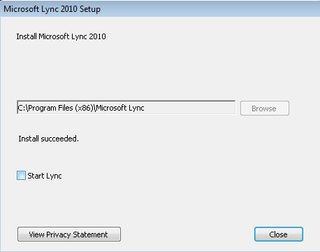
That was easy. Click Close & Launch Lync 2010.
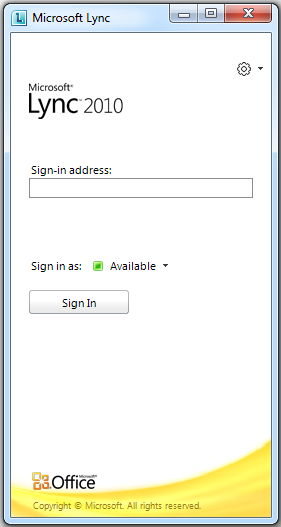
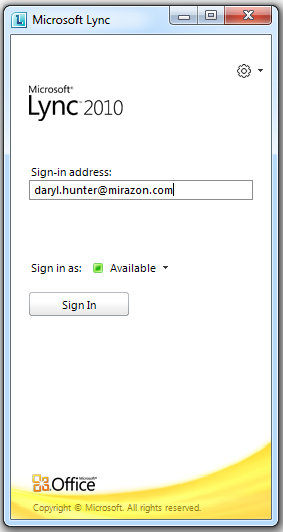
Type in your SIP URI for the Sign In Address
My SIP URI is my Email Address
I can either click Sign In (assuming all my DNS Records are correct) or I can manually choose servers, etc.
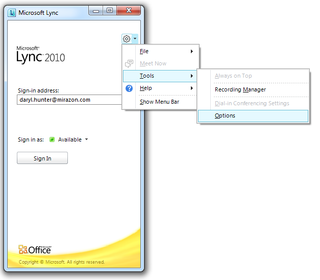
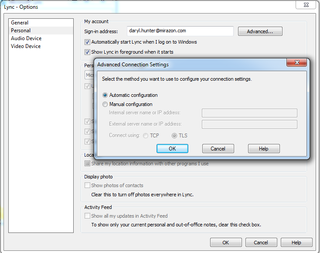
Click the Gear -> Tools -> Options and up should pop…
Make any changes you want, or in our case, Automatic is fine. Click OK twice & Sign In
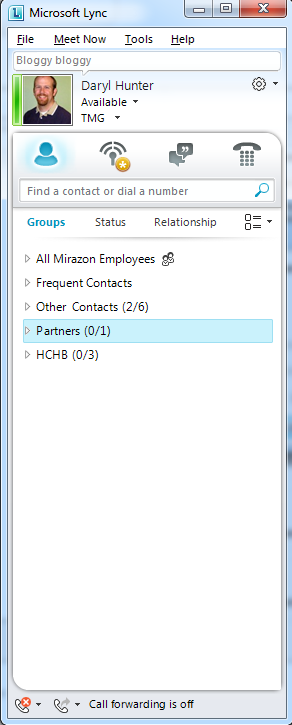
Hooray. Bloggy Bloggy is my status.
