Welcome back! I'm pretty excited about getting Exchange 2010 up and running in our environment. It seems like I cannot work fast enough on this project 🙂
In Part 1 – we disucssed all the pre-reqs and initialization of our environment.
Today, in Part 2, we'll start with the actual installation of the Exchange 2010 environment – focusing first on the CAS – Client Access Server – role and moving on from there with configuration. Since all of today is focused on the CAS – this *WILL* be a long post. Be ready. Very L-O-N-G.
Installing CAS Role
Well, I guess we should start at the beginning – since we've got the software, and updated it with the latest rollup in Part 1 – let's just launch Setup on our first Exchange 2010 box.
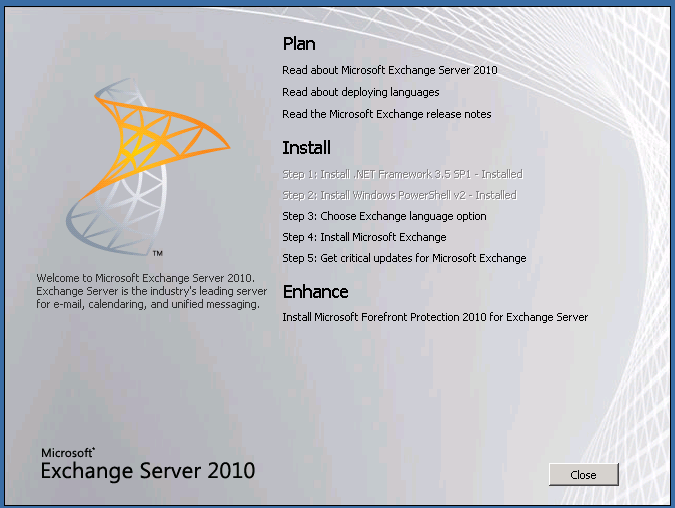
Great. Looks like we've got the pre-reqs right. Step 1 & Step 2 are grayed out. Click on Step 3 to choose your language.
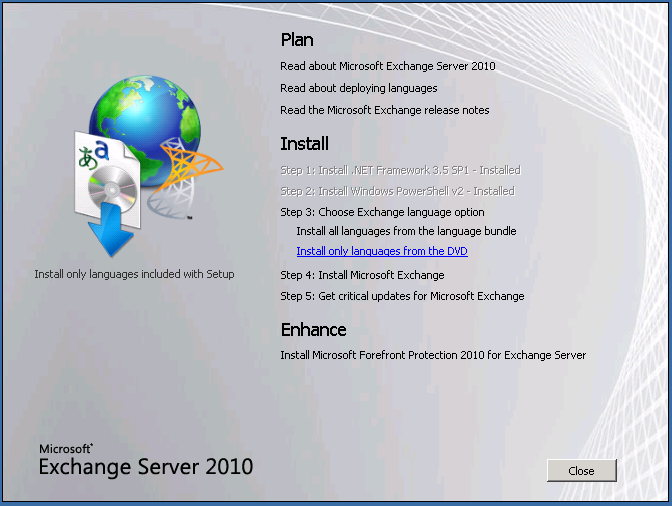
We only have the English language on our DVD – so – click that option.
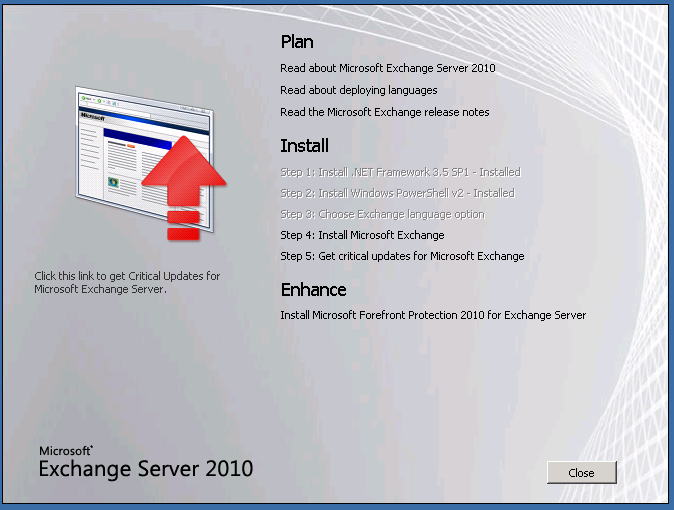
Great. We're ready. Click on Step 4 – Install Microsoft Exchange

Welcome! Click Next.
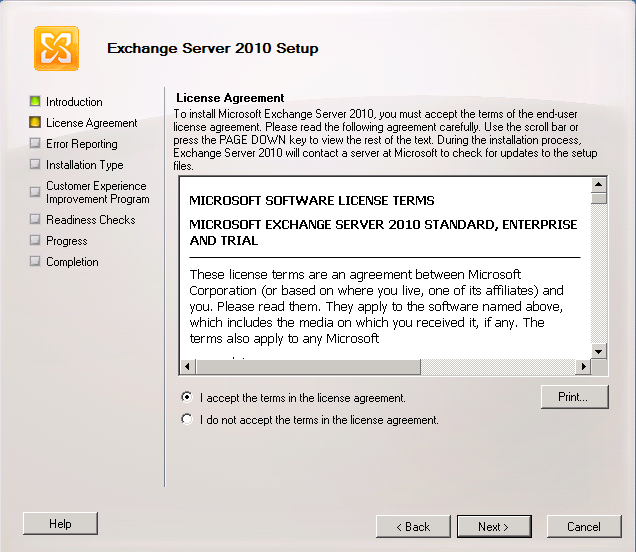
Accept the EULA. Next.
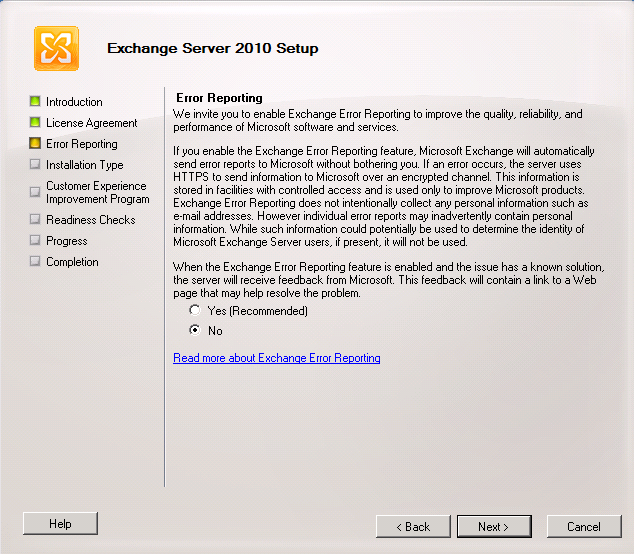
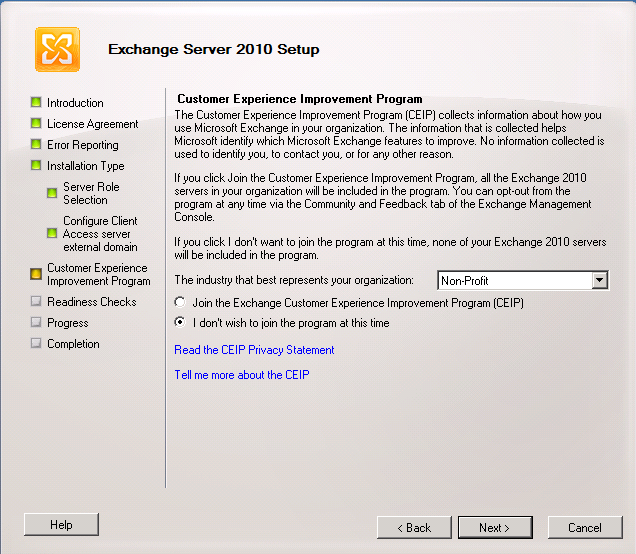
Choose whether you want to participate. Next.
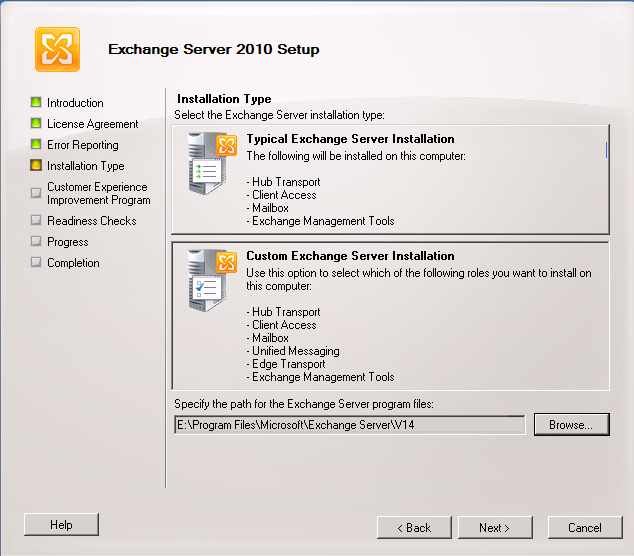
We want Custom. Also adjust your install path as needed. Click Next.
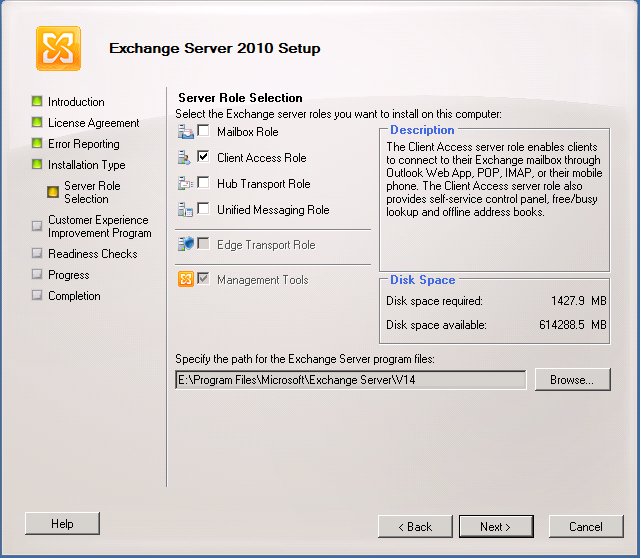
Choose the CAS Role. Note that Management Tools are chosen too. Click Next.
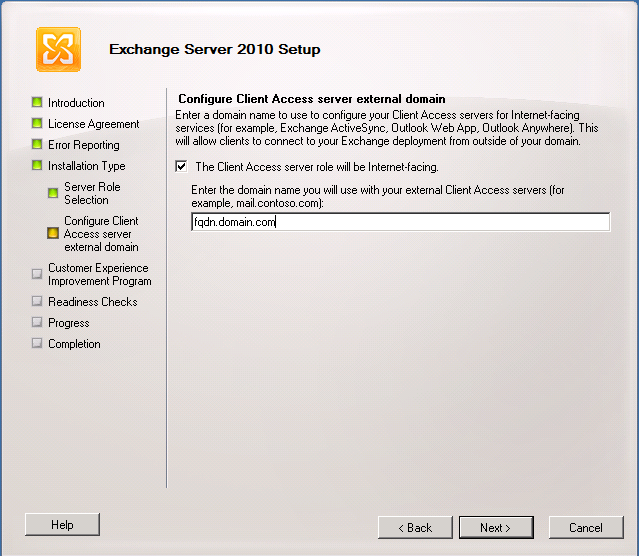
Yes, this will be Internet facing. Choose your FQDN. Click Next.
Make your choice. Next.
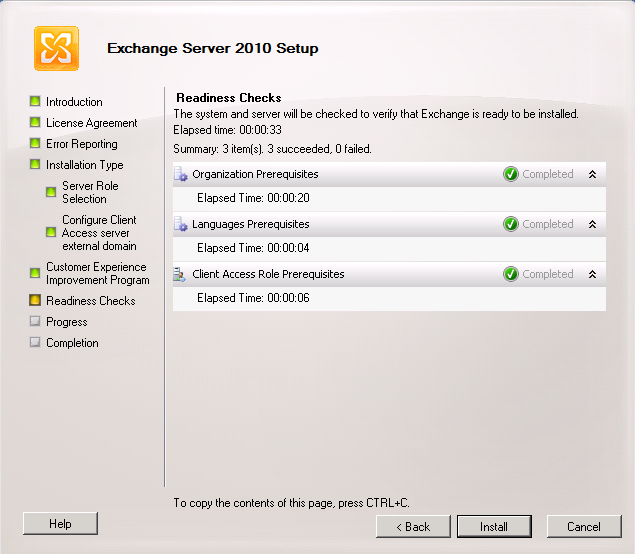
Readiness Checks. We Passed! Now, click Install to – you know – install.

Hooray! 11 minutes later, we have CAS on our first Exchange 2010 box. Click Finish.
Now, pause while I catch up and do the same thing on our second Exchange 2010 box.
Okay, I'm back.
Client Access Server (CAS) Array / Network Load Balancing
You've made it this far, so I'm sure you've picked up on the fact we want to NOT have SPOF here if at all possible – so – we're going to create a CAS Array. In short, a CAS Array is a load balanced group of CAS computers access through a single FQDN. There can only be one CAS Array per AD Site – which is good for us, because I've extended the appropriate AD Site across my Gigabit MetroE connection to both my Central and DR physical location.
For more about CAS Arrays & NLB click on this and this then come back
Unfortunately, I'm gonna have to STOP this particular function – because according to THIS Technet article, I cannot use both NLB and Database Availability Groups (DAG) for high availability. I'll pick back up here soon. We'll move forward…
Certificate Fun
I'm not a big fan of certificates. I know they are important, I know. I just don't like dealing with them. Let's start this party right and get the certificates we need for Exchange 2010. Launch the Exchange Management Console, Expand to Server Configuration, then choose "New Exchange Certificate" to launch the wizard.
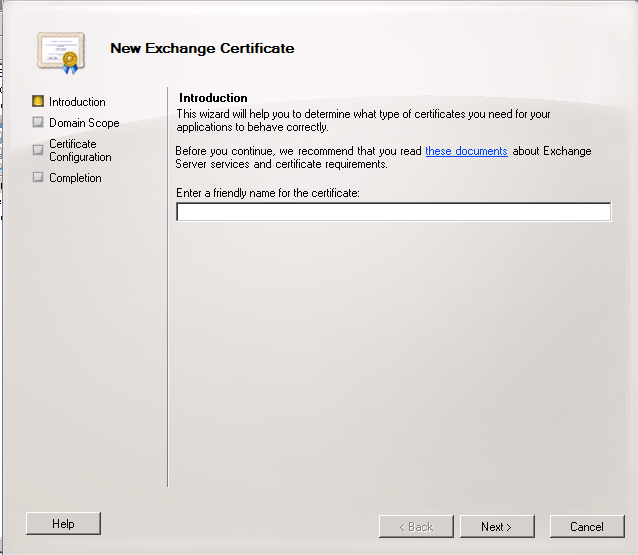
Our Friendly Name will be exchange.lifechurch.tv. Click Next.
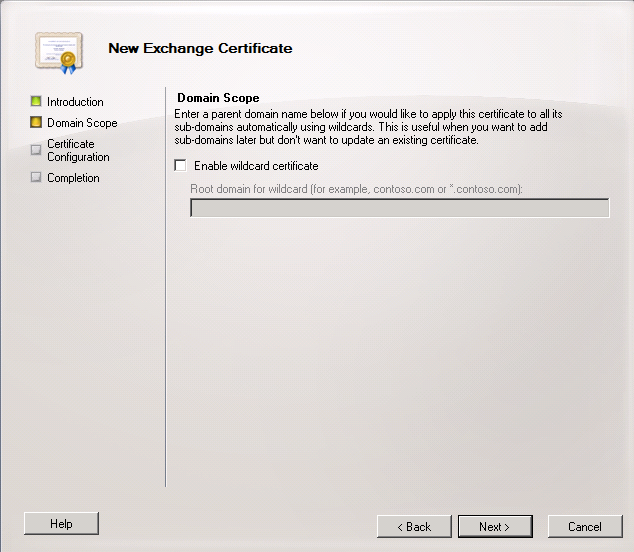
We don't wish to use a wildcard cert. Click Next.
Here's where you choose all the different certificate options / needs. Make your choices. I'm focusing here specifically on our "access" certificates (not autodiscover and not legacy servers). I will handle those later. Click Next.

That's the one. Click Next.
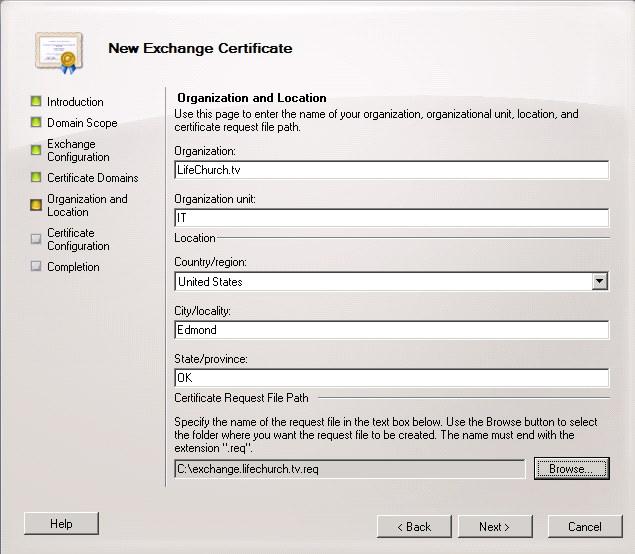
Make your choices. Next.
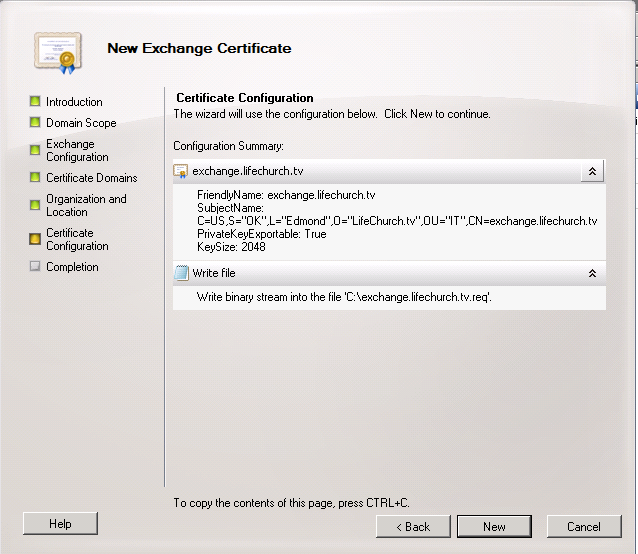
Looks good. Click New. Magic Happens.
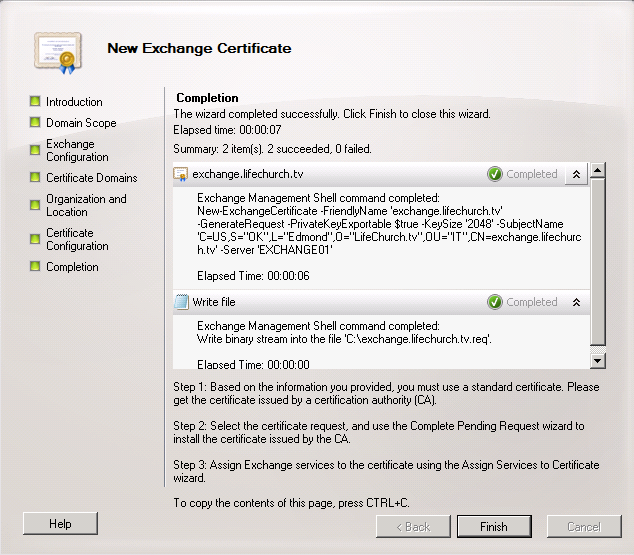
Great. Let's take this .req and get our certs. Click Finish.
I get my certs from Rapid SSL Online – I've talked about that before, and won't waste your time here. Approximately 5 minutes and $18 later, and I have my certificate. Everyone uses different CAs, so I won't walk you through how to do this. Get your certificate and come back.
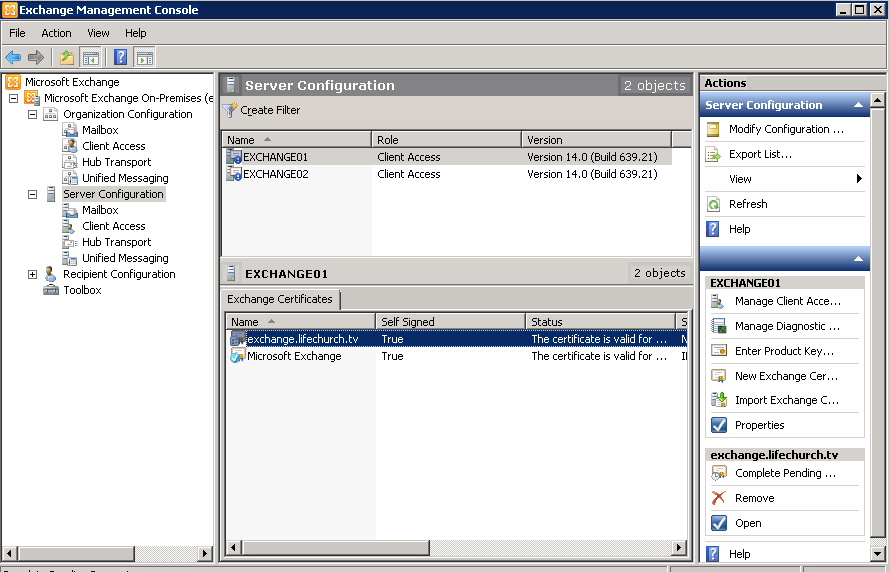
We want to Complete the Pending Request. Click that.
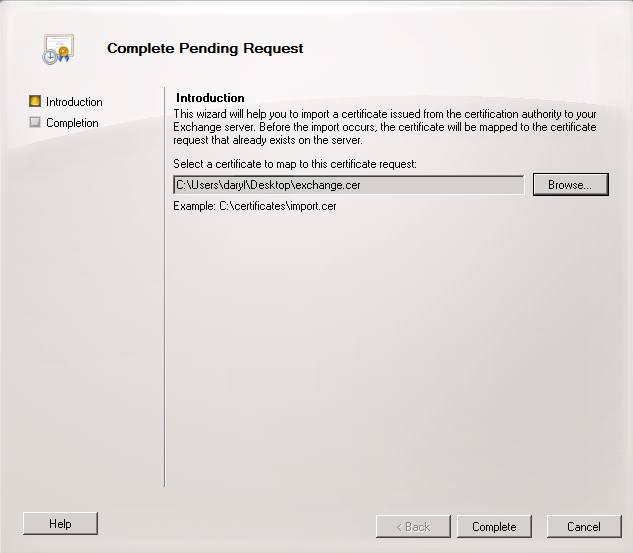
Choose the .cer file you got. You can see ours above. Click Complete.
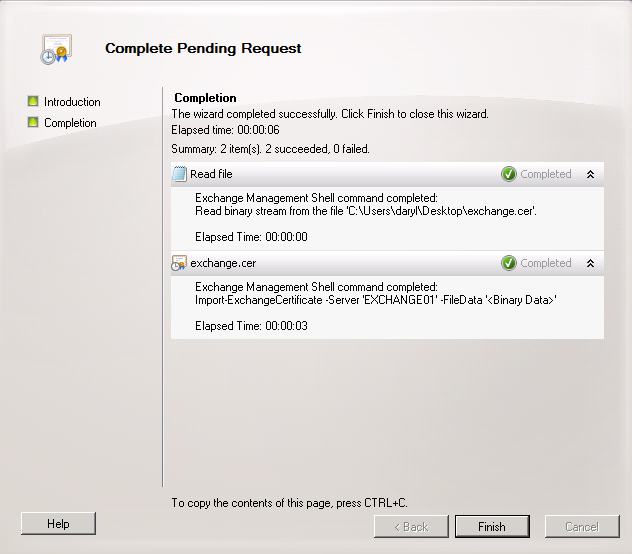
Great. Success. Click Finish. Do the same thing on the second Exchange box. Now, let's select the certificate and "Assign Services to Certificate"
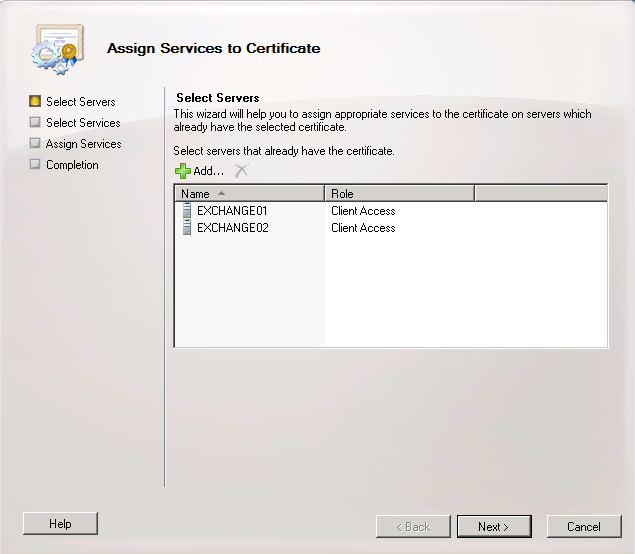
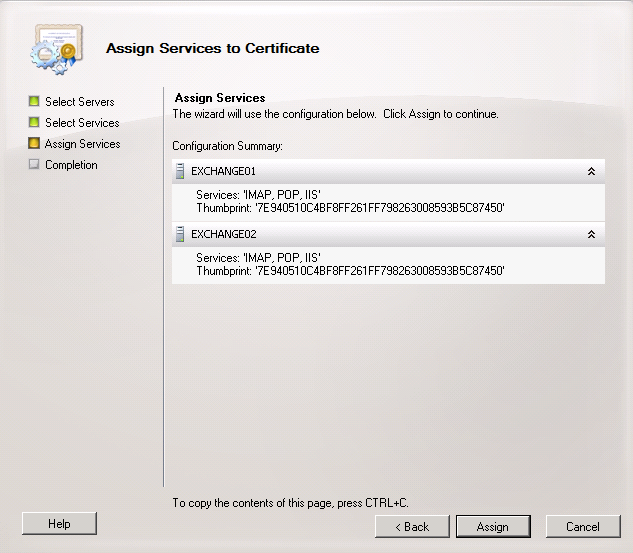
We want to assign services on both boxes. Click Next.
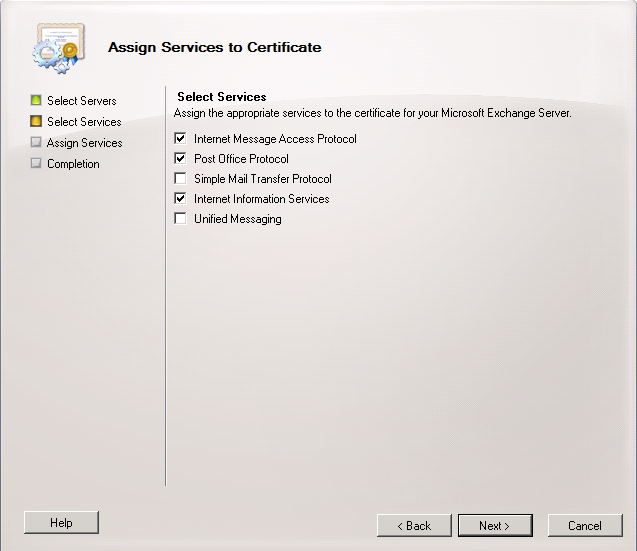
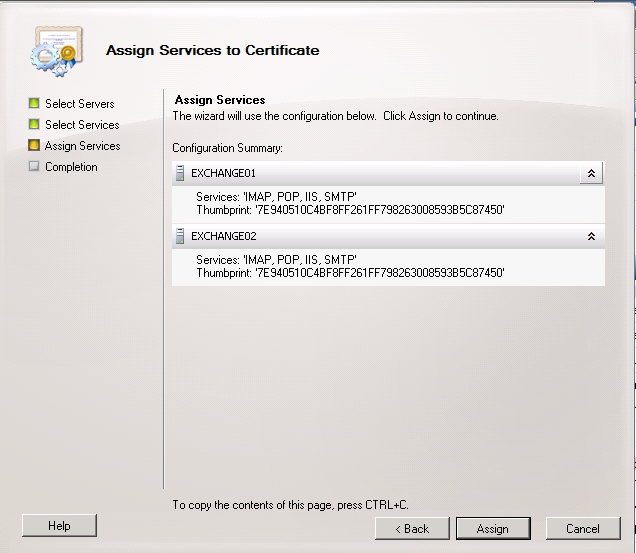
Choose the appropriate services. Click Next.
Looks good. Click Assign.
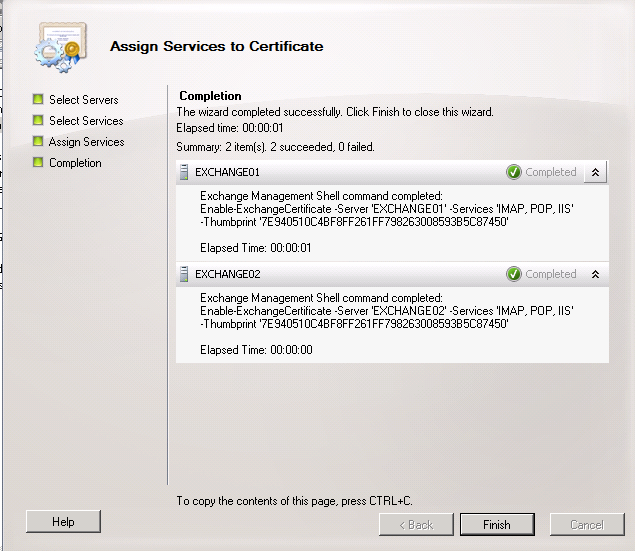
Great. Finish. We've got certs & assigned them. Next, we'll head toward Outlook Anywhere. Head back to the Exchange Management Console -> Server Configuration -> Client Access.
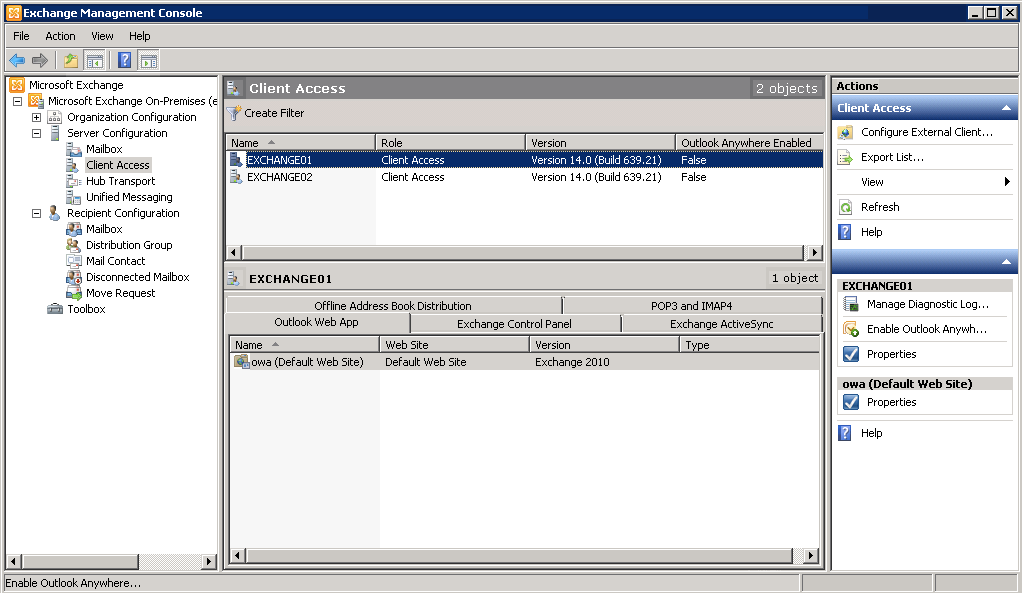
Click "Enable Outlook Anywhere" in the action pane.
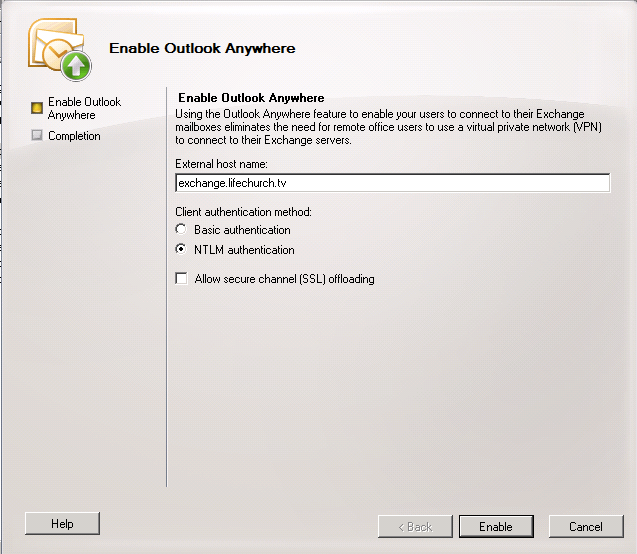
Choose your FQDN, Basic vs. NTLM, and click Enable.
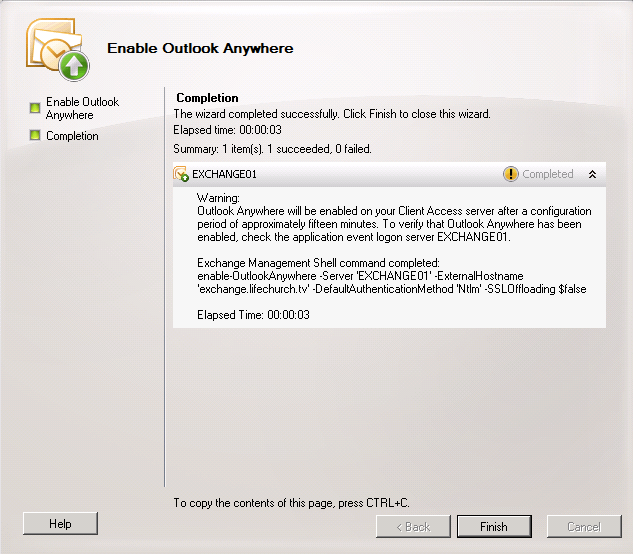
Looks like it might take 15 minutes. Click Finish. Now do that on our second Exchange 2010 box.
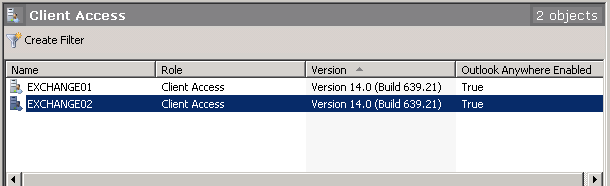
Okay. That's done.
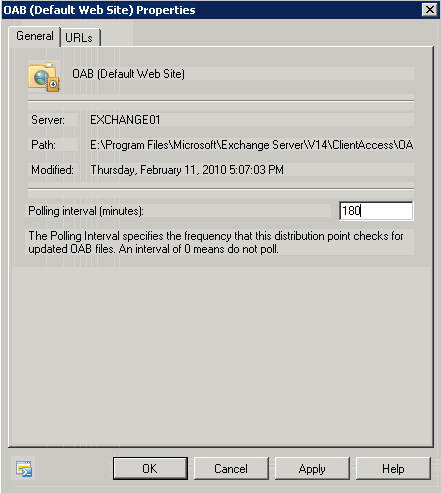
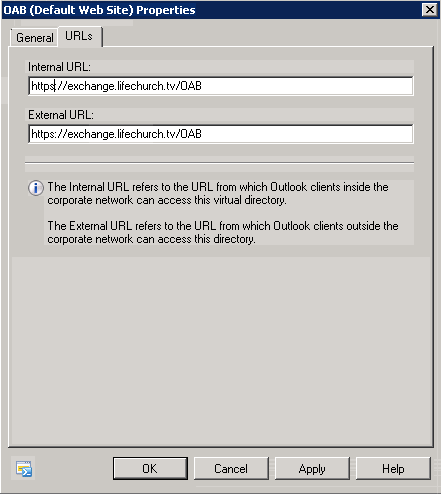
Further Config – OAB / EWS VDirs
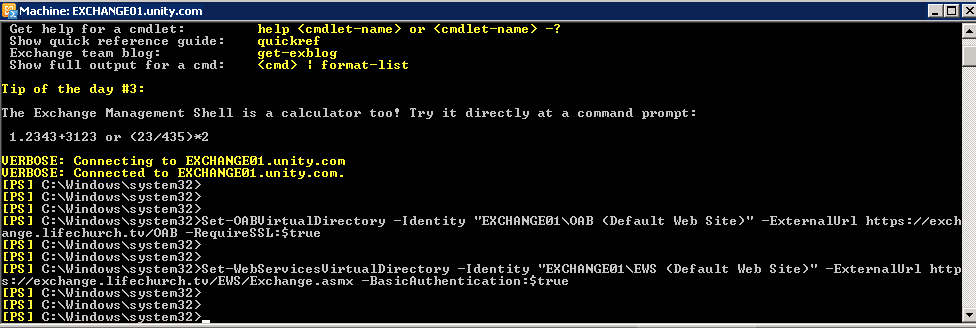
Now, let's configure the Offline Address Book (OAB) and Web Services (EWS) Virtual Directories. This is Powershell. Launch that.
We're gonna run two commands
- Set-OABVirtualDirectory -Identity "CAS01OAB (Default Web Site)" -ExternalUrl https://fqdn.domain.com/OAB -RequireSSL:$true
- Set-WebServicesVirtualDirectory -Identity "CAS01EWS (Default Web Site)" -ExternalUrl https://fqdn.domain.com/EWS/Exchange.asmx -BasicAuthentication:$true
Looks good! Let's do the same thing for our second Exchange 2010 box. Done. Finally, let's focus on our virtual directories. This is the last thing to configure/check for the CAS role. Whew. Open the Exchange Management Console -> Server Configuration -> Client Access. Pick a virtual directory (Outlook Web App Exchange Control Panel, ActiveSync, etc.) and click the virtual directory. Click Properties. Our look like this.
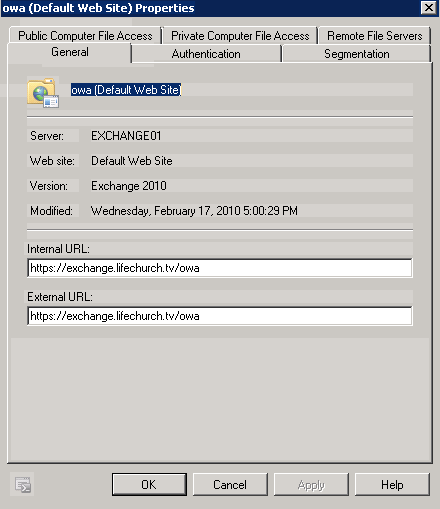
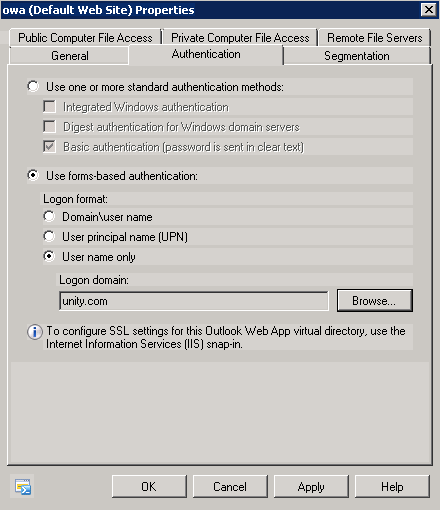

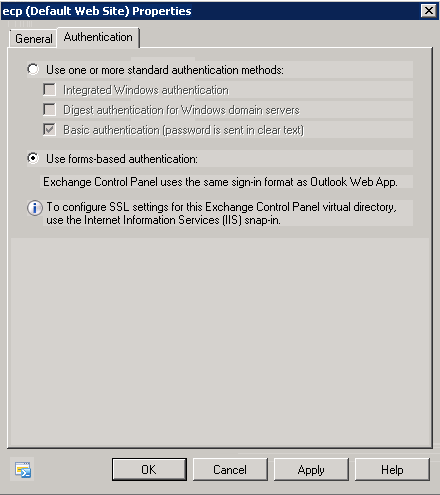
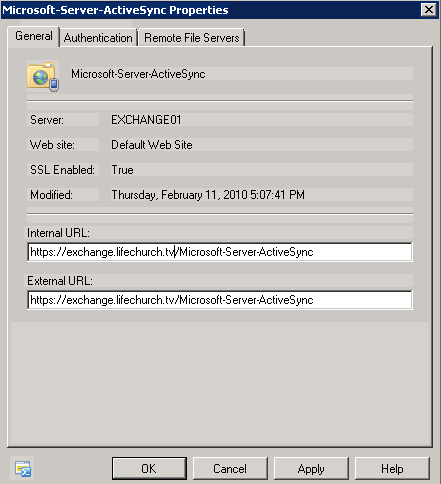
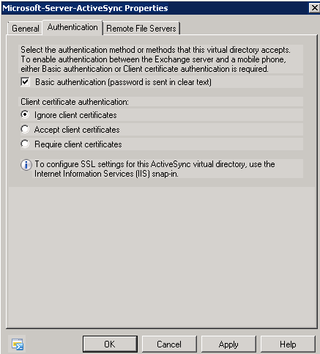
Make sense? Great.
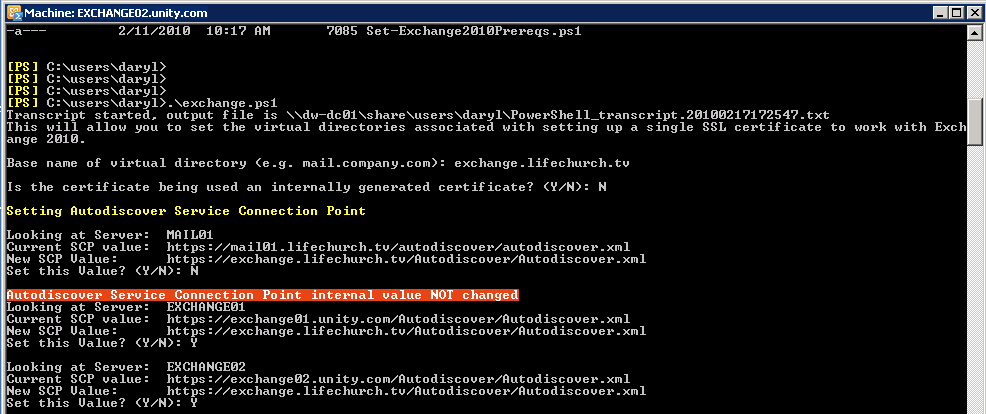
I guess I should let you off the hook – there actually is a very good script you can get to do a lot of this configuration for you. Wouldn't that be nice? Go get it / read about it here. HT to the Exchange Ninjas & Barry w/Mirazon for the rewrite. Some sample output is here:
Anyway, that's that. This was a VERY long post, but what we did was a TON of heavy lifting. We installed and configured (including scripting) a bunch of stuff on our new Exchange 2010 boxes, but left our existing Exchange 2007 box alone.
Fun times. Stay tuned for Part 3 where we'll tackle the Hub Transport (HT) Role.
Good!
Thank you!