LifeChurch.tv has been using Blackberry Enterprise Server (BES) for about 5 years. We first got involved when two of our executives wanted to take their email with them wherever they went. One of those guys was on tmobile, another on AT&T. We got a trial of BES 4.0 and it was awesome. We've upgraded through the various trains until now – we're on BES 4.1 SP6 with some hotfixes here and there.
Just a little while ago, RIM released BES 5.0 and it's time to migrate our install to a new version, and a new virtual machine. We have about 40 or so active BES users. We've lost several to the iPhone in the last few months, and I anticipate losing more. At any rate, we need to migrate.
Our current BES server is on a VMWare ESX Virtual Machine named LC-SQL1. That was a very old physical box that we P2V (physical to virtual) migrated into our Virtual Infrastructure. LC-SQL1 was, as the name suggests, one of our physical SQL servers – and it holds a few legacy applications that we are still moving to new environments.
Our new BES server is also a VMWare ESX VM named Apps02. The specs are:
- Name: Apps02
- OS: Server 2008 Enterprise x86 (32-bit)
- 1 vCPU
- 2gigs RAM
- C: Drive – 30gig (System)
- E: Drive – 150gig (Application installs and data)
- P: Drive – 6gig (Pagefile)
Prep Work on Apps02
So, there are a few things I need to do to get Apps02 all prepped up for BES 5.0. Let's start by finding out what version of BES 4.x we're running on LC-SQL1
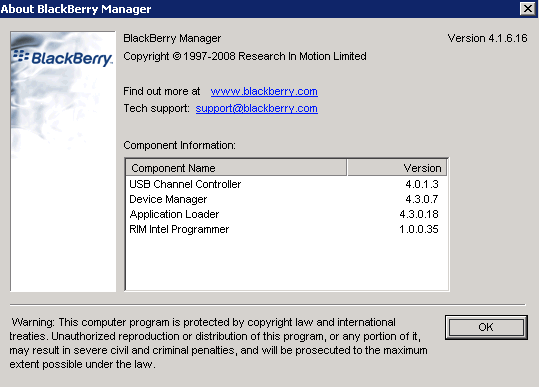
Looks like we're running 4.1.6.16 – that's v4.1 SP6. Great. The documents day we can upgrade as long as we're running v4.1 SP3. We're good there.
We do need to install the MAPI & CDO Objects though to tie BES 5.0 into our previously existing Exchange 2007 environment. Let's go download the latest here. Start the install.
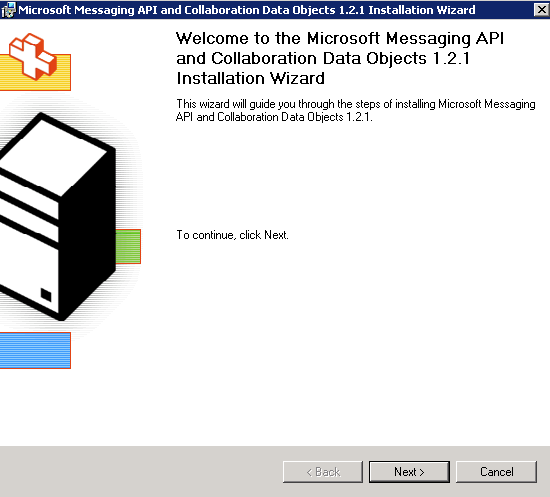
Great. Click Next.
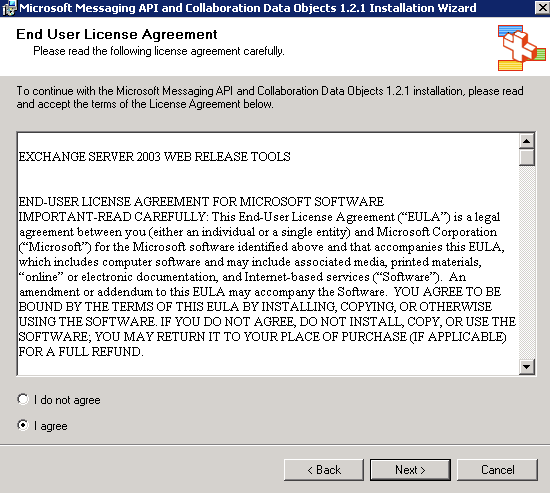
Accept the EULA. Click Next.
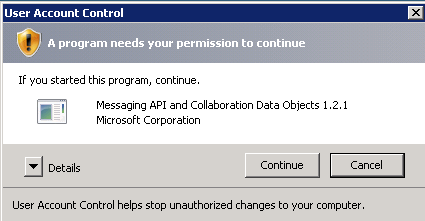
I'm installing this on Server 2008 with UAC turned on. Accept permission by clicking Continue.

Magic happens – quickly. Click Finish.
Great. MAPI / CDO is all installed and ready.
Now, let's install IIS. If you've read my previous installation processes – you know I always START my IIS installs with the "default" settings – then add Windows Authentication and IIS 6 Management tools. I'll do that here as well. Let's go and add the role.
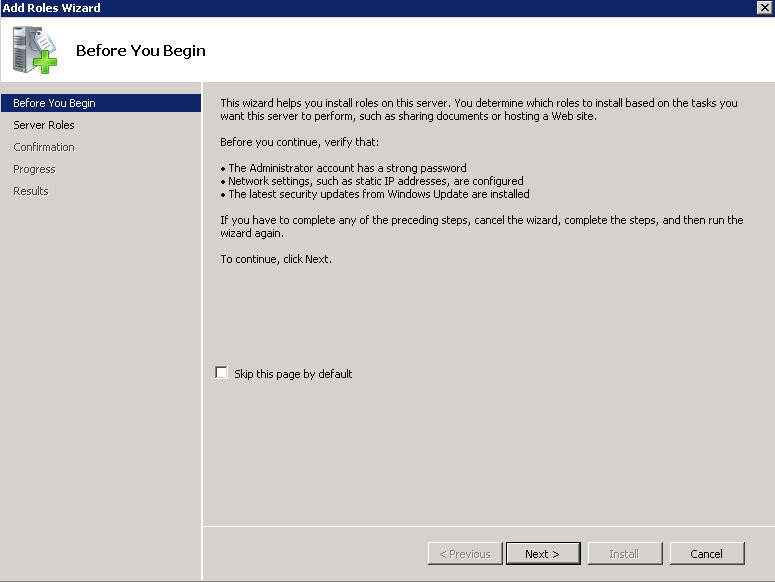
Yup, we want to add a role. Click Next.
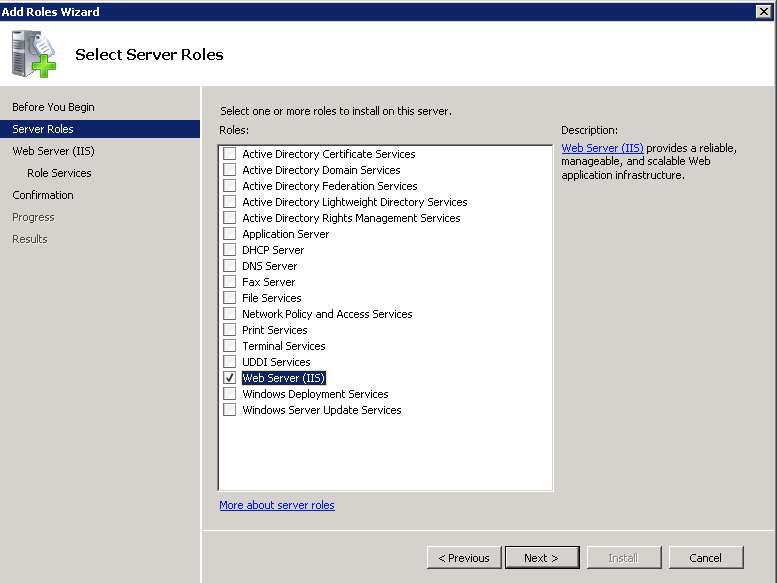
Select the Web Server (IIS) Role. Click Next.
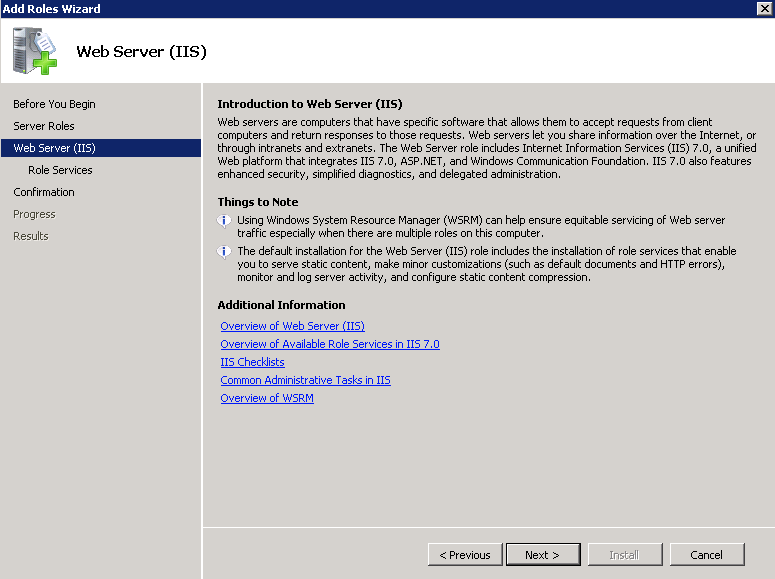
Intro to IIS – Click Next.
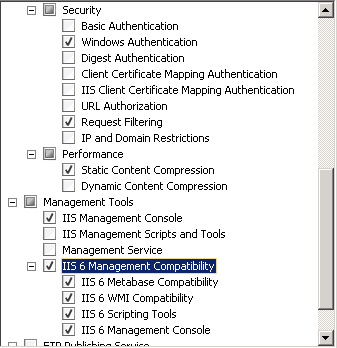
Again, I took all the defaults and added a) Windows Authentication and b) IIS 6 Management Compatibility. Your mileage may vary. Cilck Next.
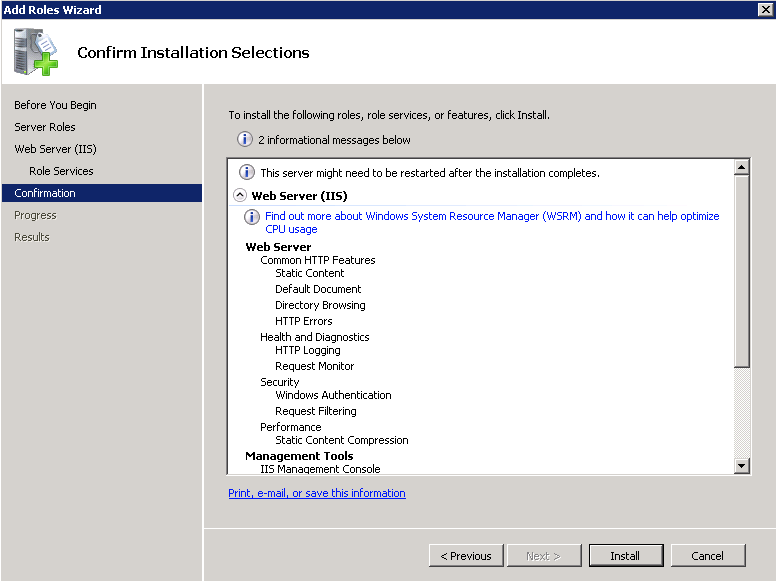
Verify settings. Click Install and wait a couple minutes.
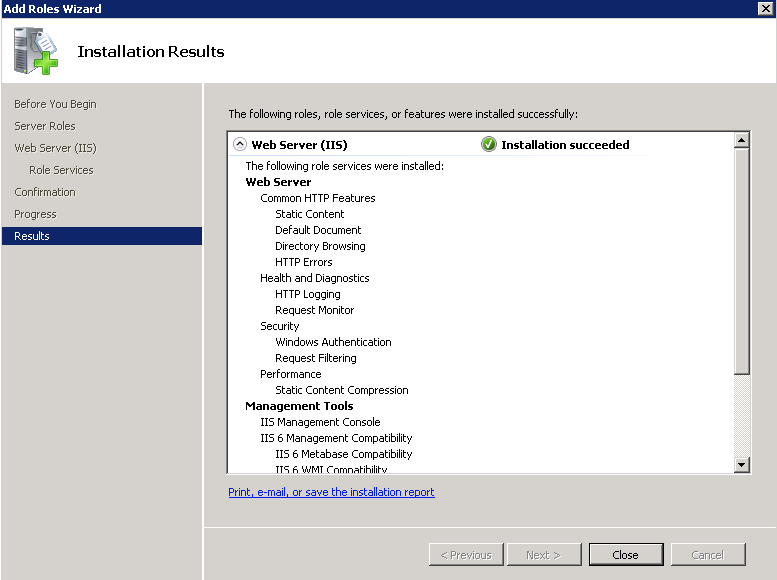
Hooray! IIS is installed. Click Close. Again, this is my particular baseline IIS setup. If BES requires more, I'll go back and add more later. We'll deal with that as needed.
Moving on. I've already been a BES shop – and I already have a BES administrator account – named "besadmin" as suggested for years in the BES documentation. My besadmin account already has any appropriate security settings on Exchange and in Active Directory. I do; however, need to prep my new BES box, Apps02, for besadmin. Let's start by going to Server Manager.
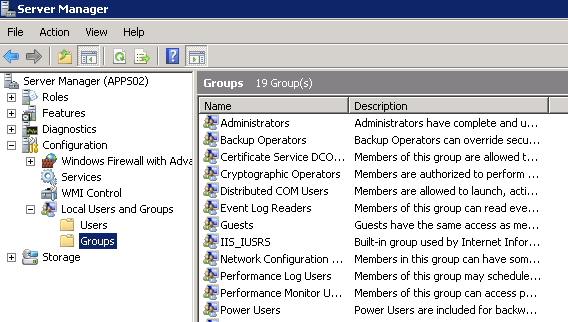
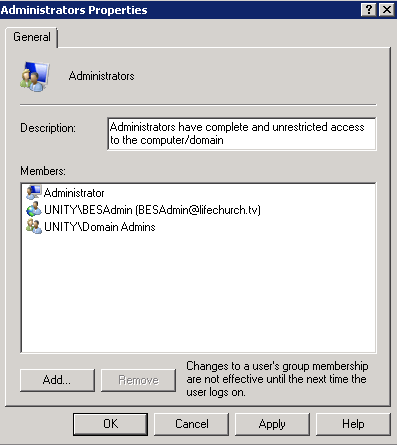
We need to add the "besadmin" account to the Local Adminstrators group on Apps02. Natigate to the Local Users & Groups -> Groups pane as you see above. Double click on Administrators.
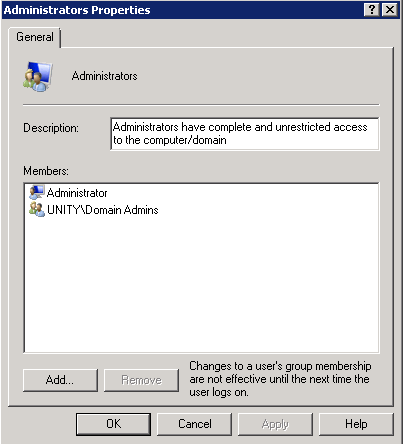
Yup, basic info here. Click Add.
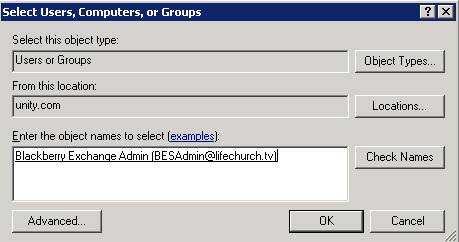
In the "Enter the object names" box, type "besadmin" without the quotes and click Check Names. It will fill in all the details like you see above. Click OK.
Great. Click OK. You've got that done.
I think all the initial prep work is done. Stay tuned for Part 2 when we actually do some installation / upgrade stuff. Are you excited? I am.