For those of you that have been following along, this is Part 3 in a series on VMWare View – a peek into how we're using it at LifeChurch.tv – along with some background and configuration details.
Part 1 – This covered our specific installation details for VMView.
Part 2 – This covered our specific configuration details for VMView.
It's one thing to install a product. It's another to configure it. Now we have to figure out how to actually use it. Let's talk about a few ways to actually ACCESS the VMView Pools we configured last time.
VMWare View Client
Let's start here. If you remember, we installed the "agent" in the "Gold Master" for Vista and XP. If there's an agent, it makes sense that there would be a client, right? Right? Well, there is. Let's get that figured out. On your Windows machine, start the installation process for the VMWare View Client.
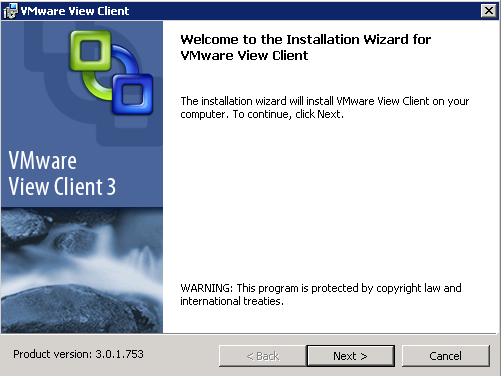
Here we go. Click Next.
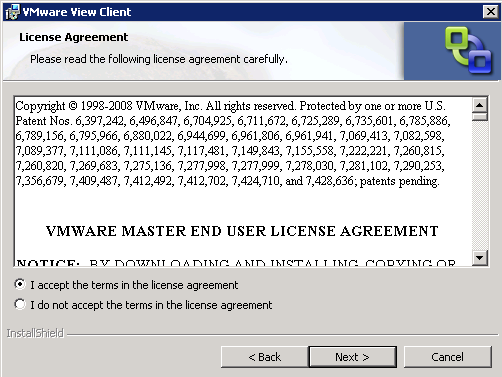
Accept the EULA. Click Next.
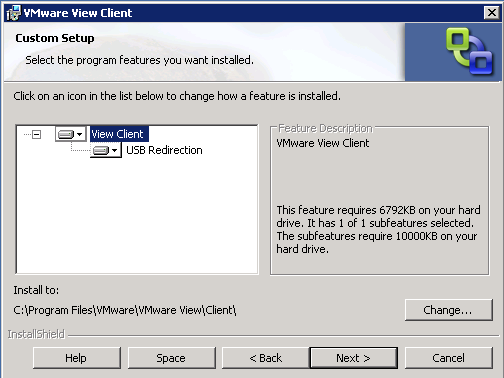
Decide if you want to install the USB Redirection feature. Click Next.
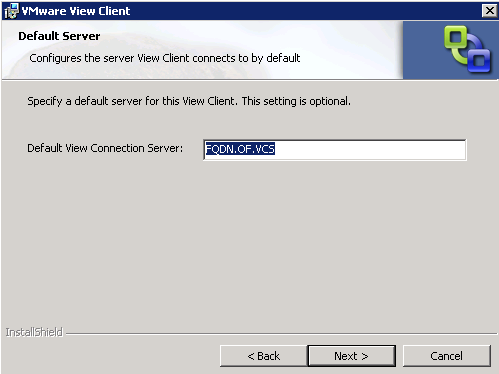
You can optionally tell the client the name of your View Connection Server (VCS) here. Click Next.
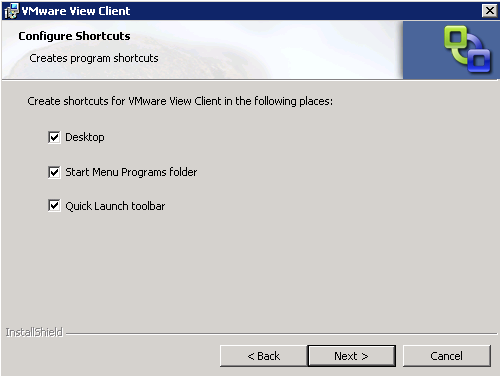
What shortcuts do you want? Click Next.
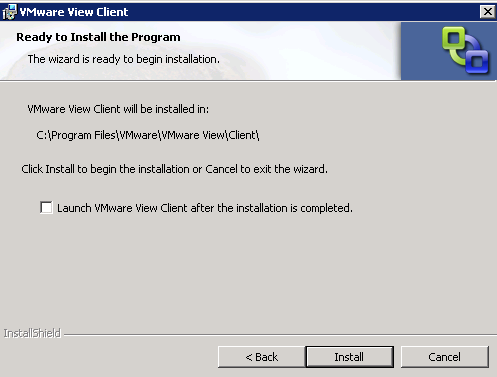
Do you want to load the Client after install? Choose and then click Install.
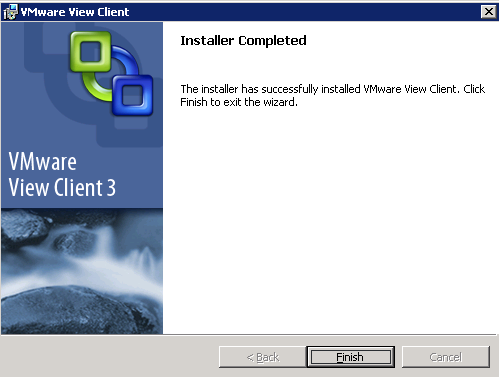
Time passes. Very quickly. You're done. That wasn't hard, eh? Click Finish.
Now if you chose to launch the Client after installation, great It will come up for you to use. If not, let's launch that and connect.
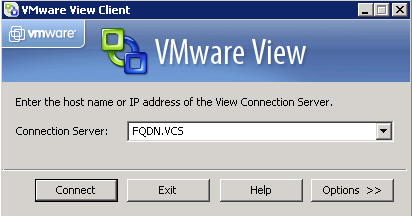
Enter the FQDN of the View Connection Server. If you click on the "Options" Button you can choose whether or not to enforce SSL, or change ports, or have it set to auto-connect.
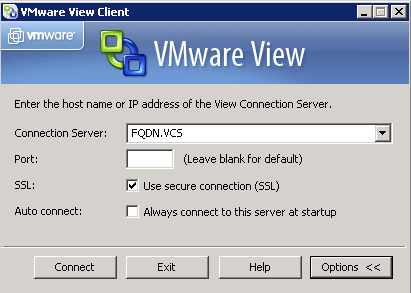
Click Connect to – well – connect.
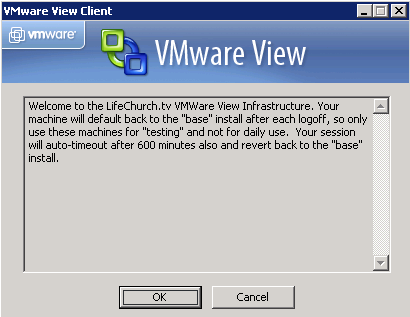
If you remember from Part 2, we configured a "pre-login message" – that's what you see here. Click OK to continue the login process.
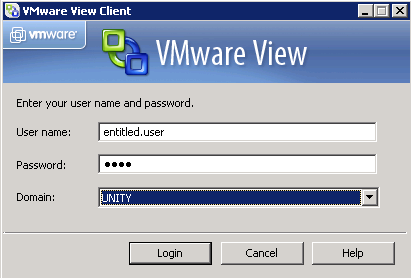
Enter the credentials for an entitled user (remember that from Part 2?) – Click Login.
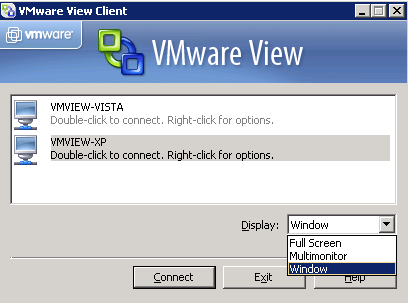
Great. You've now authenticated to VMView. Now, choose which "pool" you want to use. If you recall, in our context, we have both an XP and Vista pool. Choose one. Under the "Display" option, you can choose whether to connect in "Full Screen", "Multi-monitor" or "Window" mode. We'll choose Window and then click Connect.
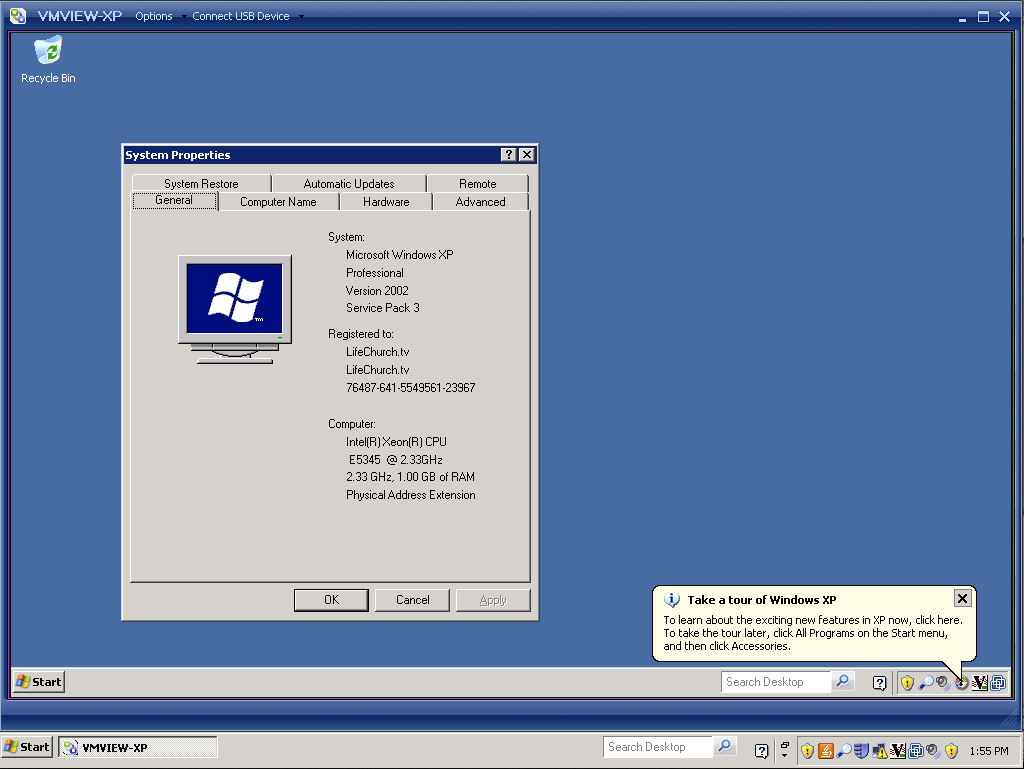
Off you go. You're now logged into your Windows XP Machine inside VMWare View. Cool huh? But what if you don't have a PC to use for the "fat" client? How else can you connect to VMWare View?
Web "client" Access
Personally, I use a Macbook Pro for my primary workstation. Don't throw apples at me. That's just how I roll. How can I connect to VMView? I also work "remotely" – about 700 miles away from our primary data center. I have multiple options for connection. I can RDP into a server, and then access via the client. I can use a windows VM on my MBP using VMWare Fusion or Parallels. Or, I can use Firefox/Safari and connect directly via my browser using https. Cool, eh?
Let's launch Firefox – that's my browser of choice. We're going to navigate to the FQDN of my VCS server. By default, VMView uses a self-signed SSL cert so you'll get the usual errors when launching it. You can just choose to accept that cert and move along just fine.

Got it? Great. Do that. Move along.
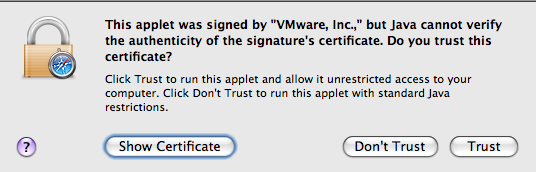
Oh yeah, did I mention this was Java based? No? Well it is. And it's, again, self-signed Java stuff. You're gonna have to hit "Trust" to get through all this.
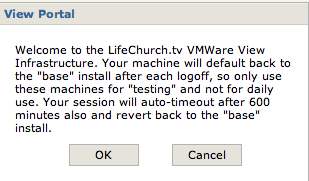
Does this look familiar? It should. This is the "pre login message" you saw above even when using the VMView Client. Click OK.
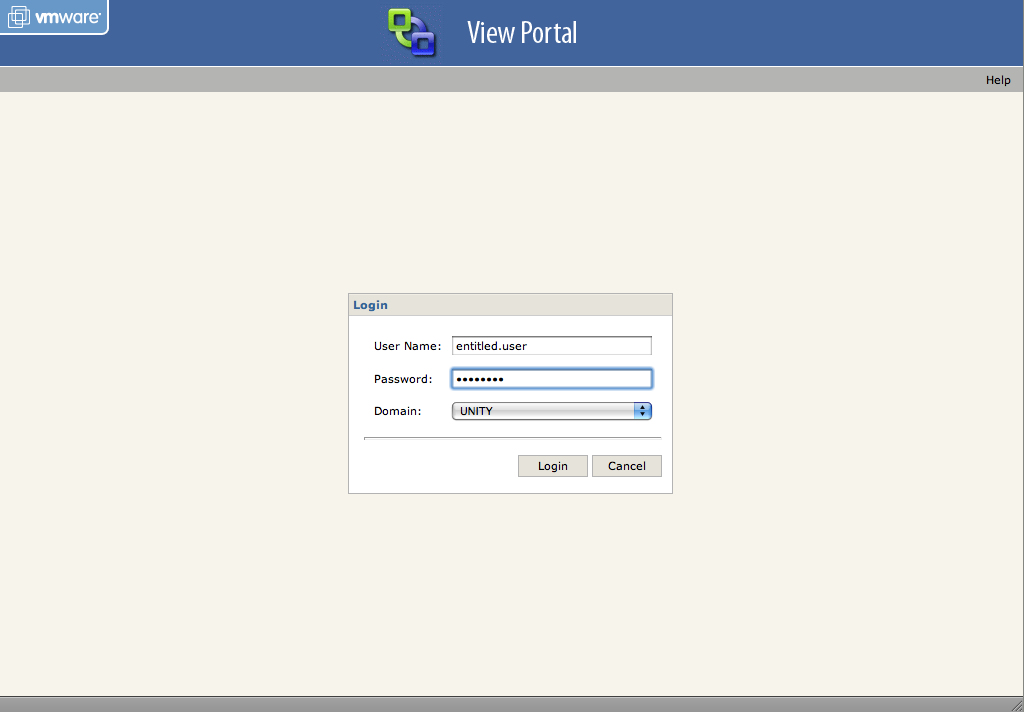
Yup. You have to enter the credentials for an entitled user. Do that and click Login. You're gonna have to "Trust" some more Java stuff. It's okay. Move along.
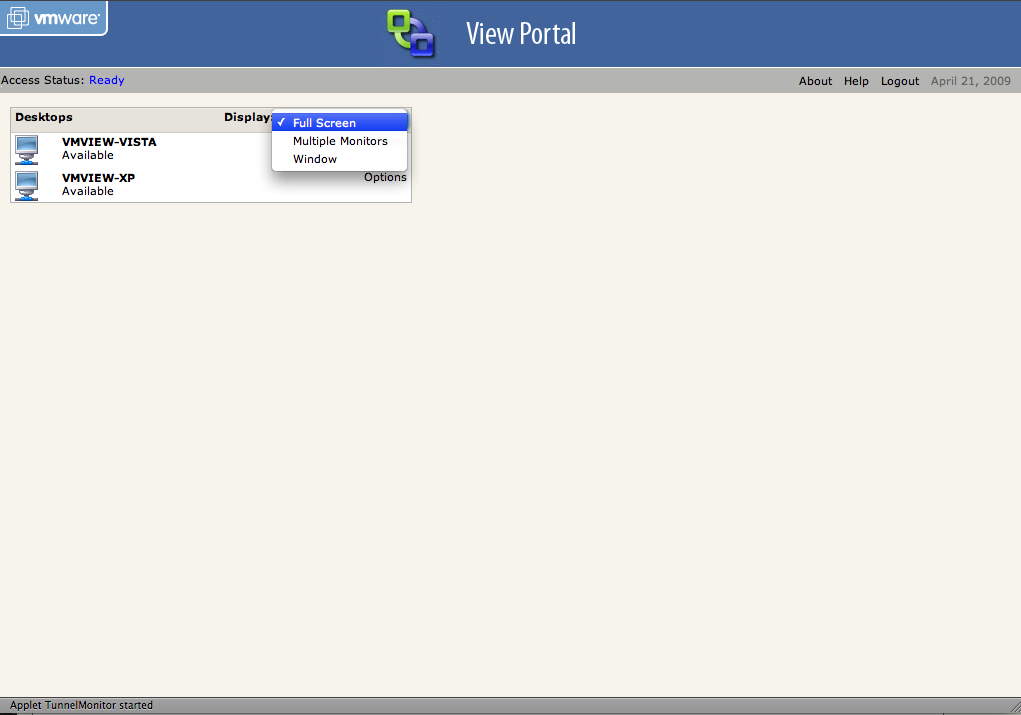
Yup. Just like with the VMView Client, you can choose which Pool to access and the Display mode. We'll choose "Window" again and access the XP Pool again. More Java. More Trust.
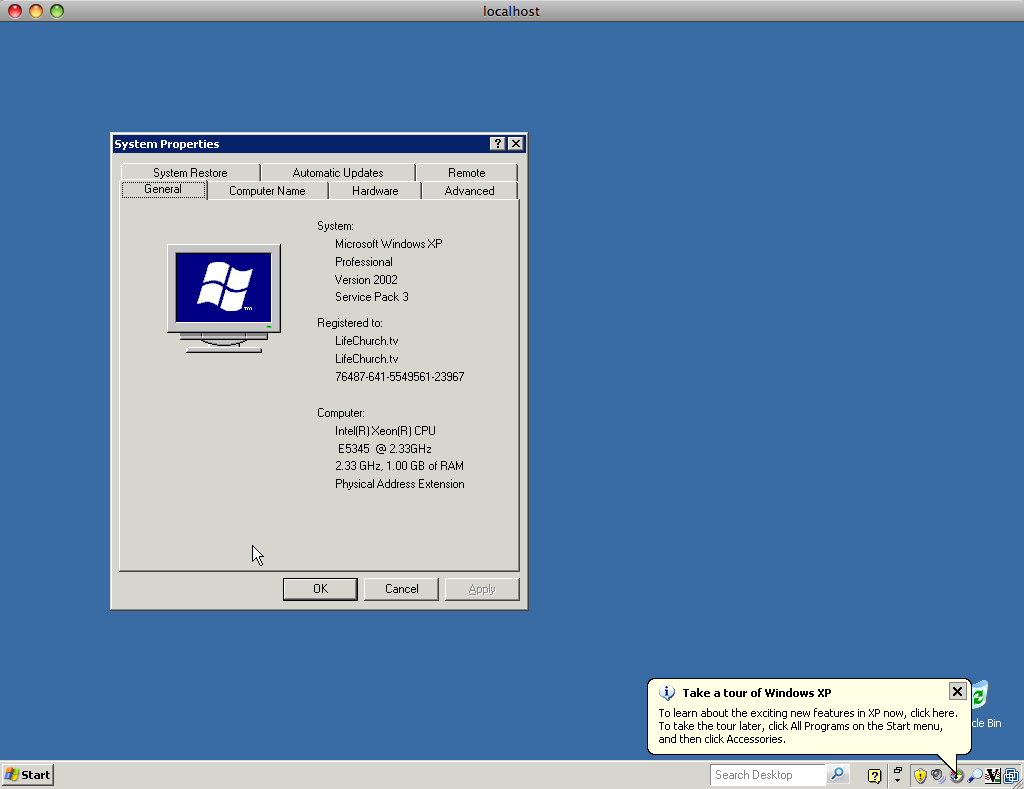
Wheee! Here we go! On my Macbook Pro, this process automatically launched Microsoft Remote Desktop Connection for Mac 2.0 (previously installed) and connected. You can see that above. Pretty nifty, eh? I can connect to this from inside my network, or, if I choose to publish the FQDN to the public Internet, and pinhole HTTPS (tcp/443) through my firewall, I can now connect to my VMView VM from anywhere in the world with Internet access – including a tethered mobile phone while driving (riding) down the highway. Not that I've done that of course.
Thin Clients
Yes, you can also use Thin Clients (Pano, Wyse, HP, Dell, etc.) to connect to VMWare View. Unfortunately, I have zero experience there. I cannot give you any screenshots or details. I can tell you; however, that Mirazon is a VMWare Gold Partner in the Louisville, Kentucky area. They are good friends of mine, and can help you see how this can be a solution for your organization. They have clients all over the US, so if you aren't close to Louisville, don't despair. Give them a ring and tell them I sent you.
What's next? Well, we've covered our setup, configuration, and access of VMWare View. I thought I'd end this series with a few hints that we discovered along the way. I'll put those in Part 4 – probably to come out later this afternoon if I can type it up. If not, I'll get that out tomorrow. Stay tuned!