Why?
So, I've blogged before about our environment at LifeChurch.tv so I won't bore you with many details about the overall architecture. One thing I may not have been super clear on is that we are mostly (almost 100%) laptop users. And we're a very mixed Mac/PC shop. This works well most of the time, but there are certain occasions when our Mac users need to access Win32 only applications – or – need to run Web Applications that require ActiveX that will only work on Internet Explorer.
What do you do? Well, you can run Virtual Machines on each Mac. Parallels and VMWare Fusion are great for that but not scalable. It's not really feasible, or affordable, to manage VMs on potentially hundreds of Macs. So, we need a new solution.
Once solution is Terminal Server. This works pretty well for a LOT of stuff. In fact, I have setup a Server 2008 Terminal Server and our Mac users are using it right now and are happy. I blogged about it here.
Now, I have a new problem. Some of my users need the ability to both install and break stuff. I don't allow them to install apps in our Terminal Server. These particular users are Team Digerati – and they are our development/R&D geniuses. They need sandboxes – places to play and install beta software and break it and have it reloaded easily. Our IT staff could use this ability as well. So, what do we use?
What?
VMWare View is perfect for this. In basic terms, VMWare View (and related suite) allows you to create VMs in your ESX environment – and then access them from Thin Clients, Win32 "client" applications, or even over HTTPS. And, each VM inside VMView is "separate" – unlike Terminal Server – which means I can blow one away and not hurt the rest.
So, we bought a 10-pack of licenses for VMWare View Premier. We have it setup and running now with 5x Vista SP1 Machines and 5x XP SP3 Machines. Let's walk through how it was setup.
How?
To begin – there were two parts to install in our environment. We had to setup the VMWare View Composer service – we put this on our previously existing VMWare ESX vCenter server. Then we had to setup the VMWare View Manager stuff – we put this on a freshly built Server 2003 x86 VM.
VMWare View Composer
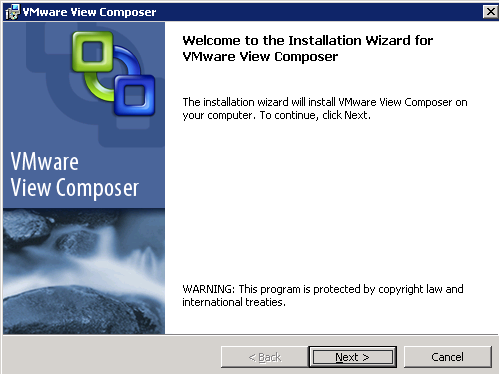
The install of Composer is pretty straight forward. It's a bunch of Next Next Next clicks. Launch the setup program on your vCenter computer.
Click Next.
Accept the EUA, click Next.
Verify installation location, click Next.
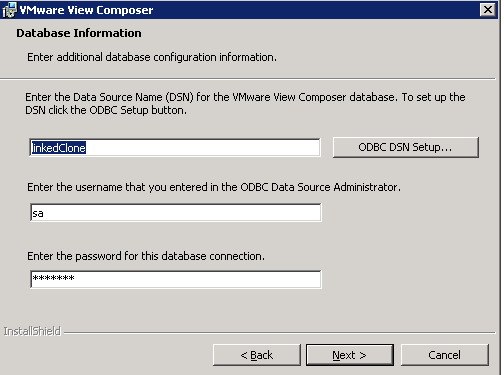
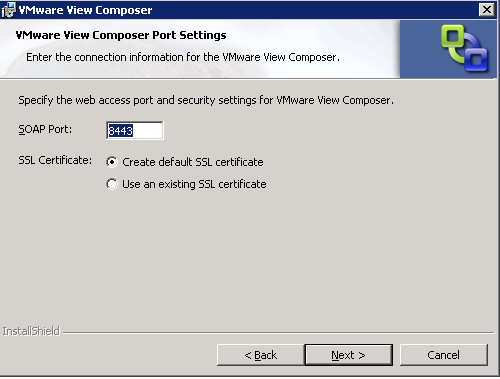
This is where you can setup the database connection for "linkedClones" – this is the secret sauce for implemting a lot of VMs using a baseline "gold master" image. Make the changes you need then click Next.
Make appropriate access and security changes. Click Next.
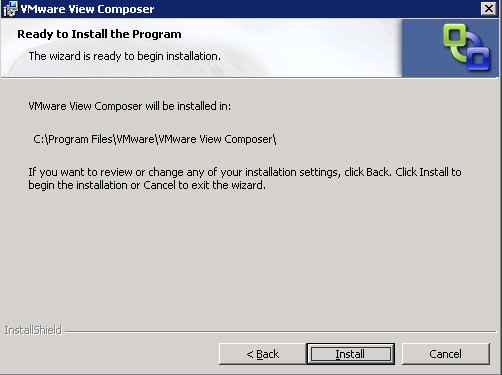
Verify installation settings. Click Install. The install will take off and finish. It took about 5 minutes to run for me. Maybe a little less.
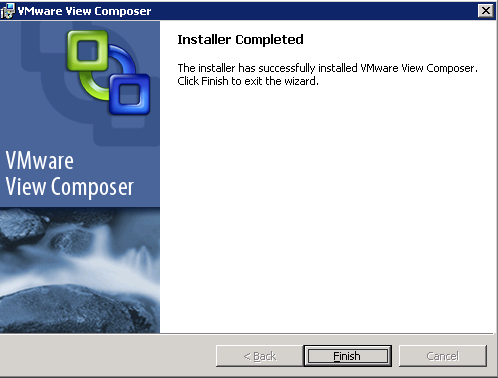
Okay, the View Composer service is done. Click Finish.
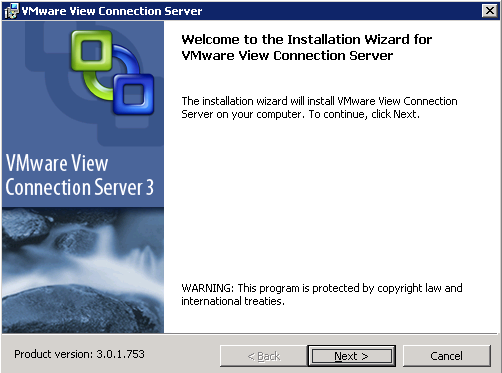
VMWare View Connection Server
Great, so you've got the View Composer installed. Let's get the Connection Server installed so we can actually start to manage this sucker.
In our context, I created a new VM, cleverly called VDI, and launch the VCS setup application:
Easy. Click Next.
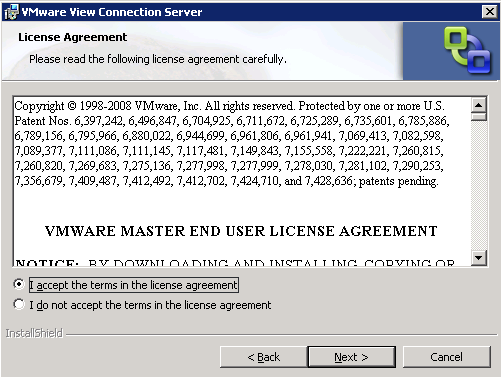
Accept the EULA. Click Next.
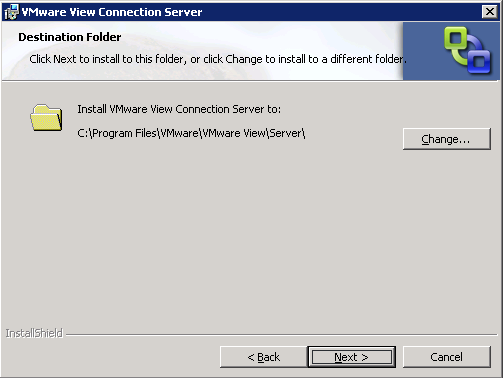
Decide where to install this. Click Next.
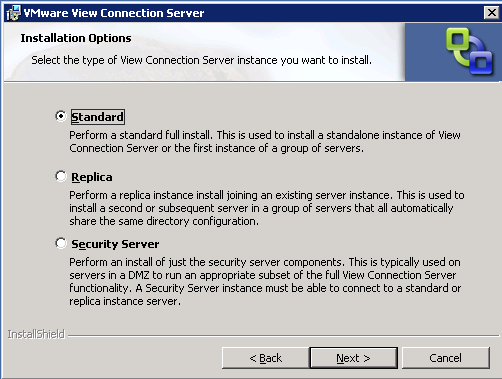
This is our first VCS install – that's Standard – click Next.
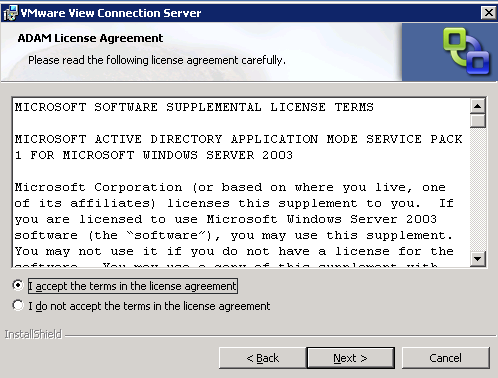
Accept the ADAM license agreement. Click Next.
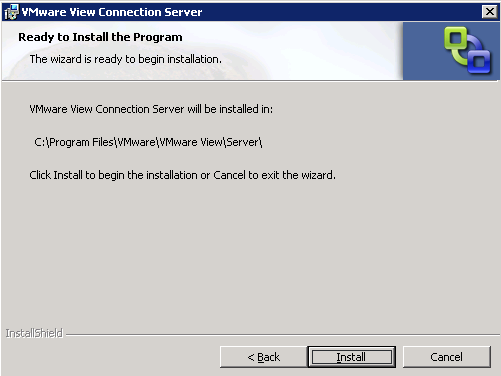
Verify installation details. Click Back to change. Click Install to – well – install.
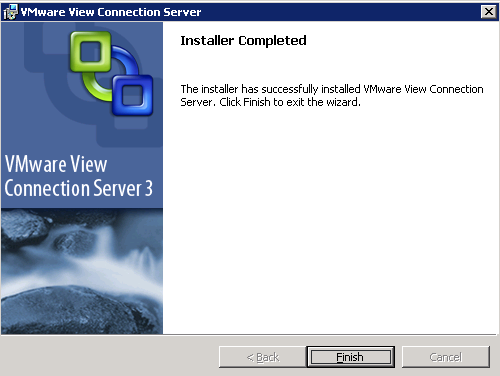
Great. All installed. Click Finish.
Well, there ya go. Everything is installed. Now it's time to configure VMWare View for your environment. We'll do that next time. Stay tuned!